
How to install a charger
This guide summarises the process for setting up a site and installing a Synleap charging station in the Synleap app.
Qualified personnel only
Electrical installation and commissioning must be completed by a qualified electrician in accordance with local regulations.
1. Account and company
Before creating the installation site, set up the installer account and company:
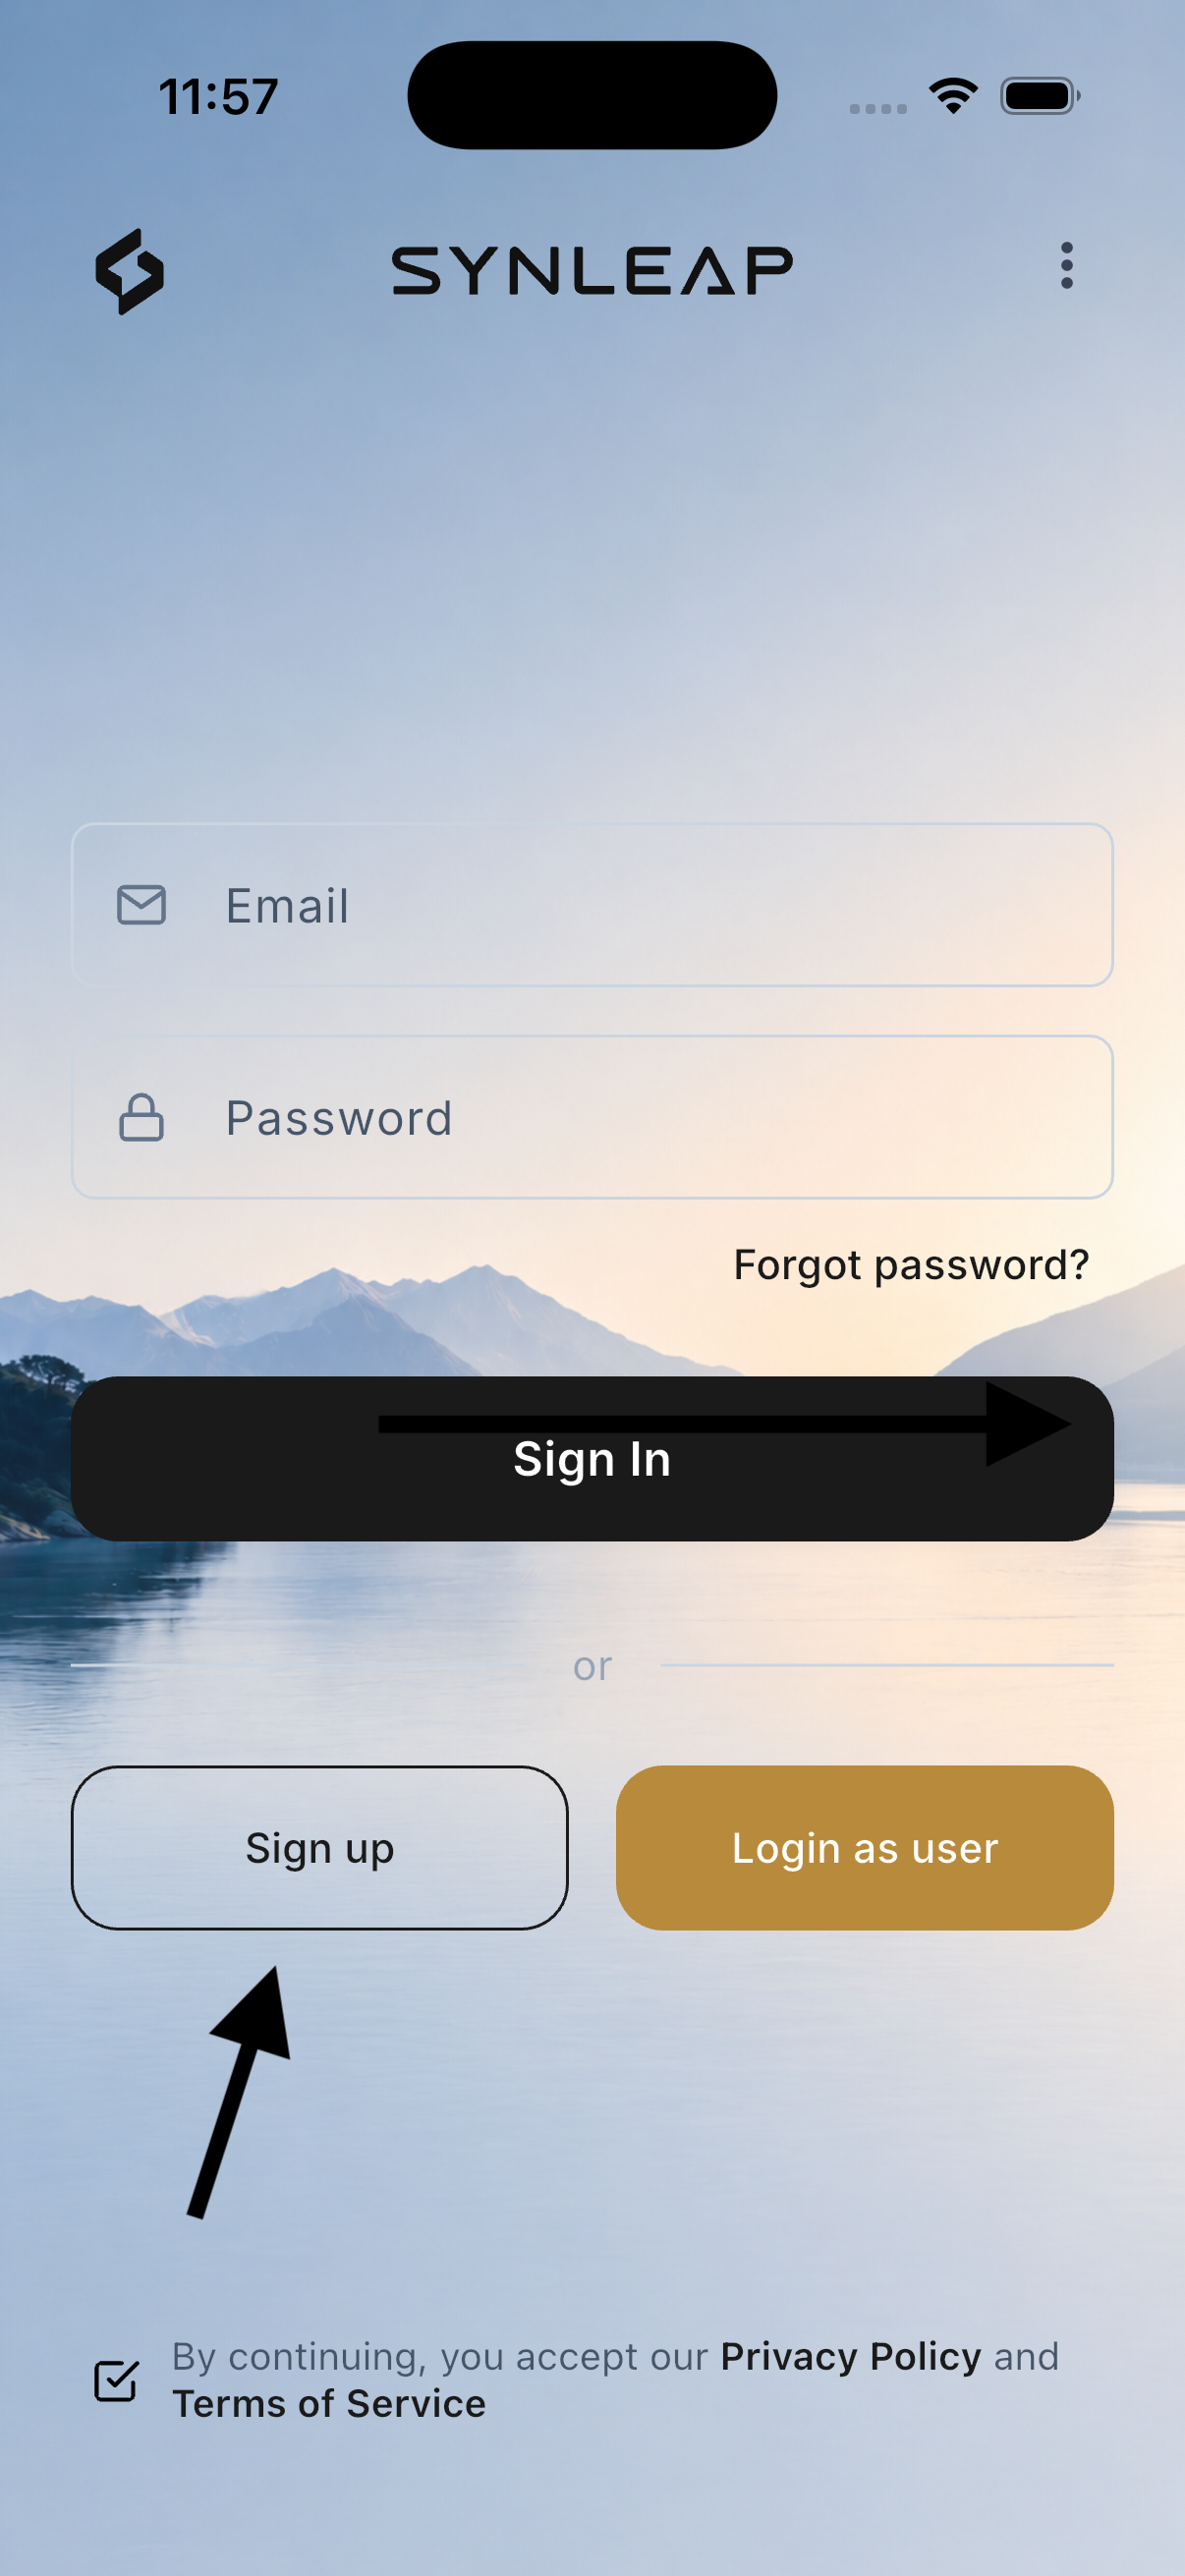
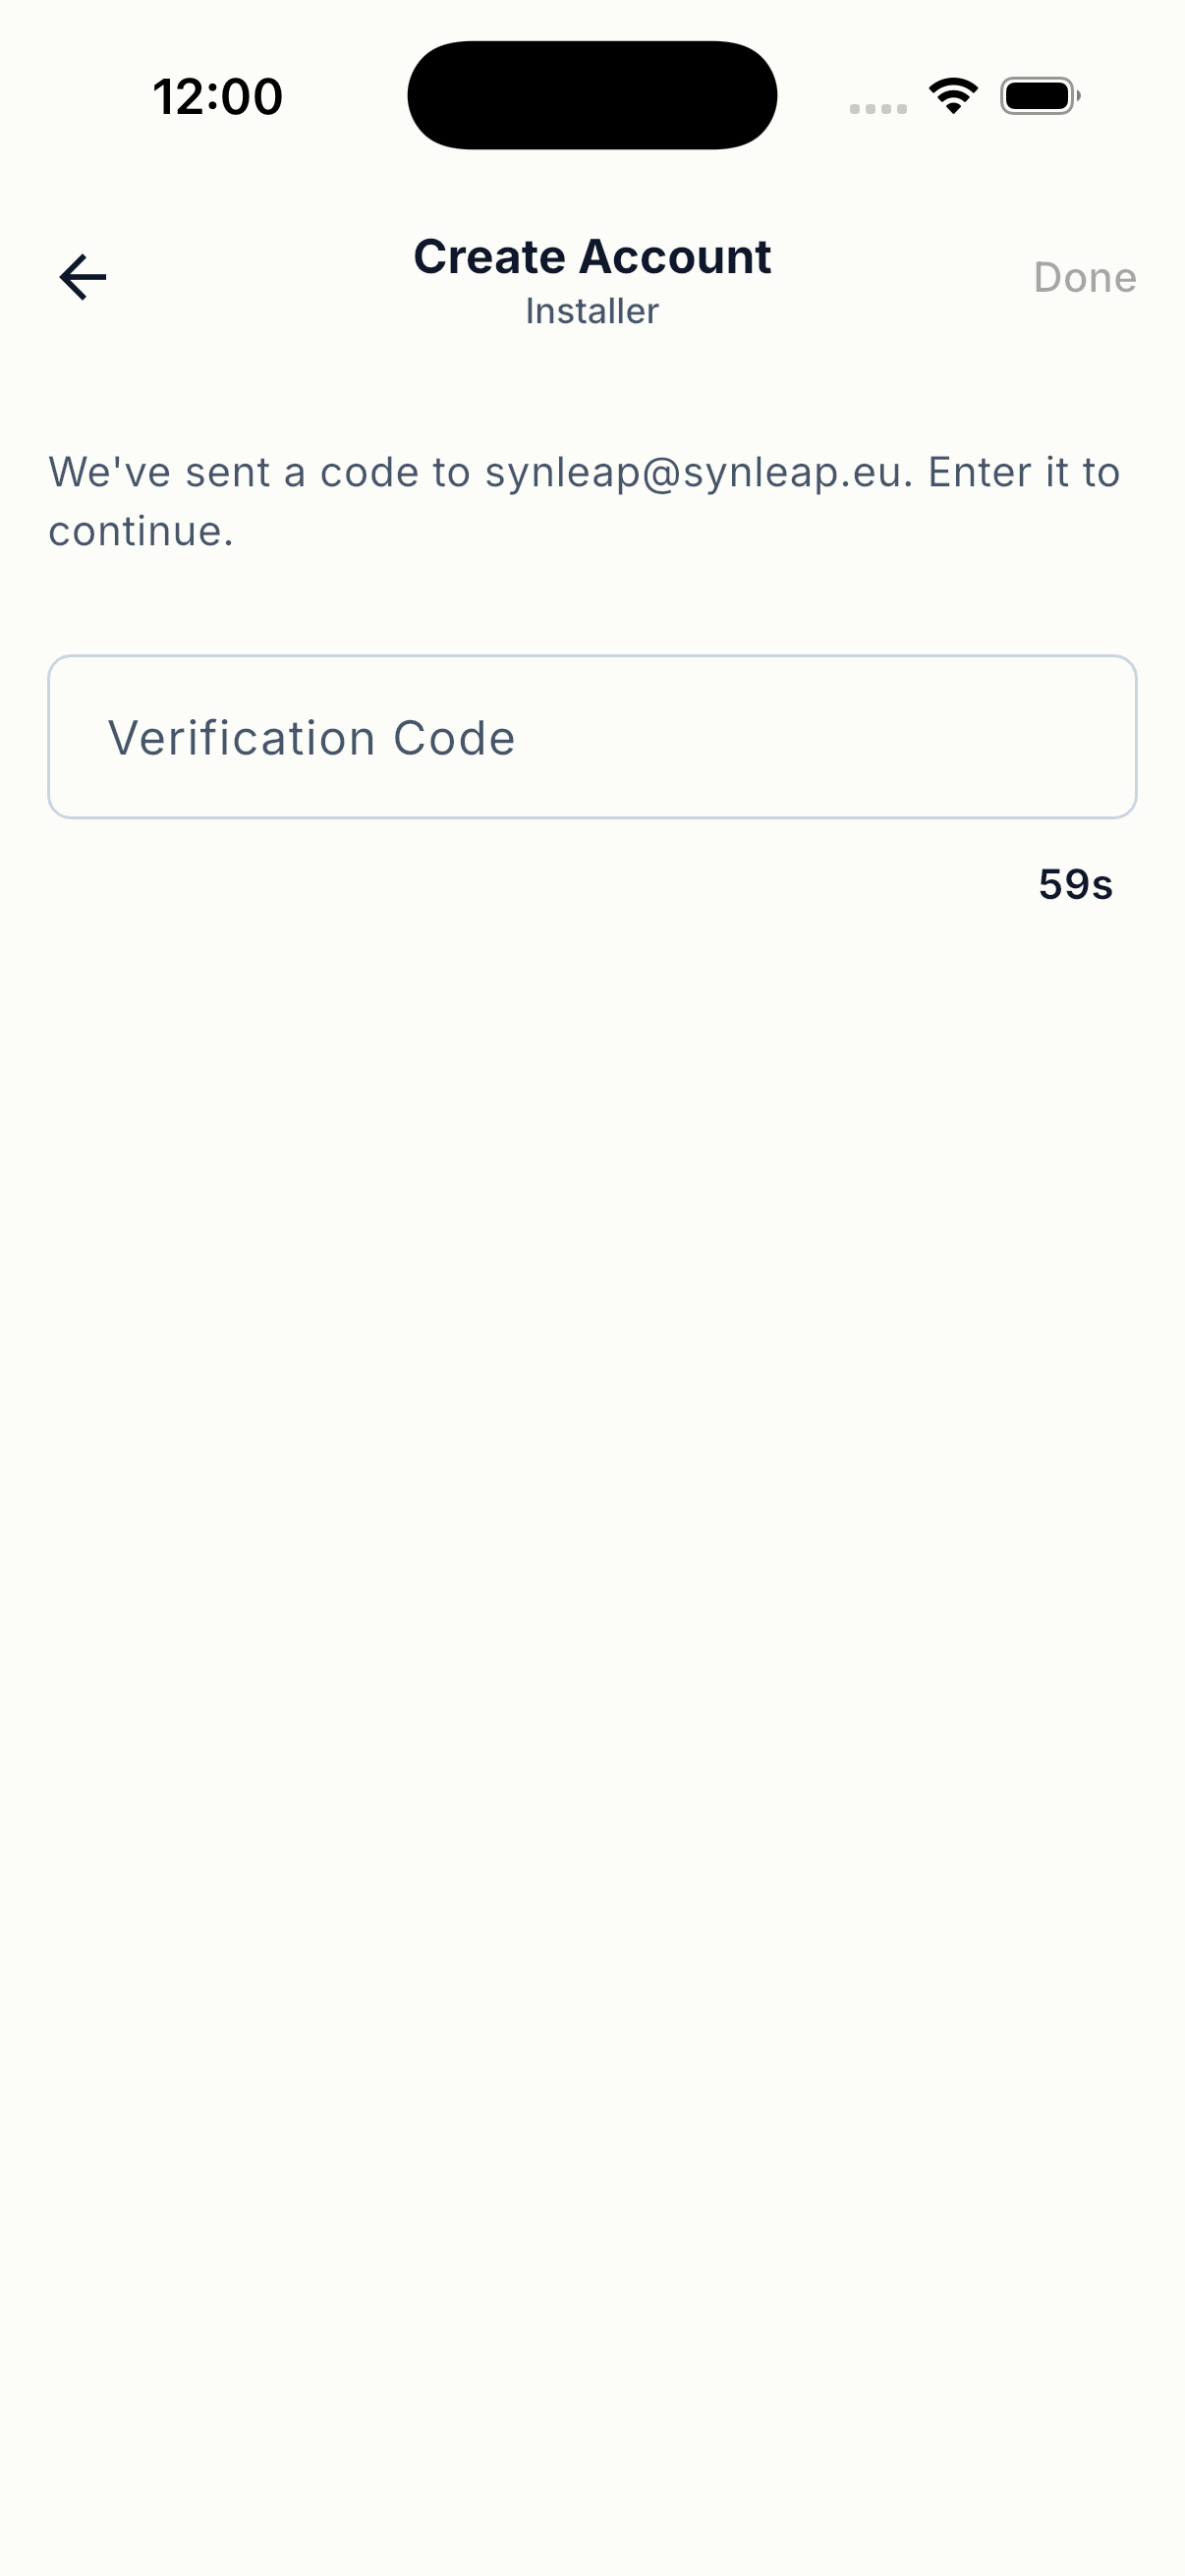
- Create a Synleap account and verify the registered email address.
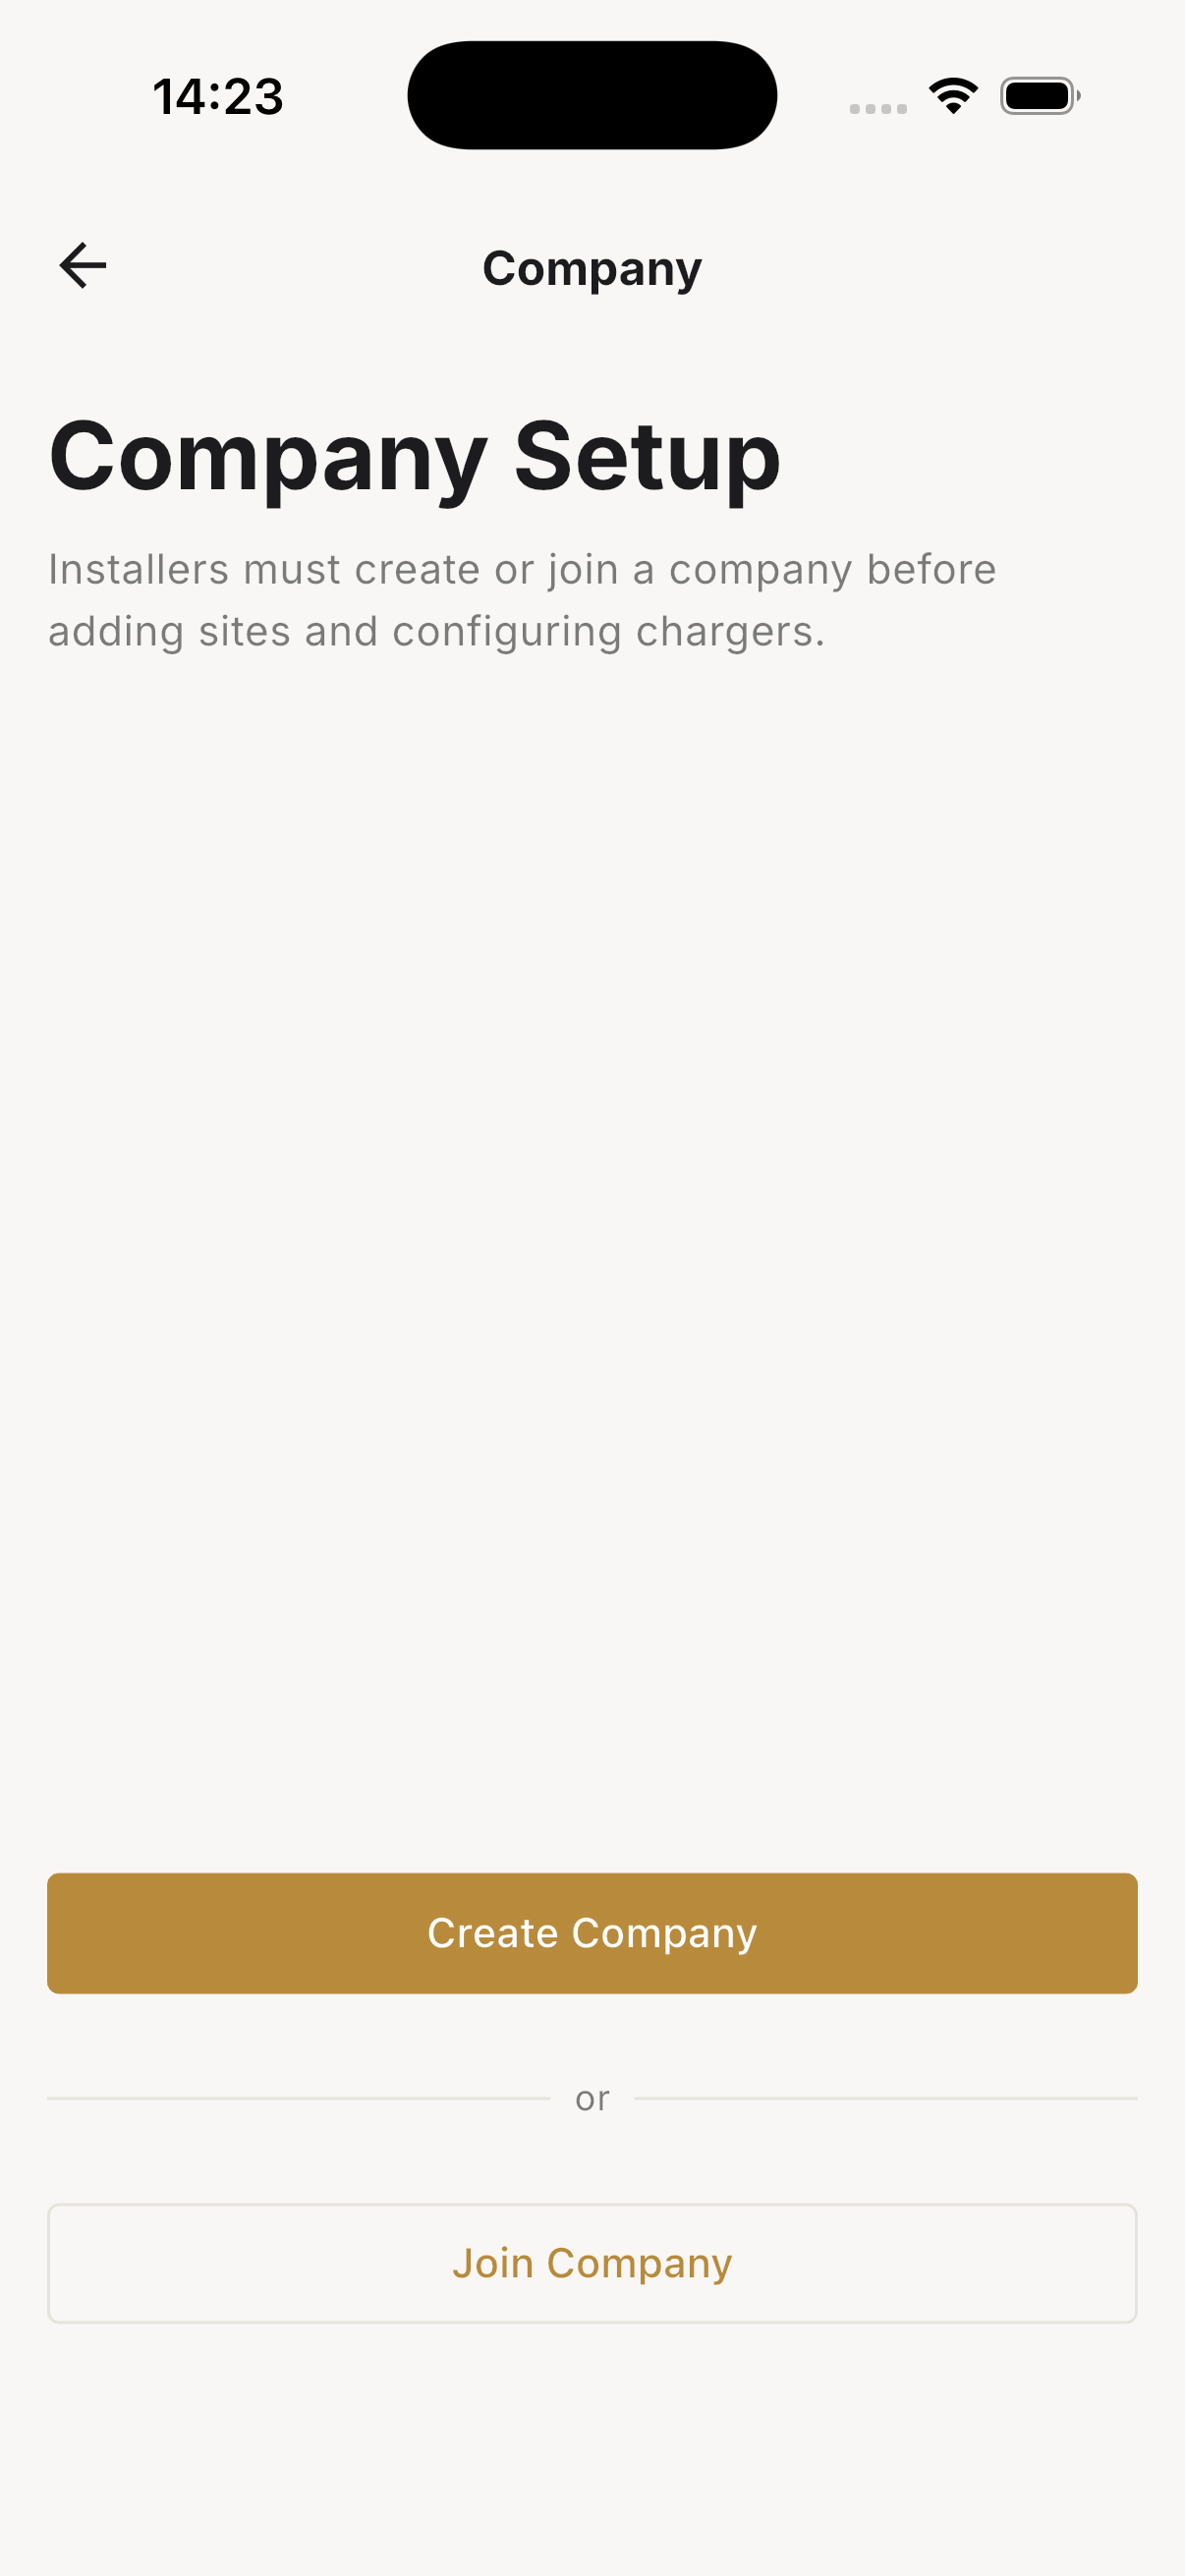
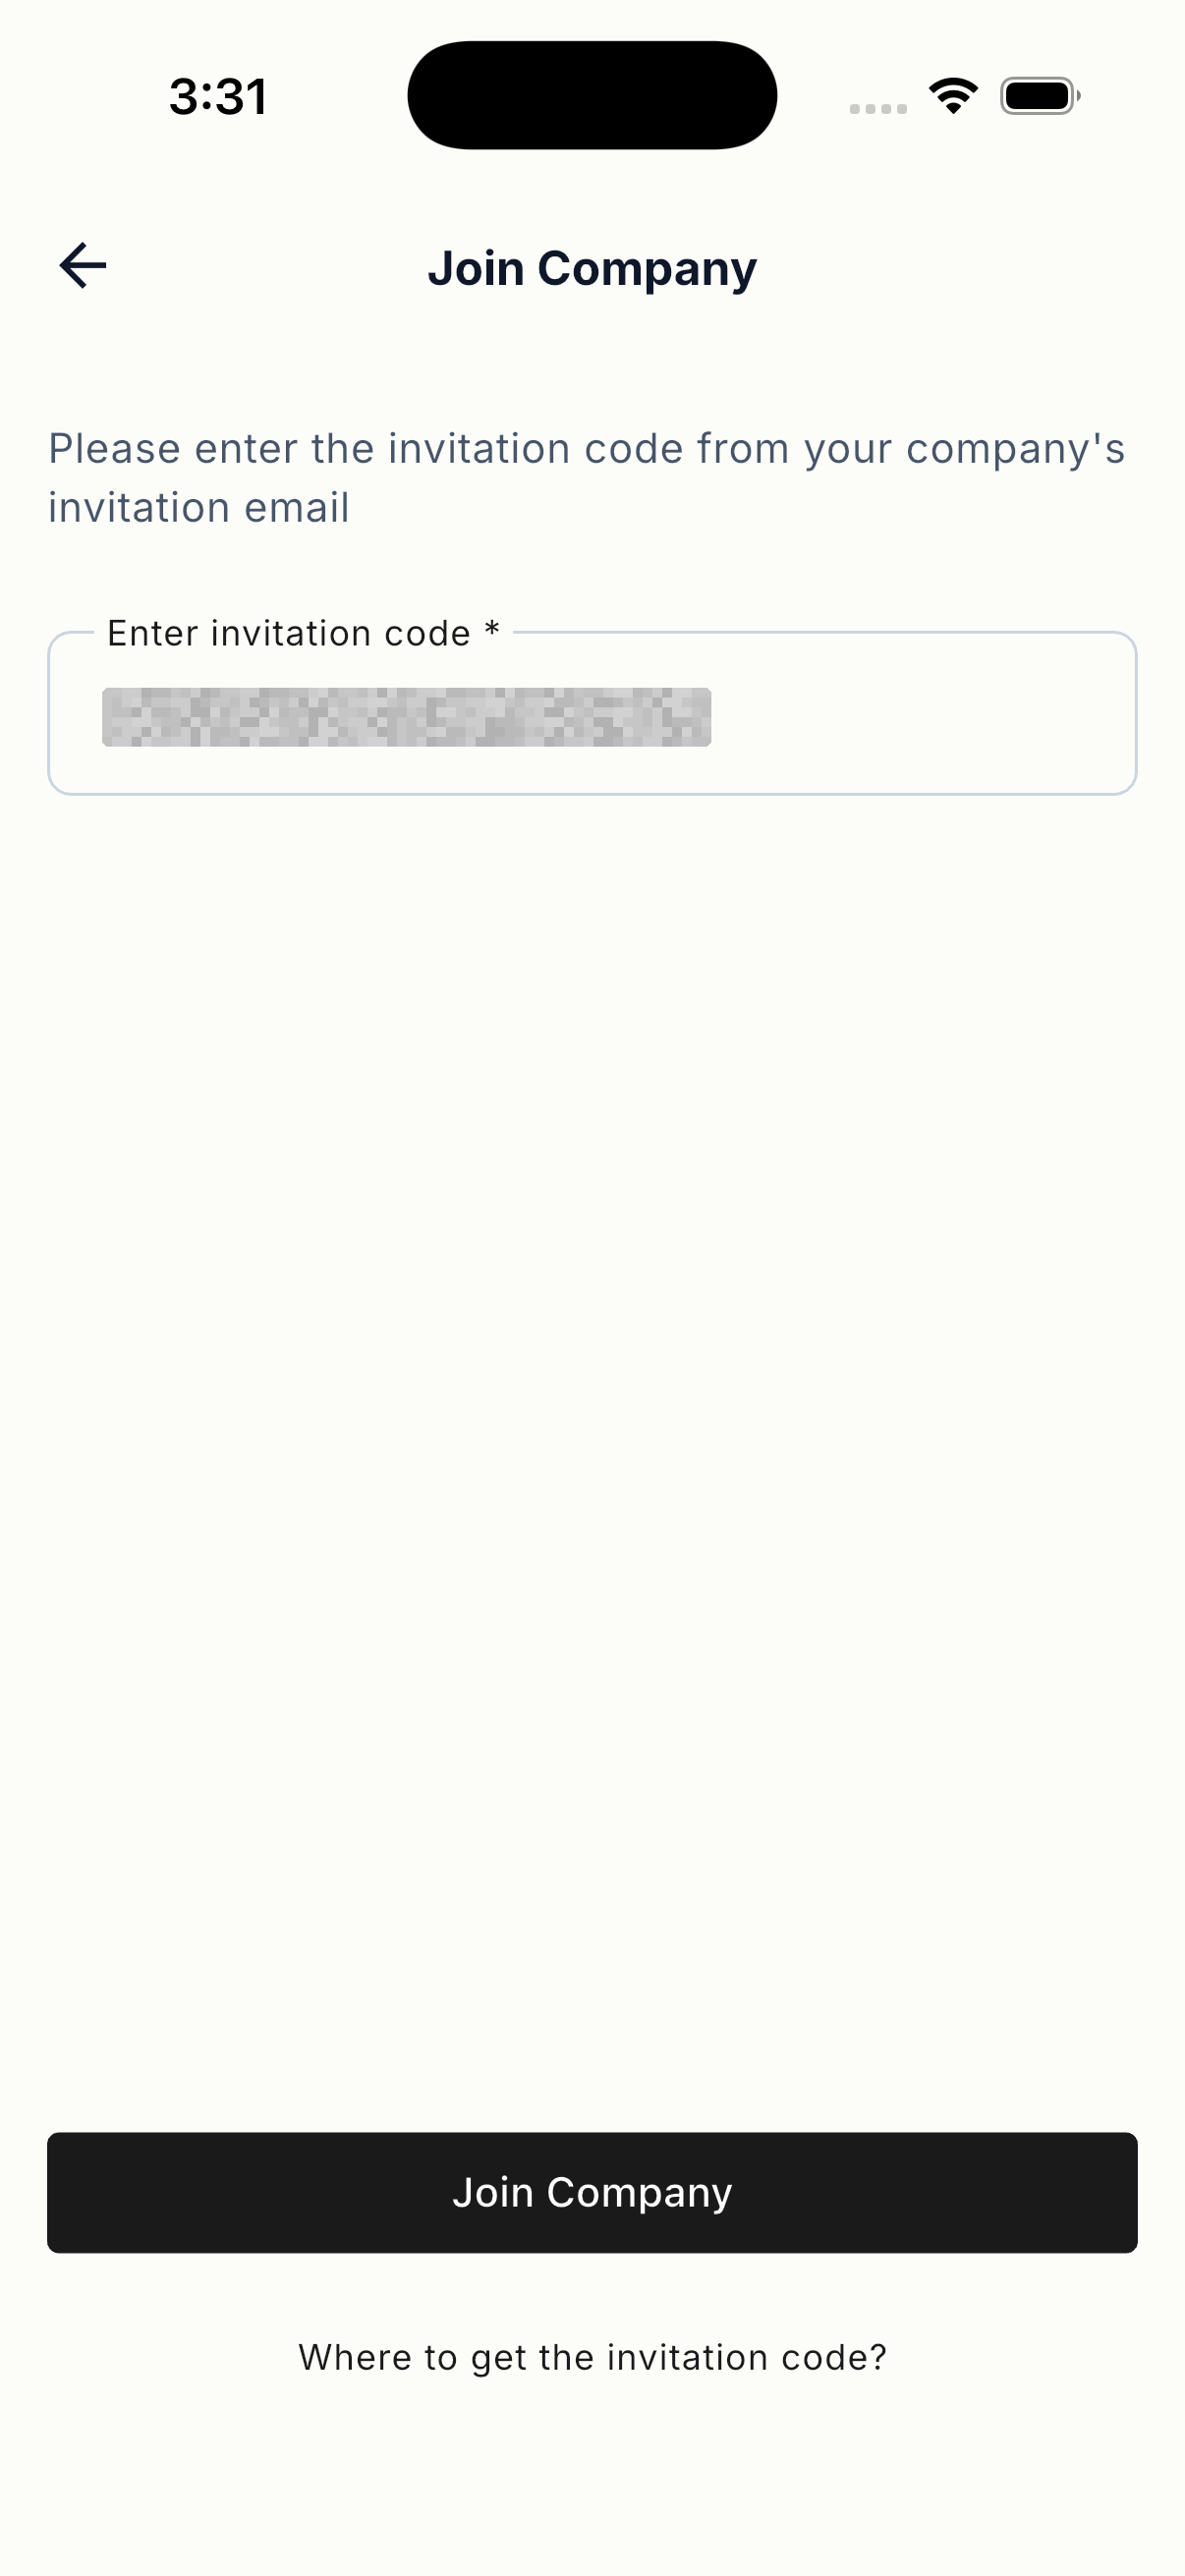
- Create the company responsible for the installation, or join an existing company using an invitation code.
- Confirm that the company details and your assigned role are correct.
2. Create the site
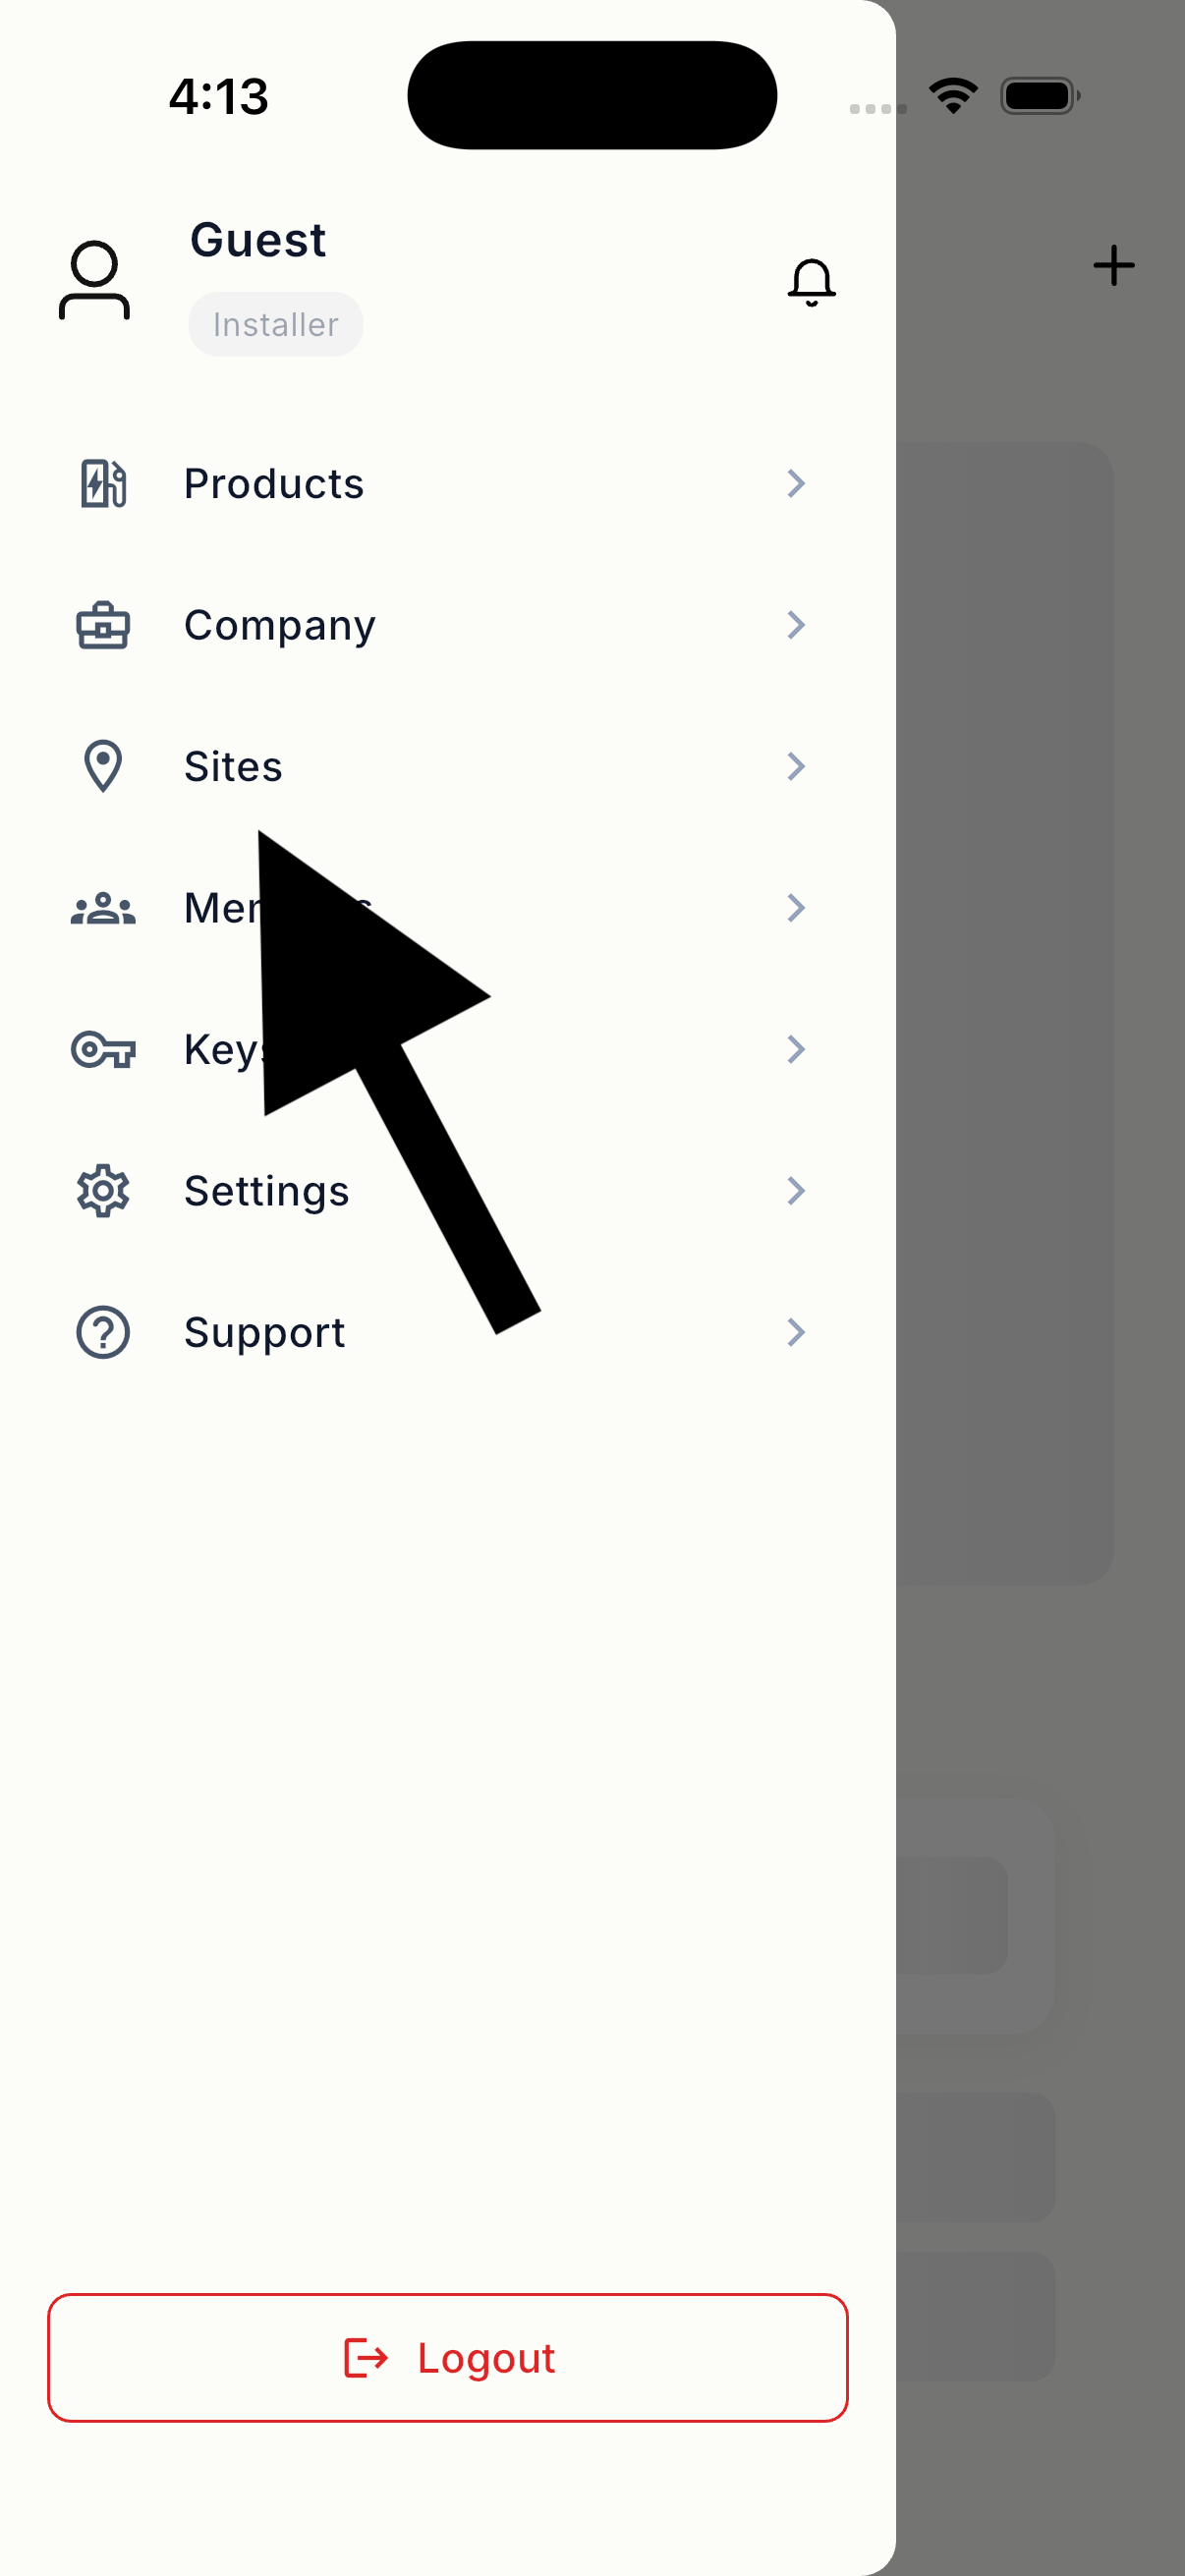
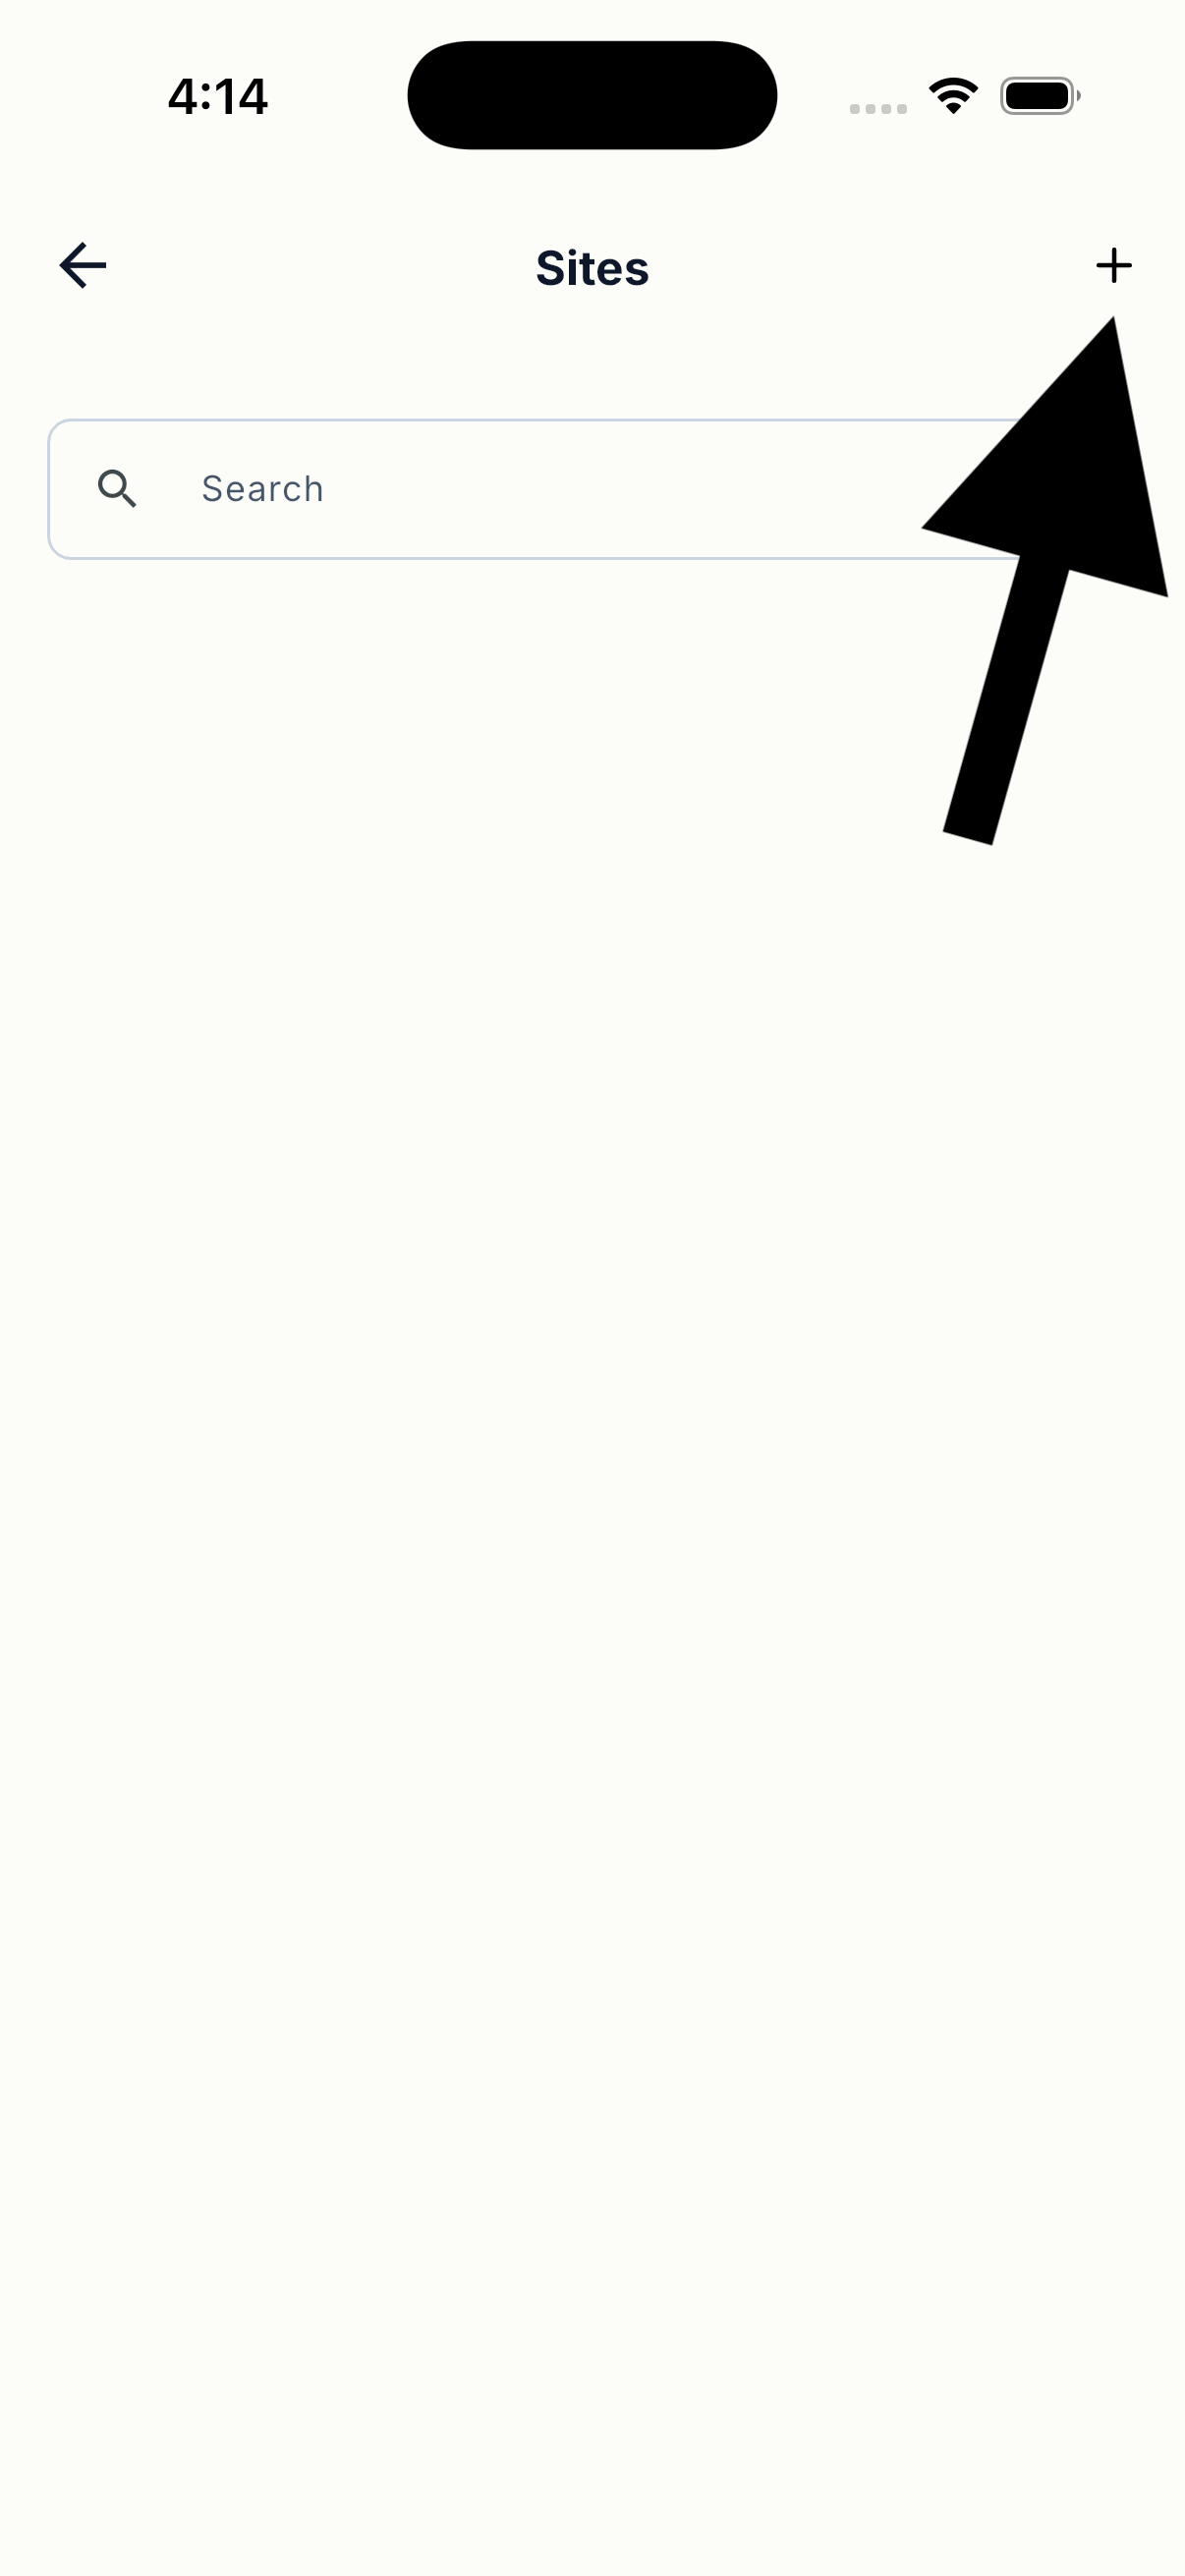
Open Sites from the main menu and add a new site. During setup:
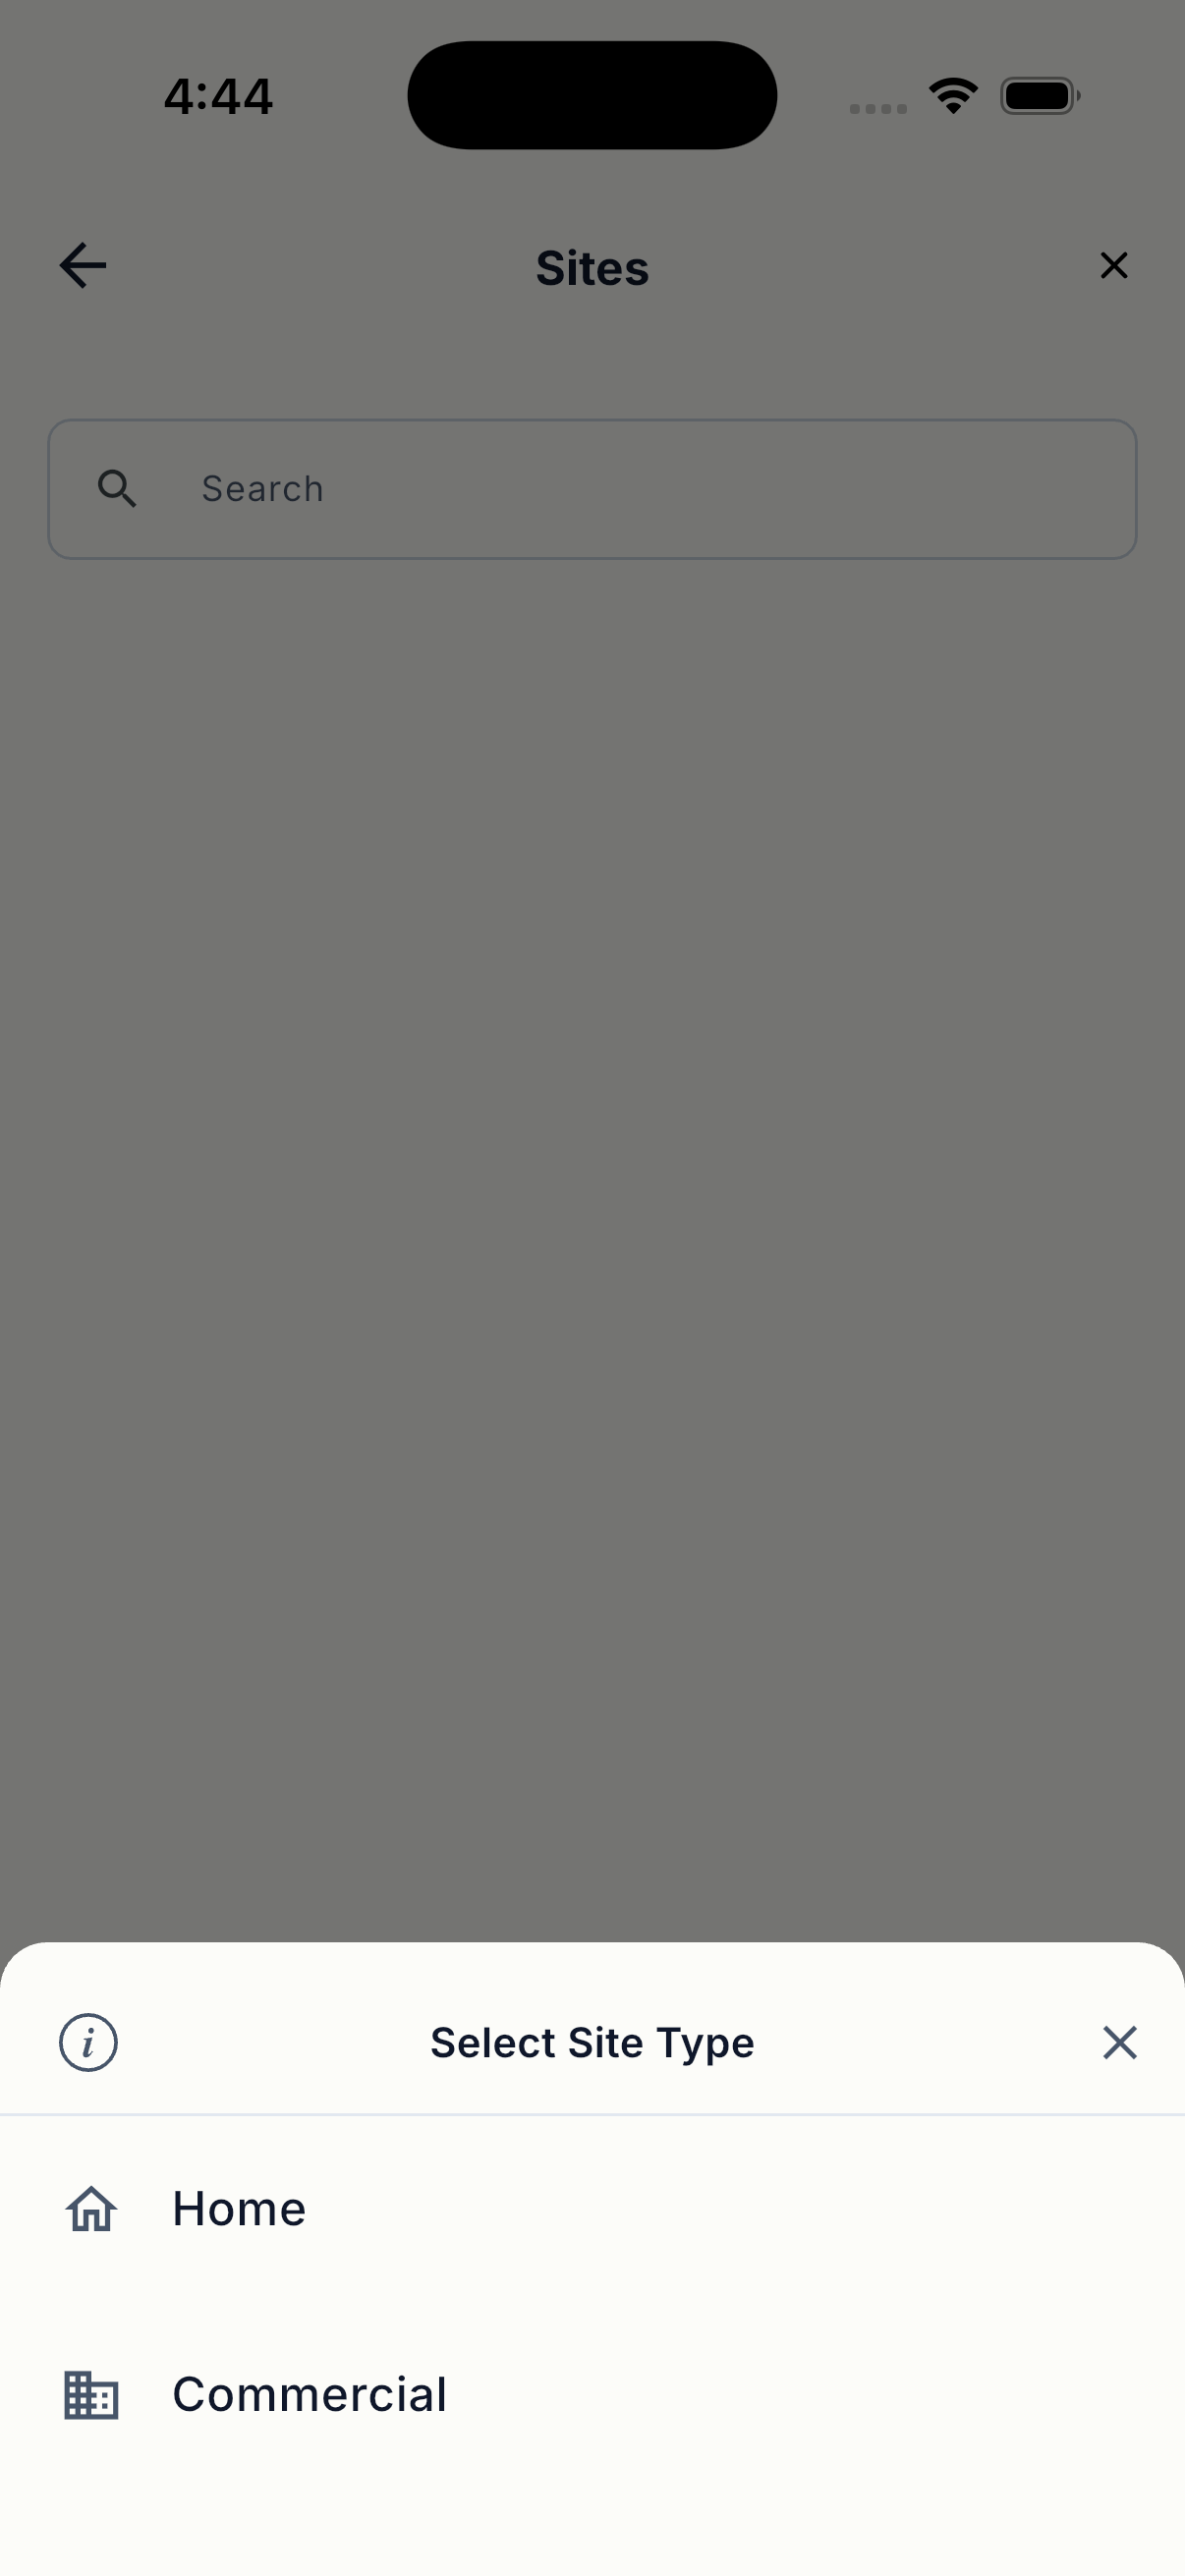
- Select Residential or Commercial.
- Enter the site name and full installation address.
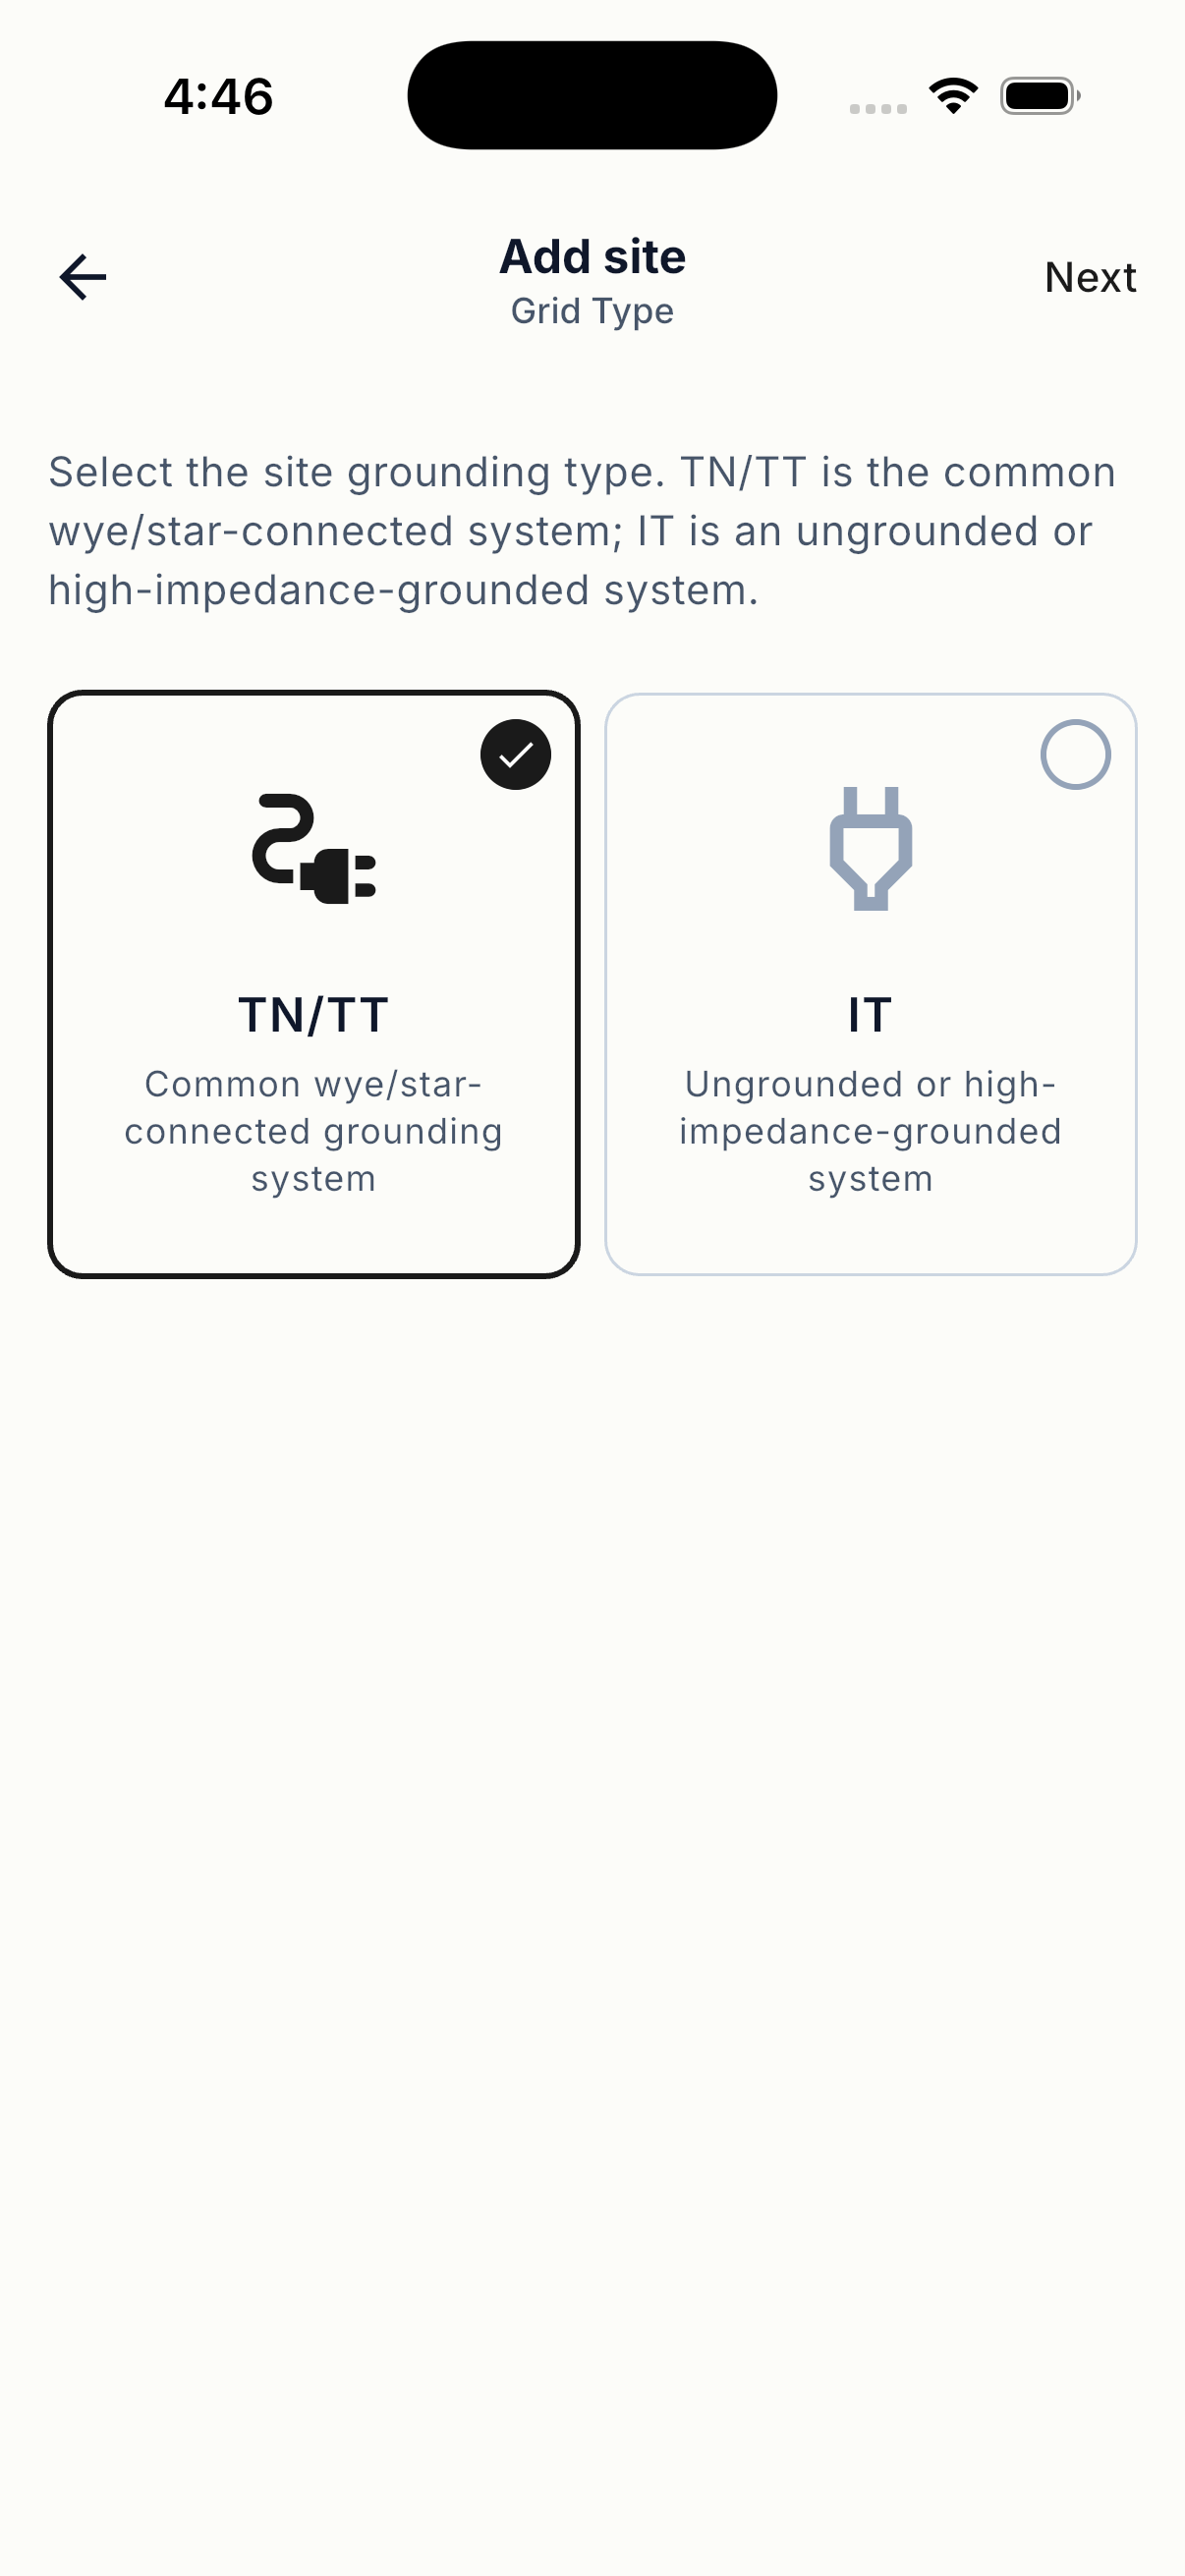
- Select the grid type: TN/TT or IT.
- Set the local time zone and responsible operator.
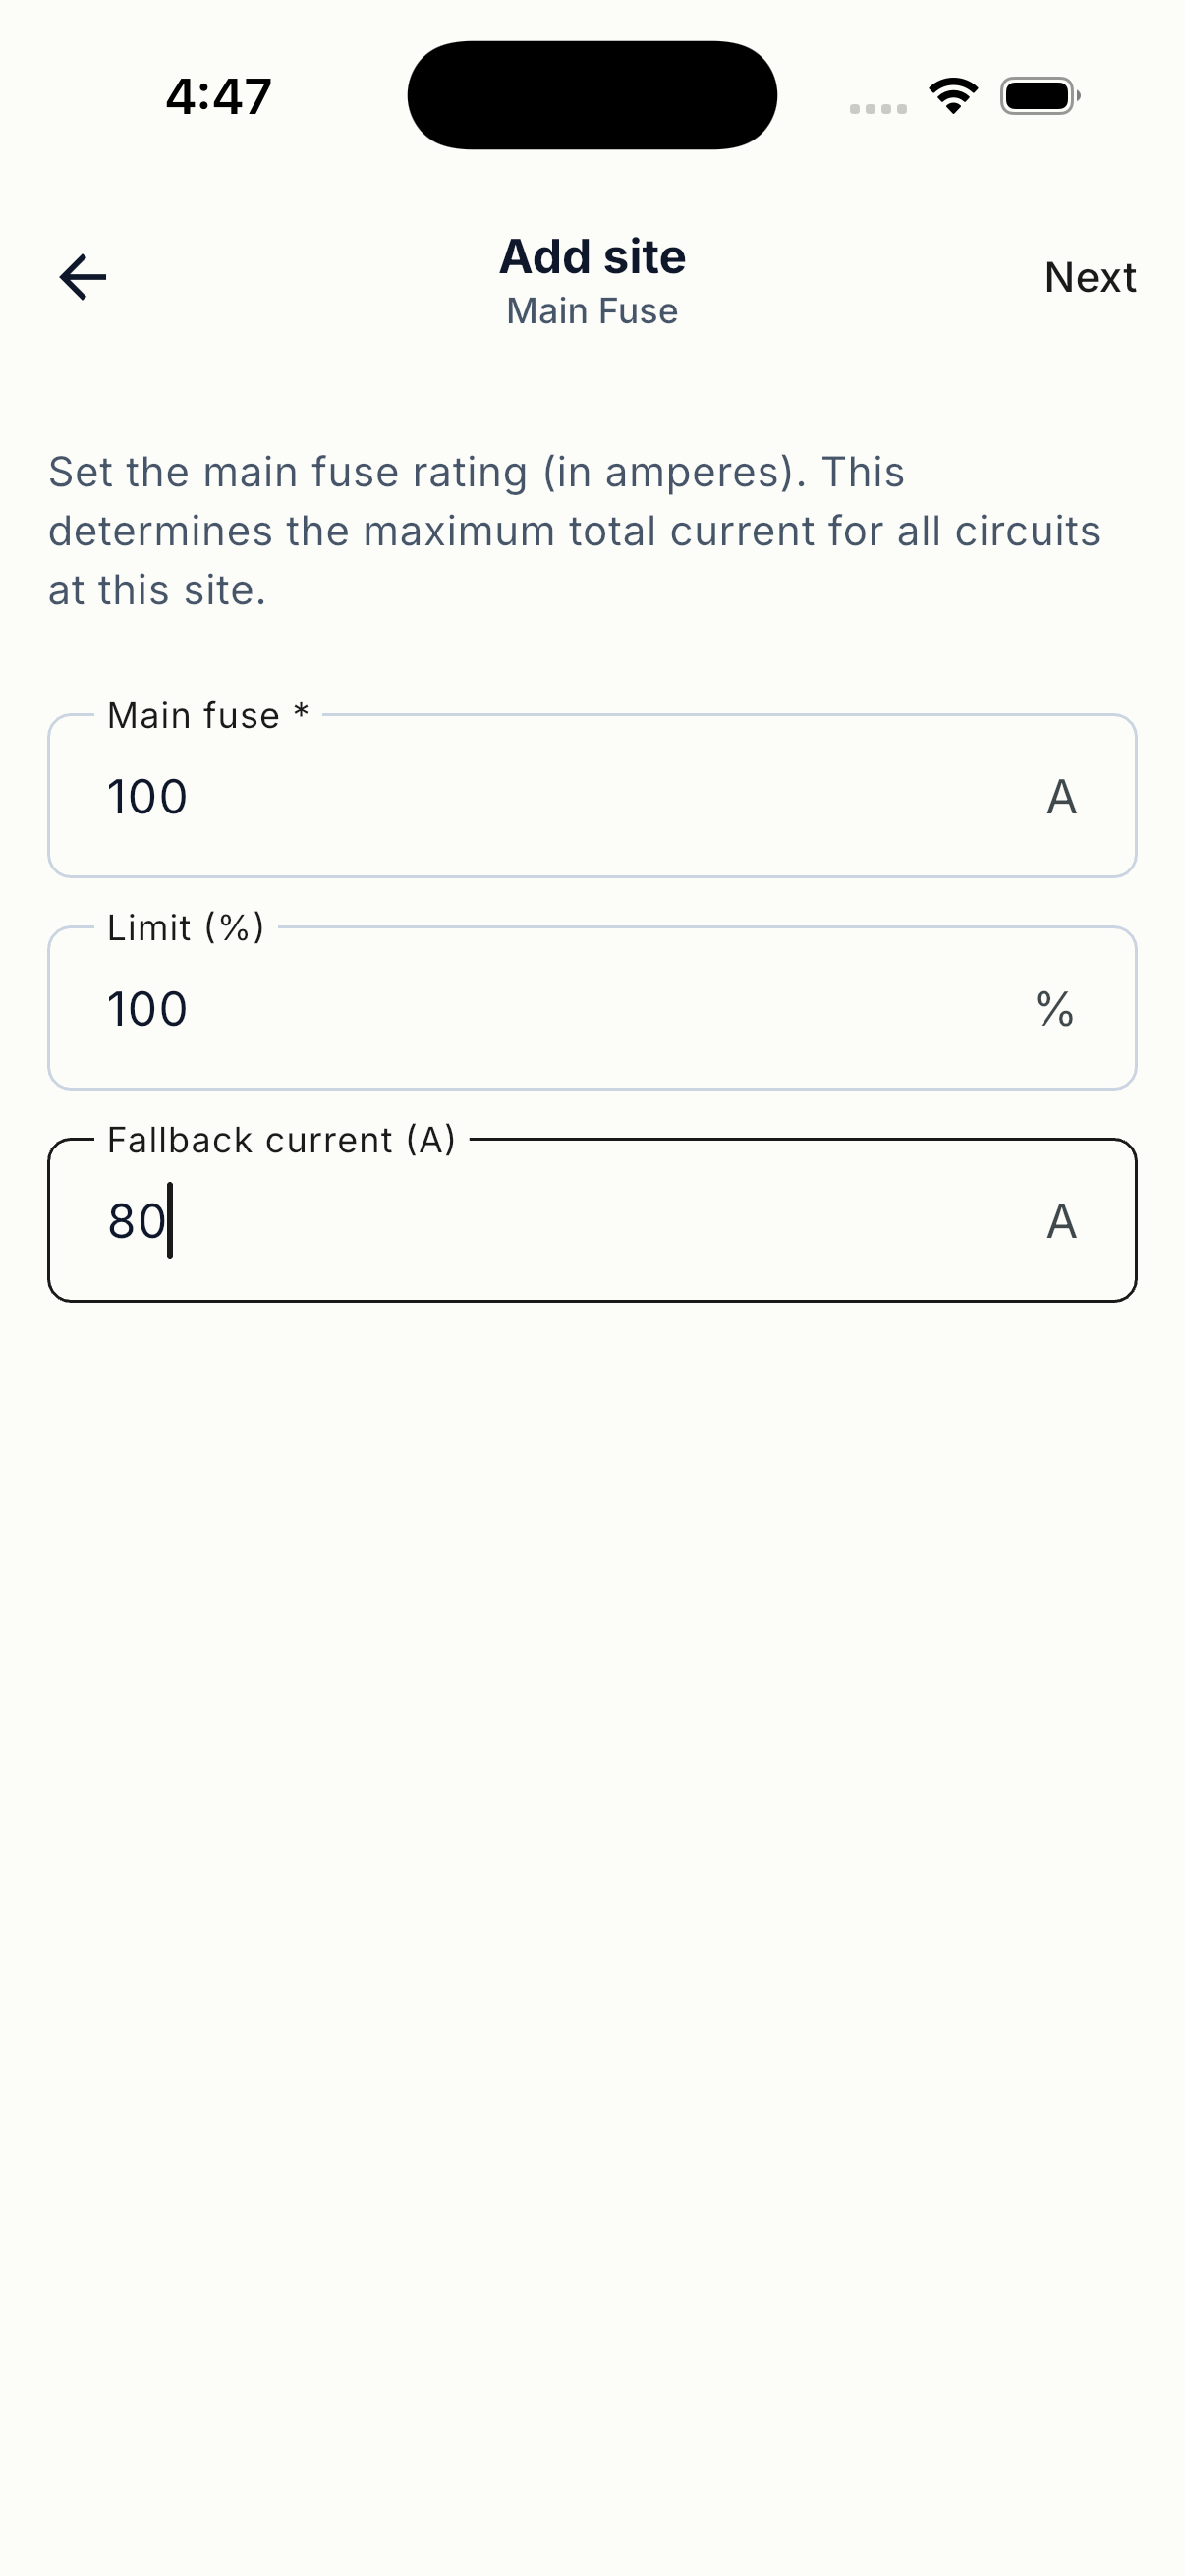
- Enter the site's main fuse value.
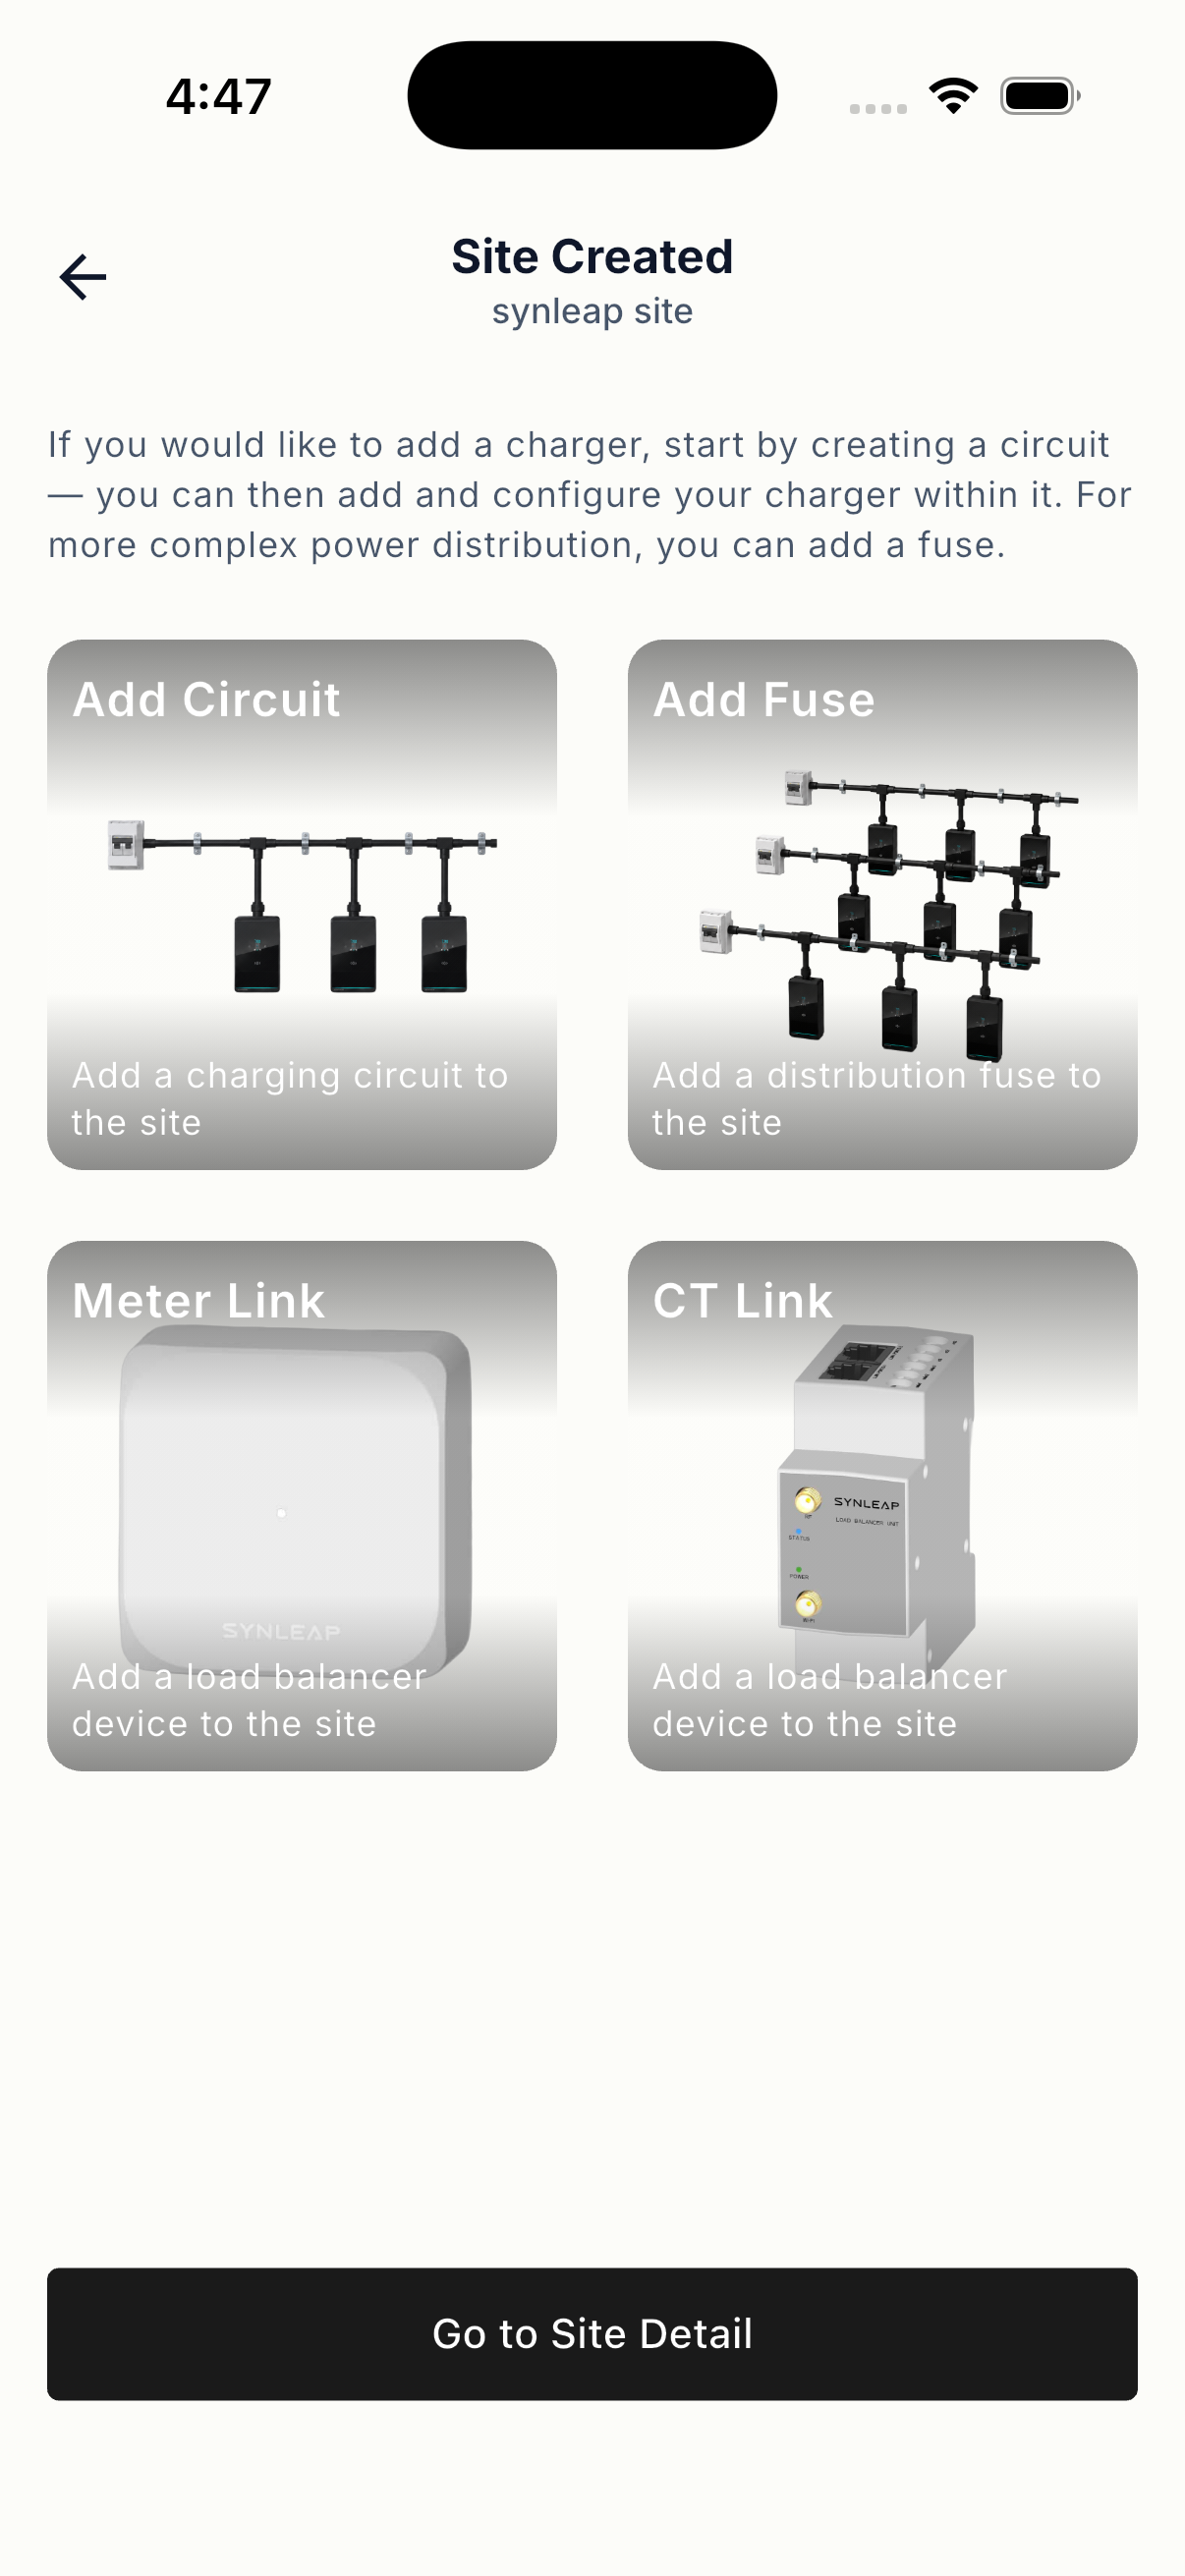
- Review the site details and save the site.
3. Prepare the circuit
Create a dedicated circuit for the charging station before adding the device:
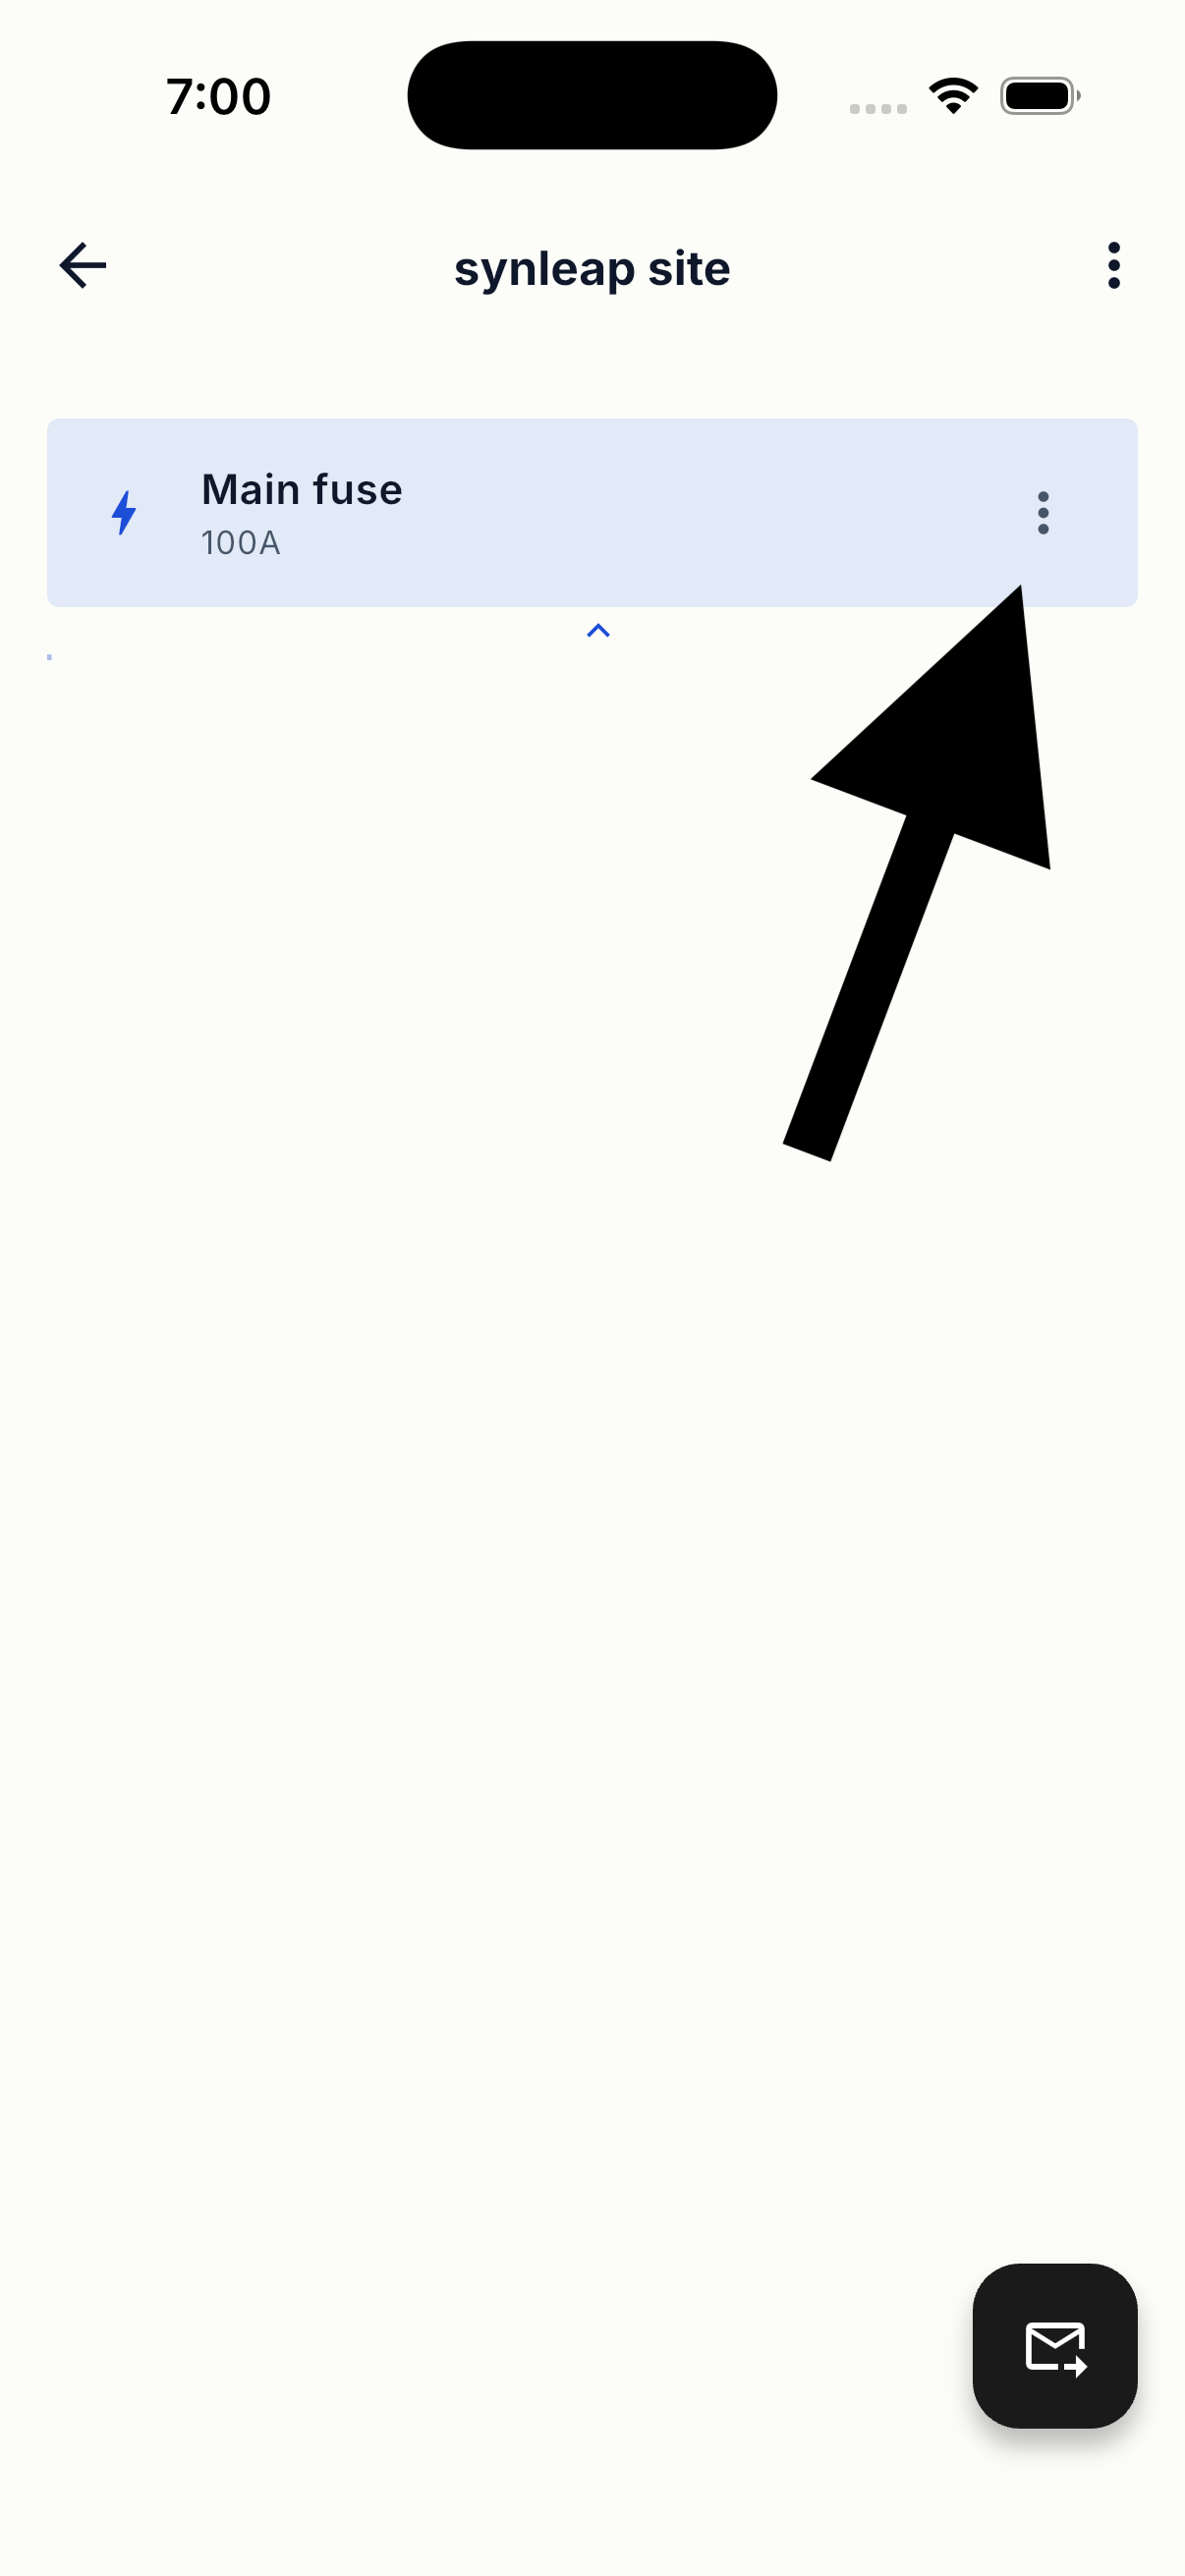
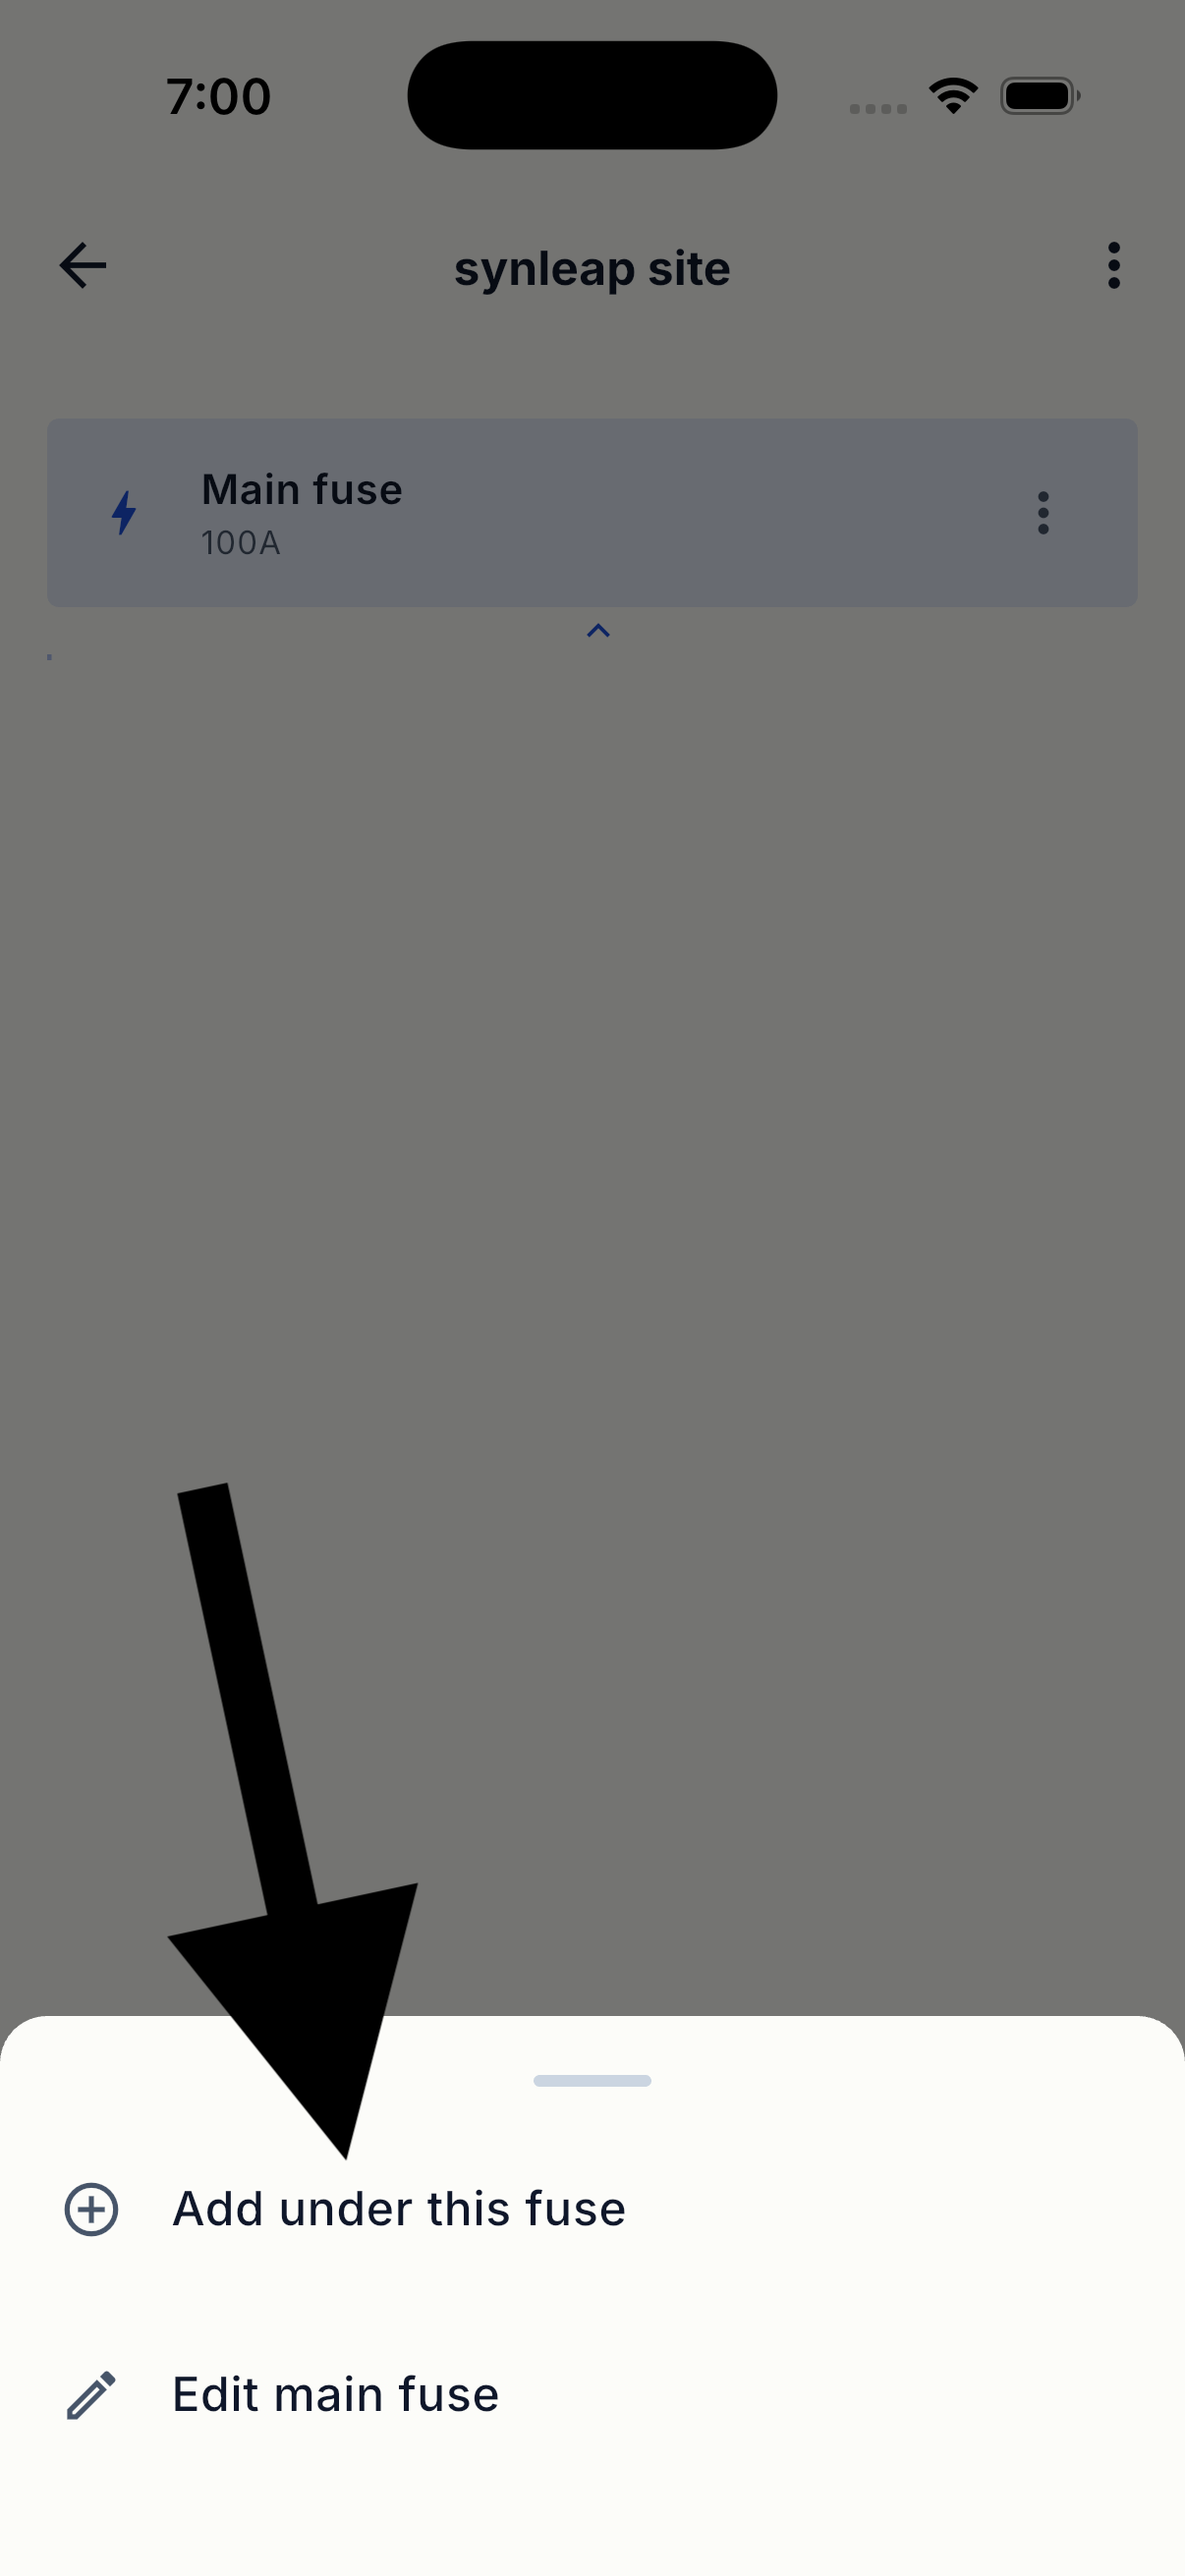
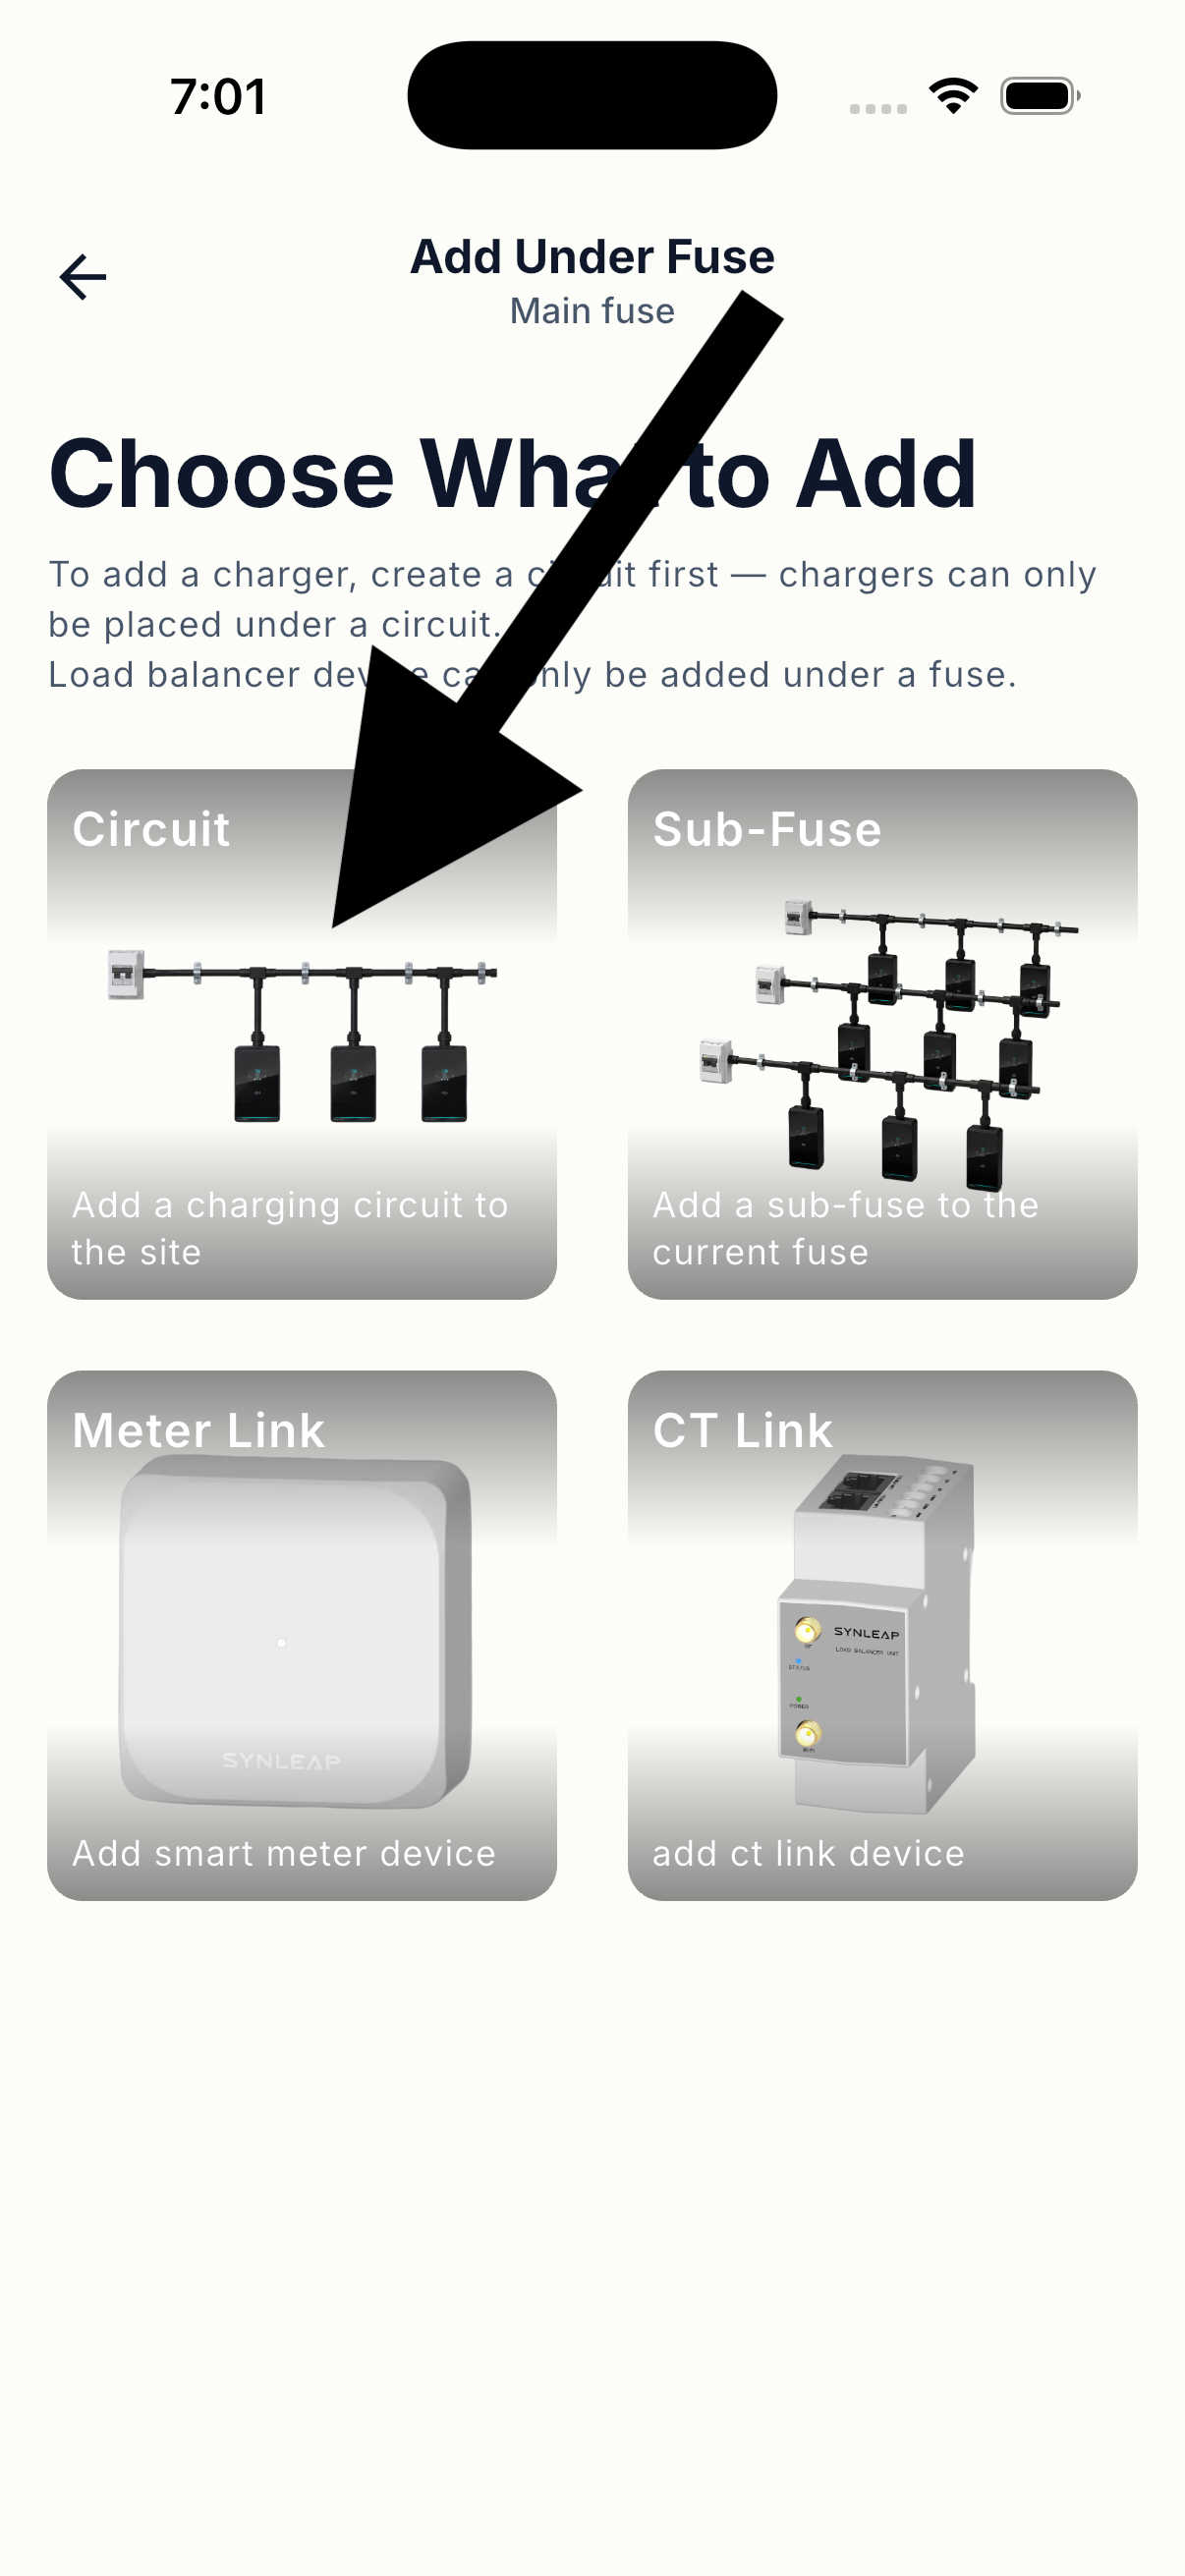
- Open the menu for the site's main fuse.
- Select Add under this fuse, then choose Circuit.
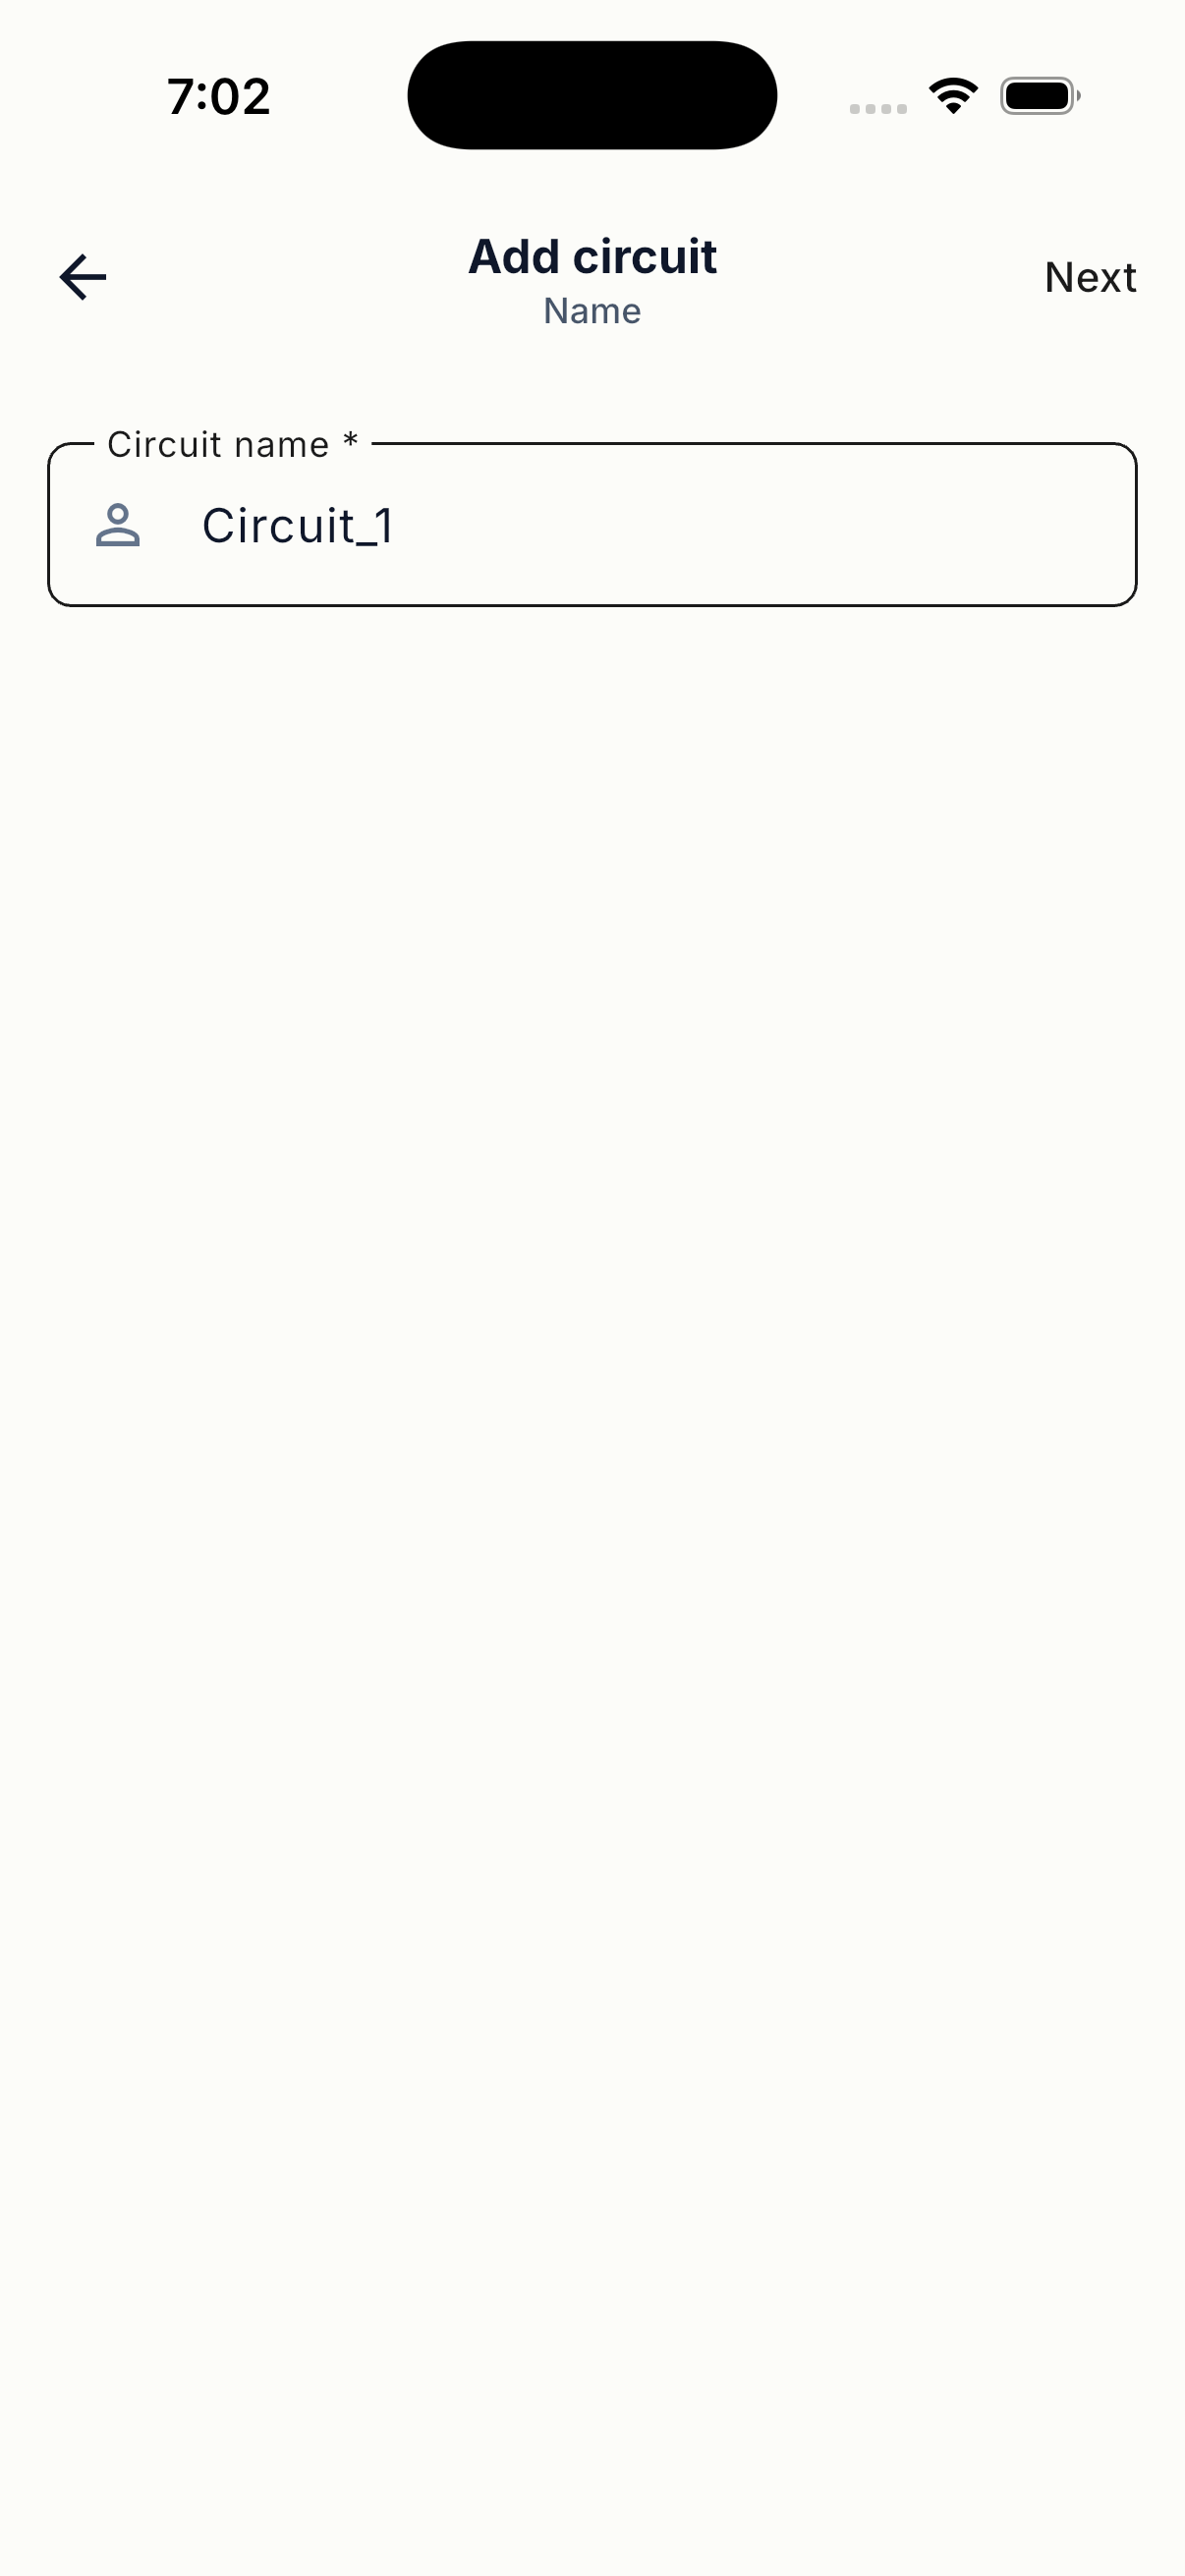
- Enter a clear circuit name.
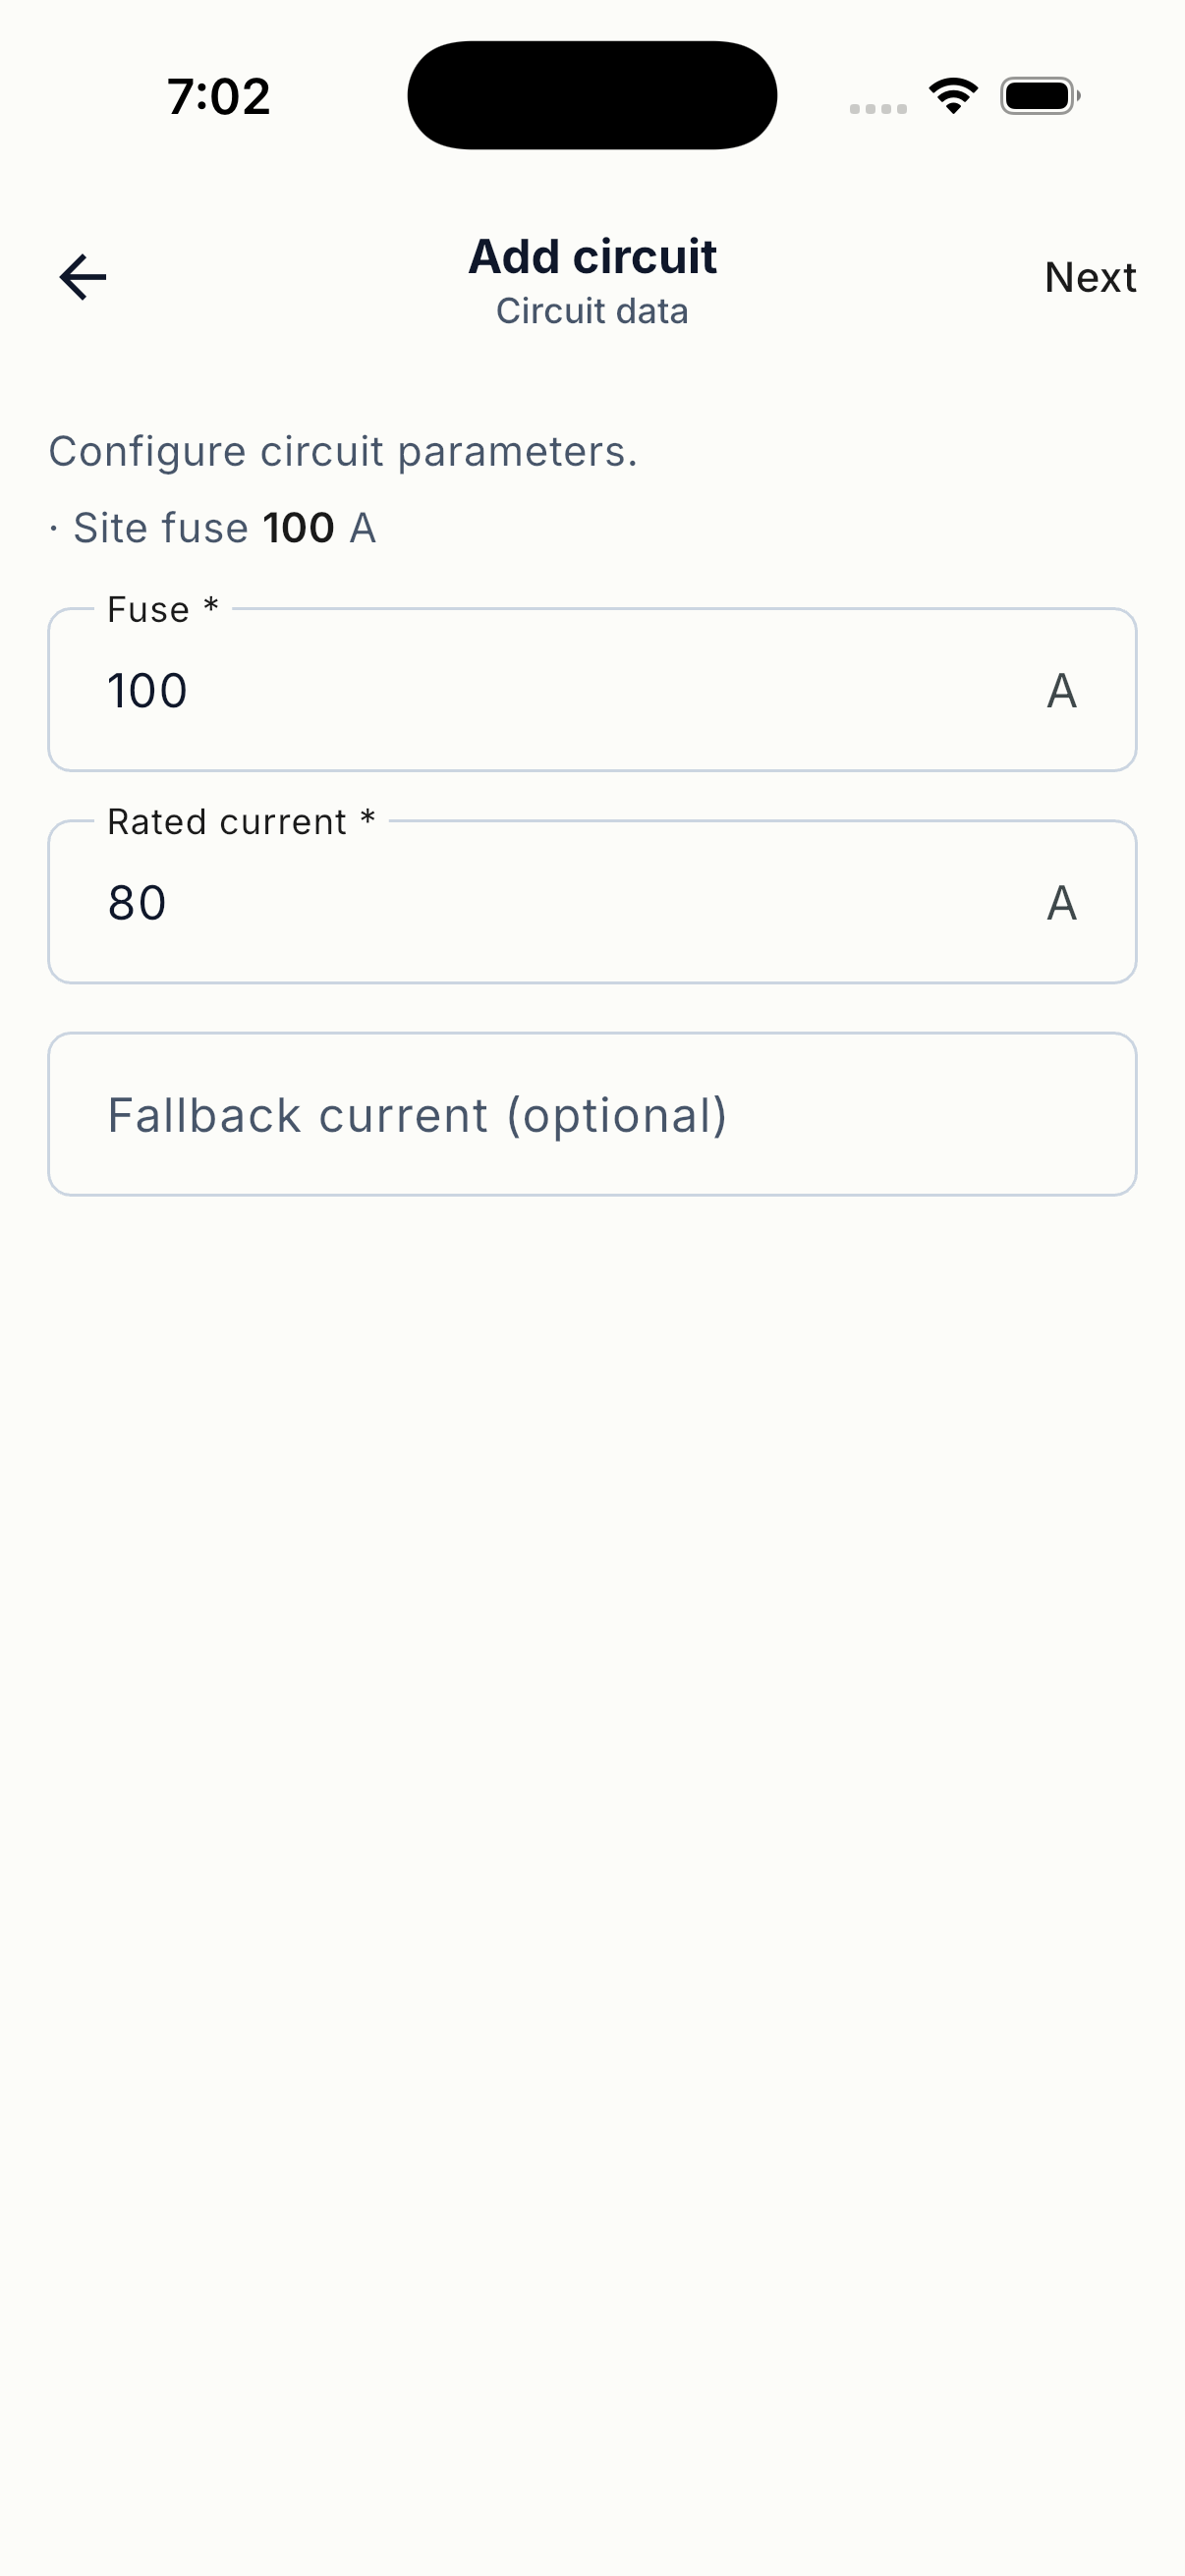
- Enter the required electrical configuration.
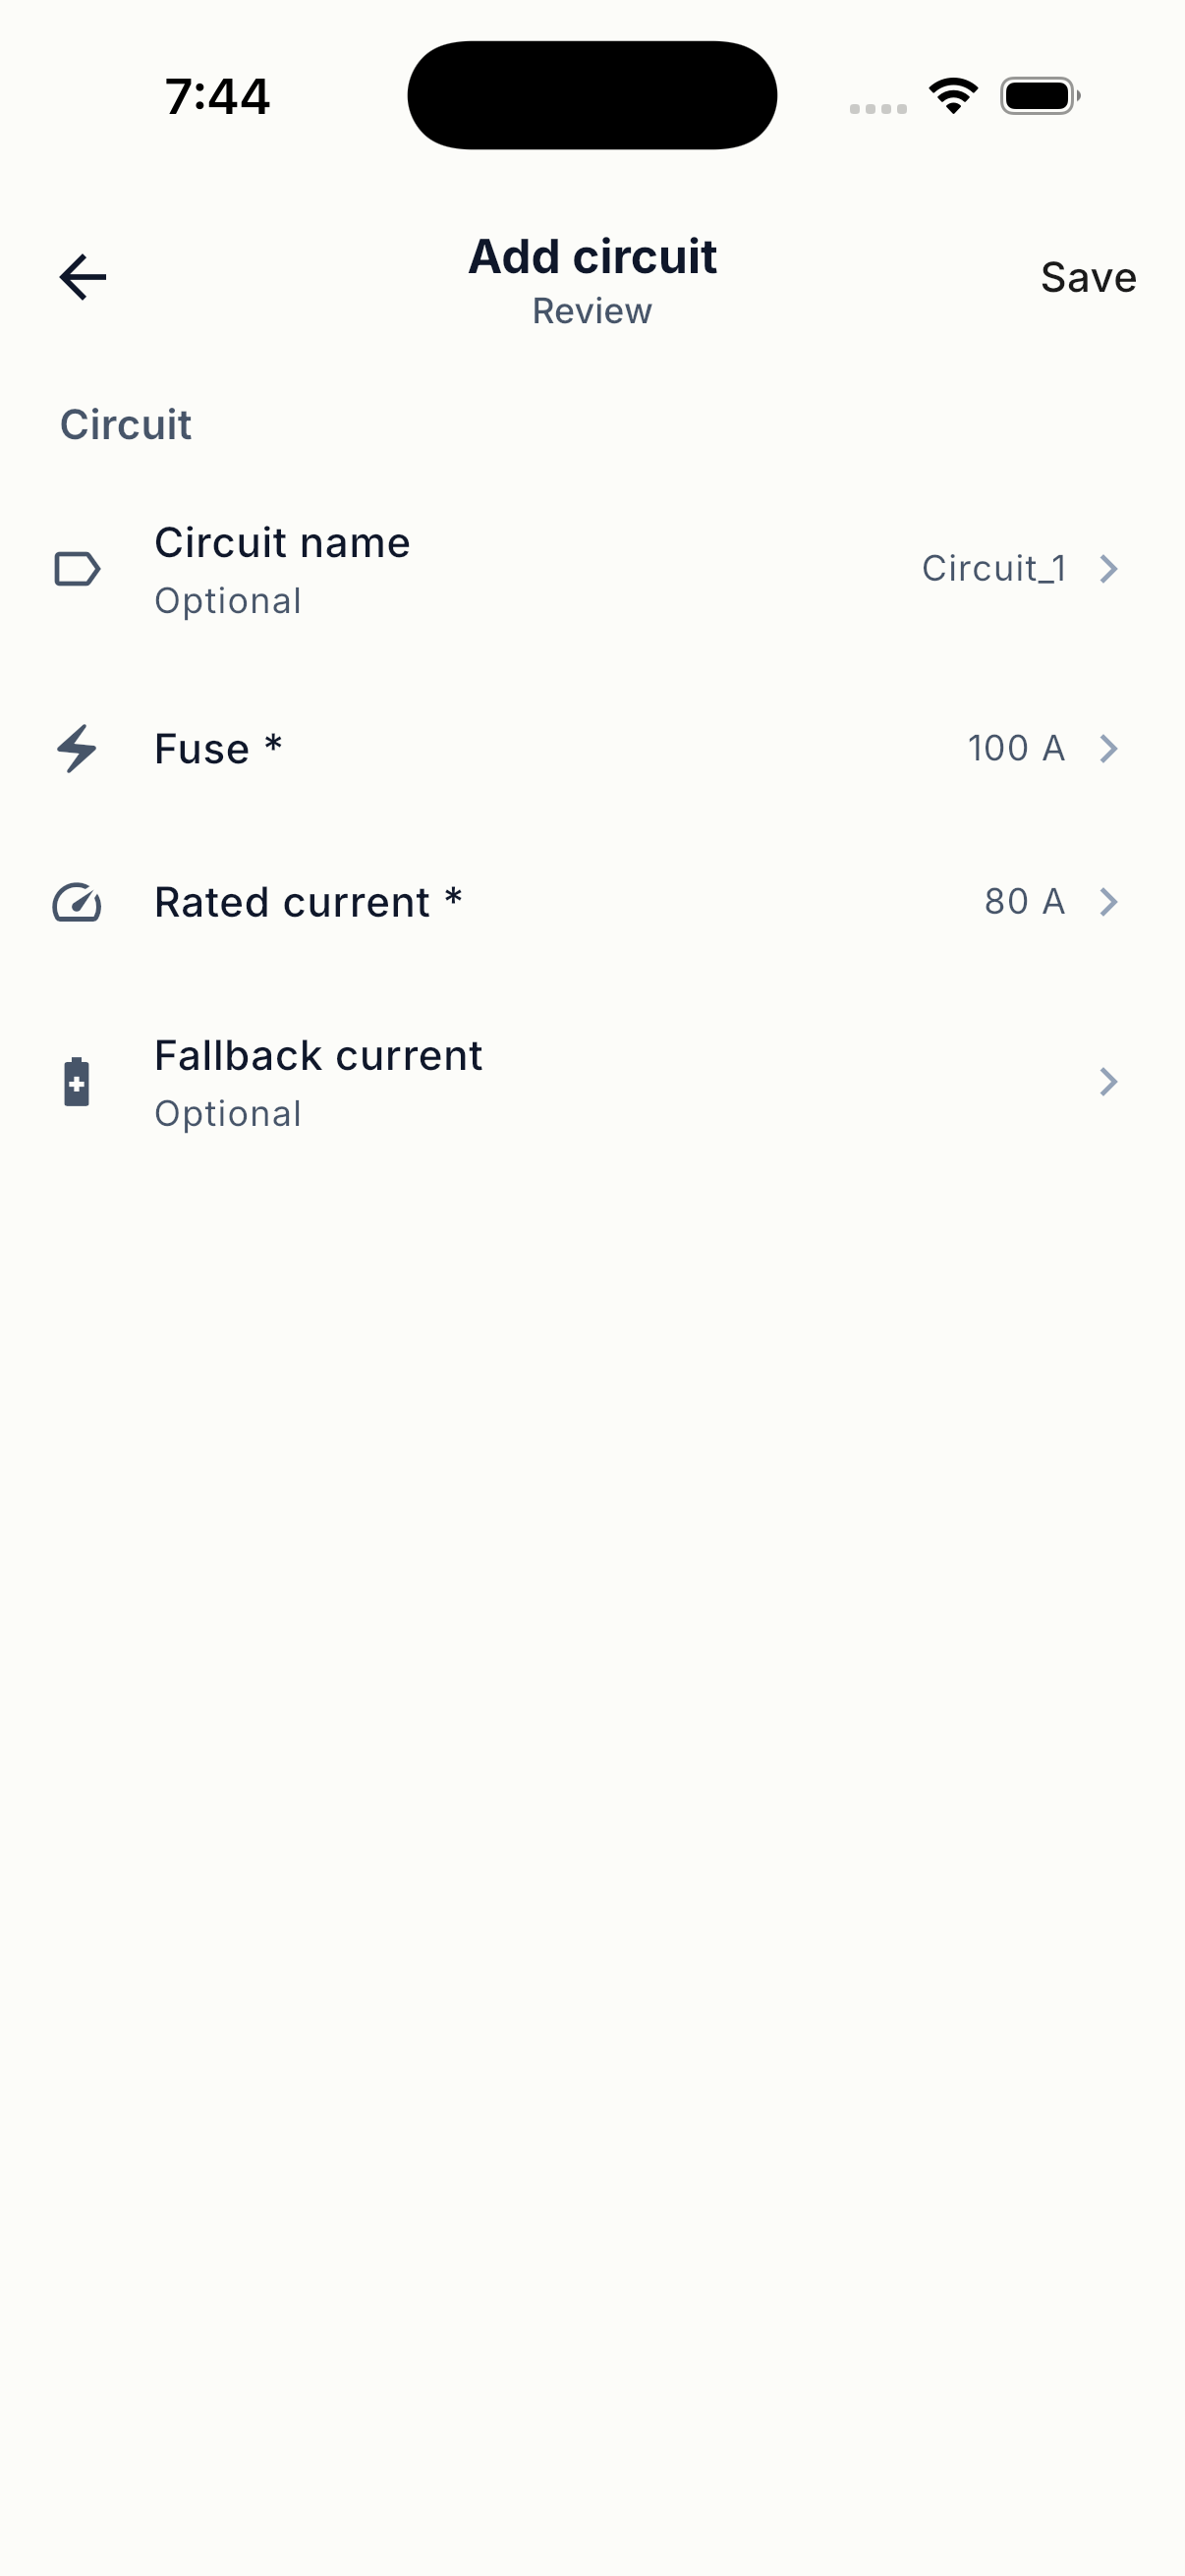
- Review the circuit values and save the circuit.
Dedicated charger circuit
Use a circuit for chargers only. If the site also has other devices, place those devices on a separate circuit.
4. Install and hand over
Add the charging station
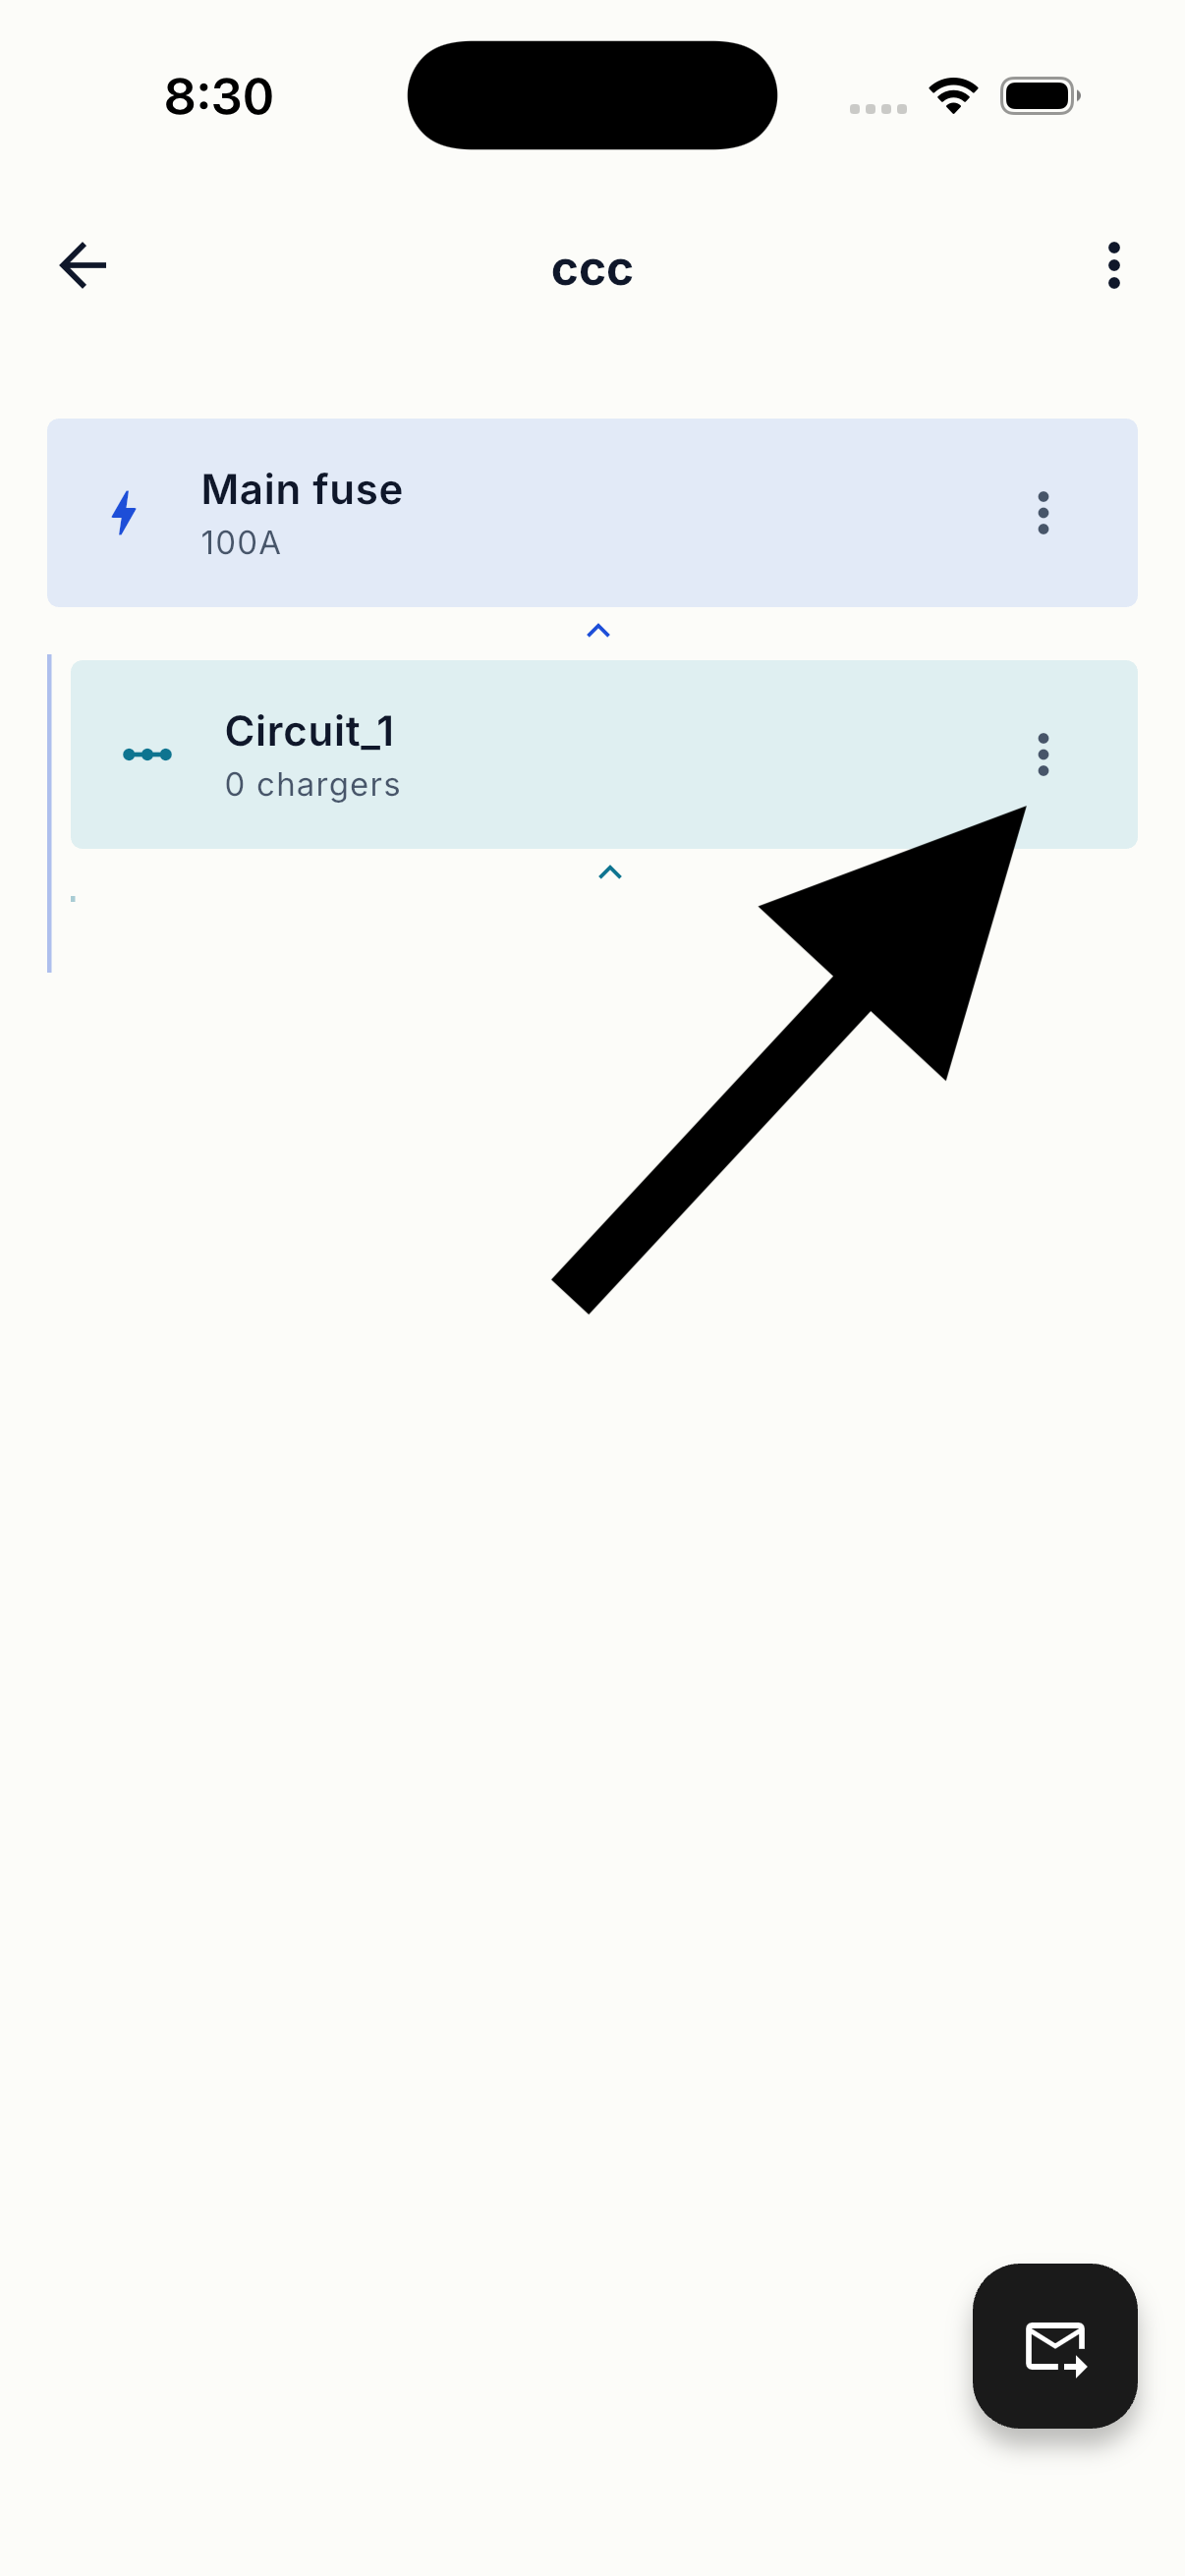
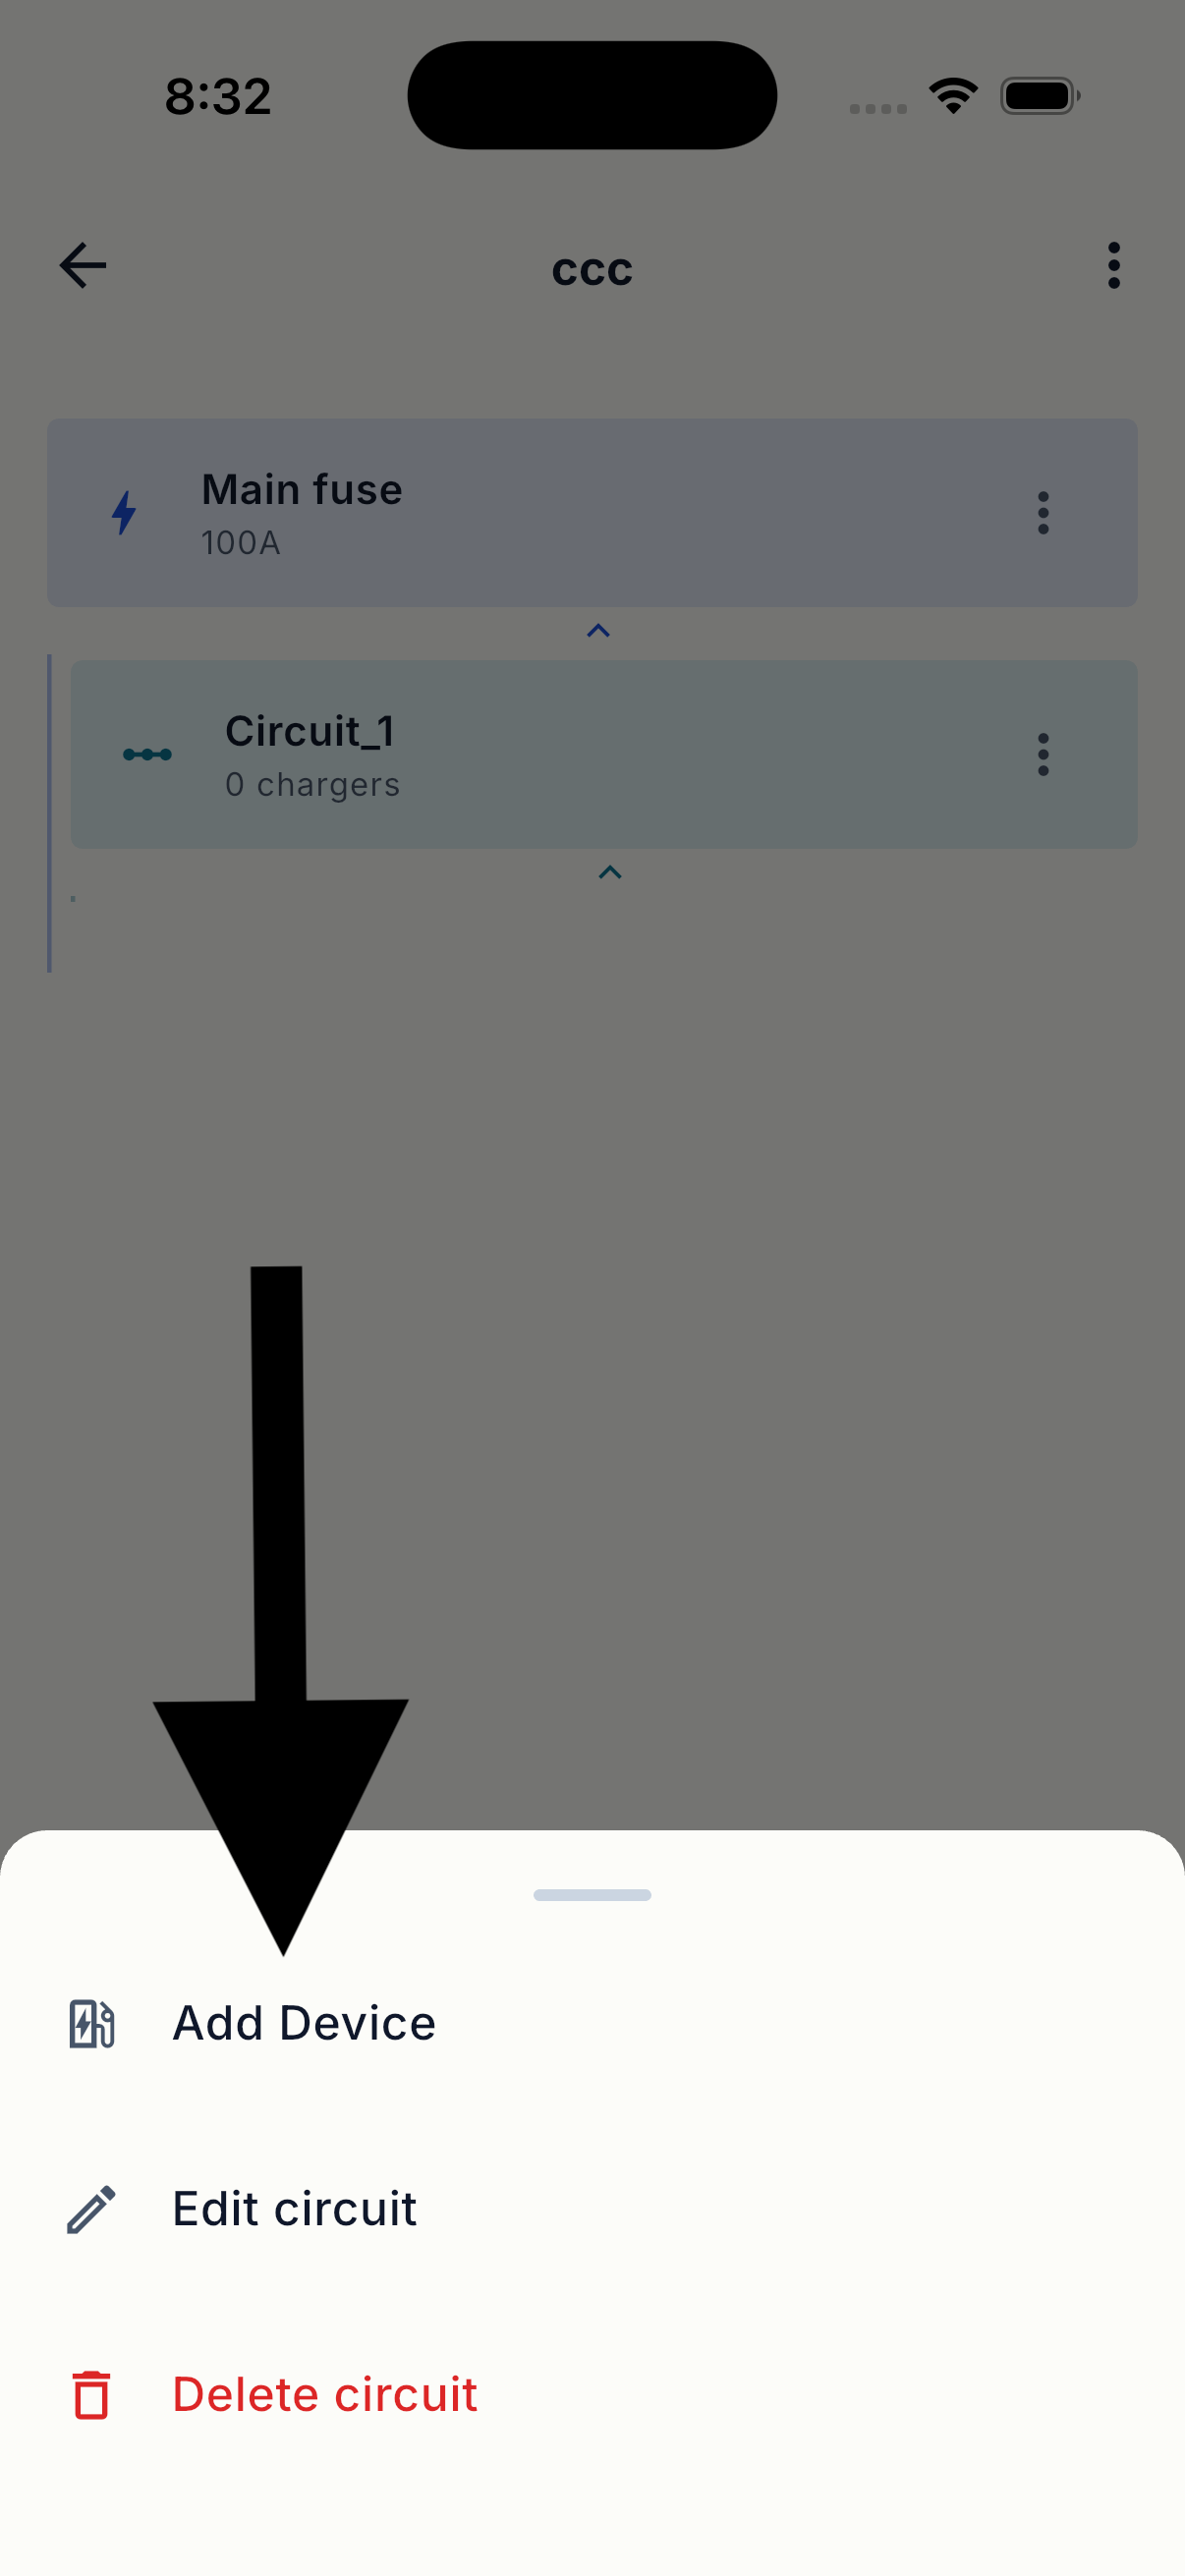
- Open the dedicated charger circuit and select Add Device.
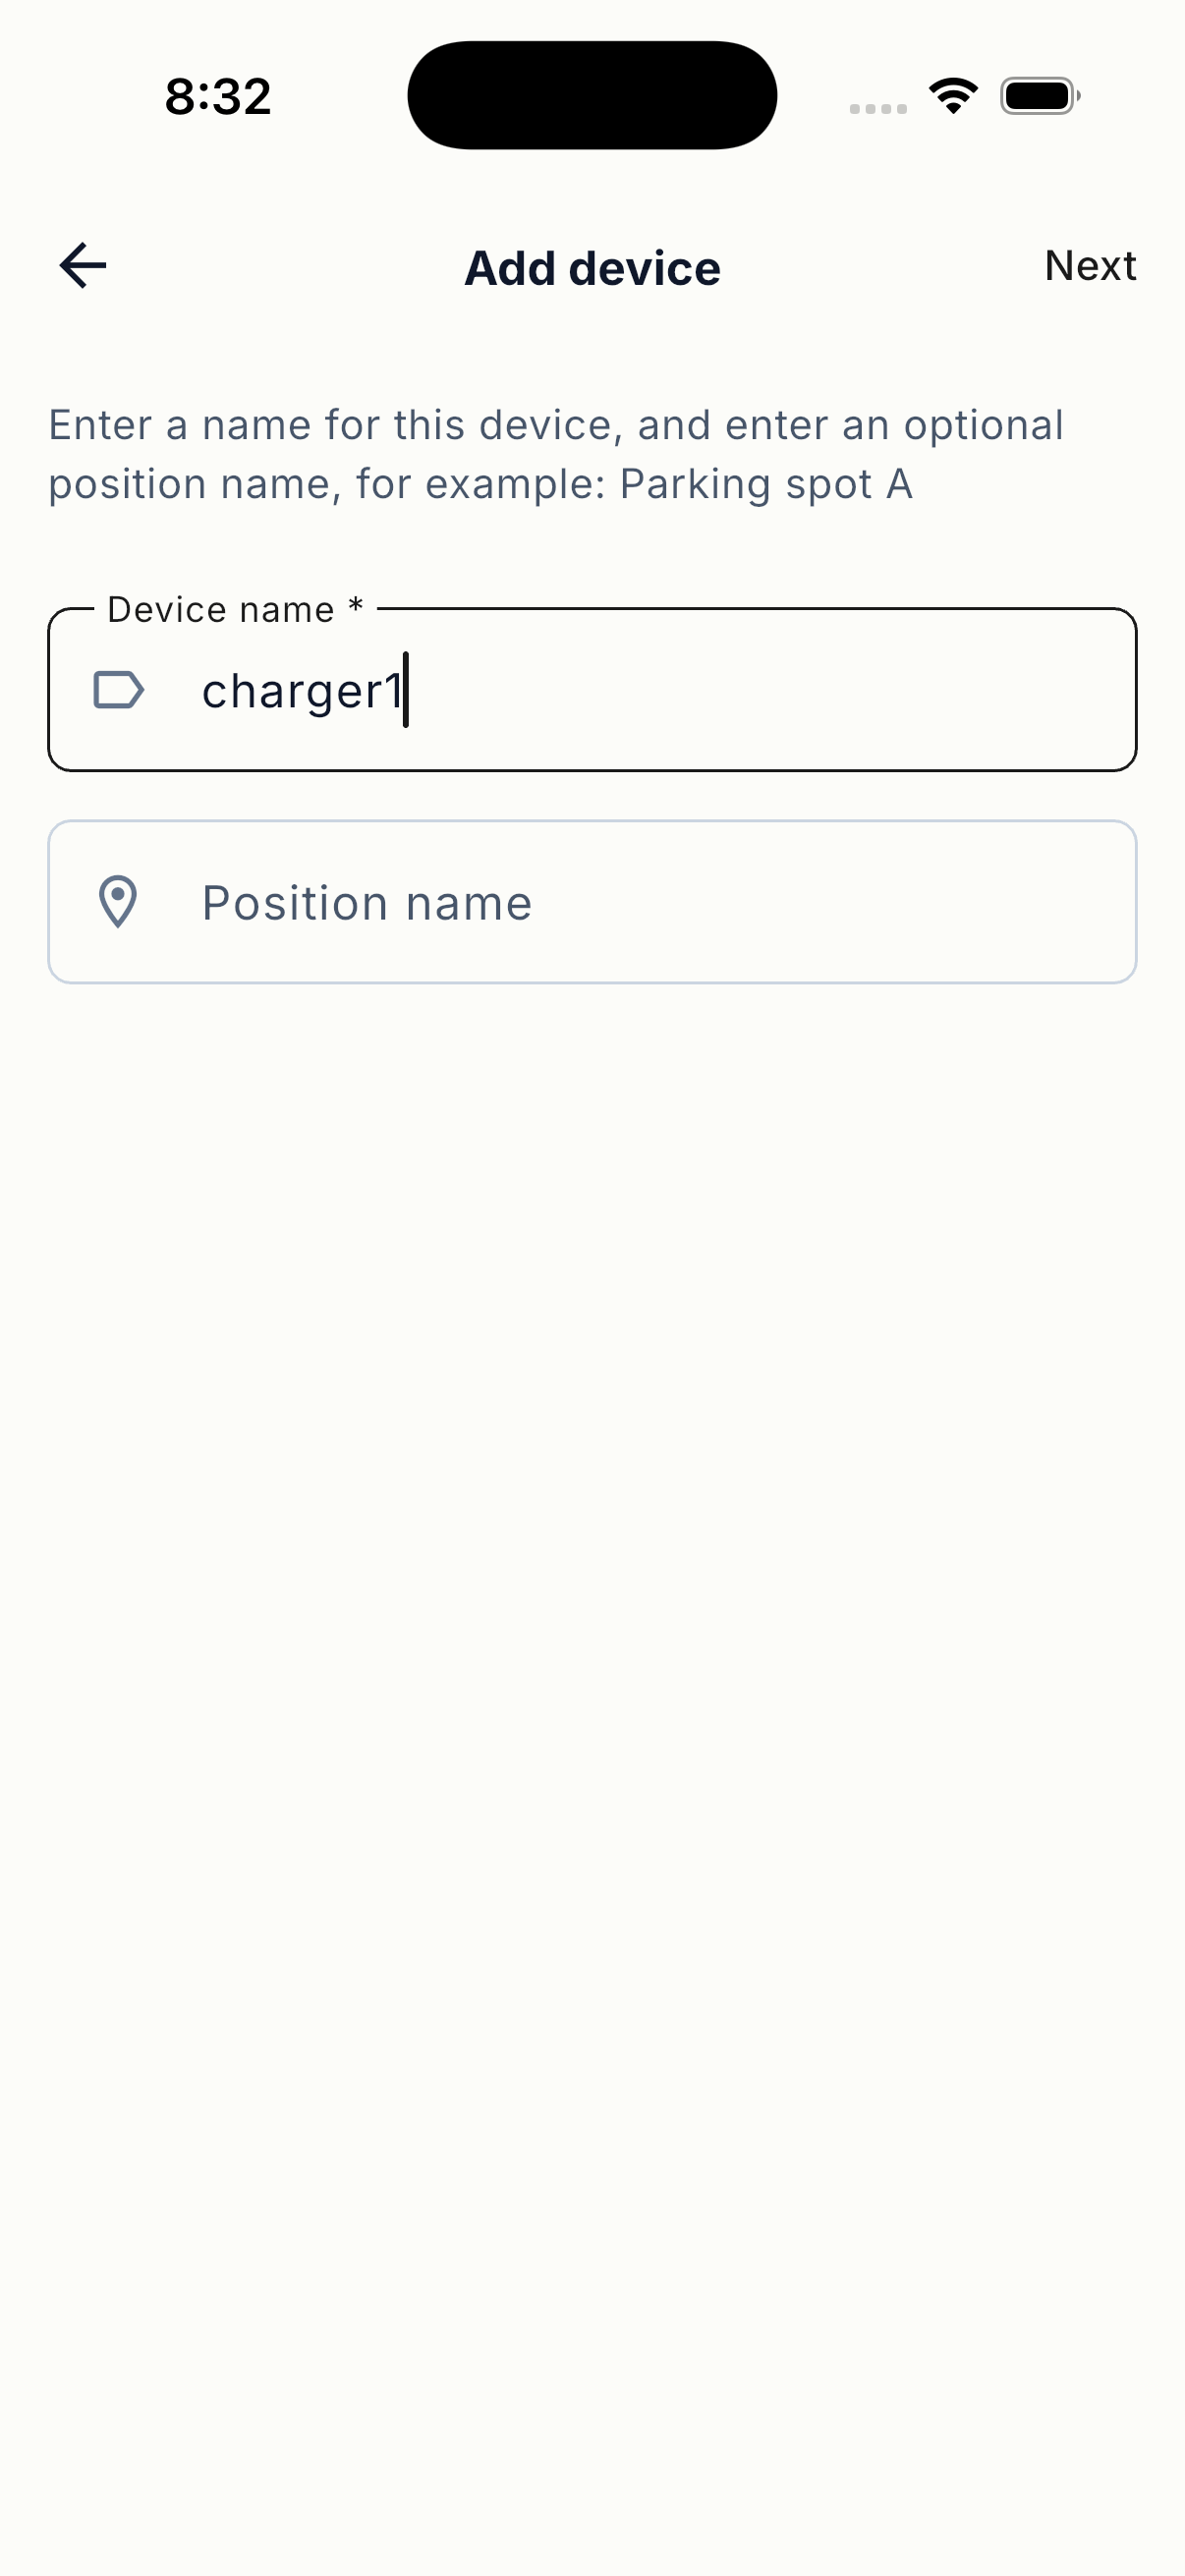
- Enter a clear name for the charging station.
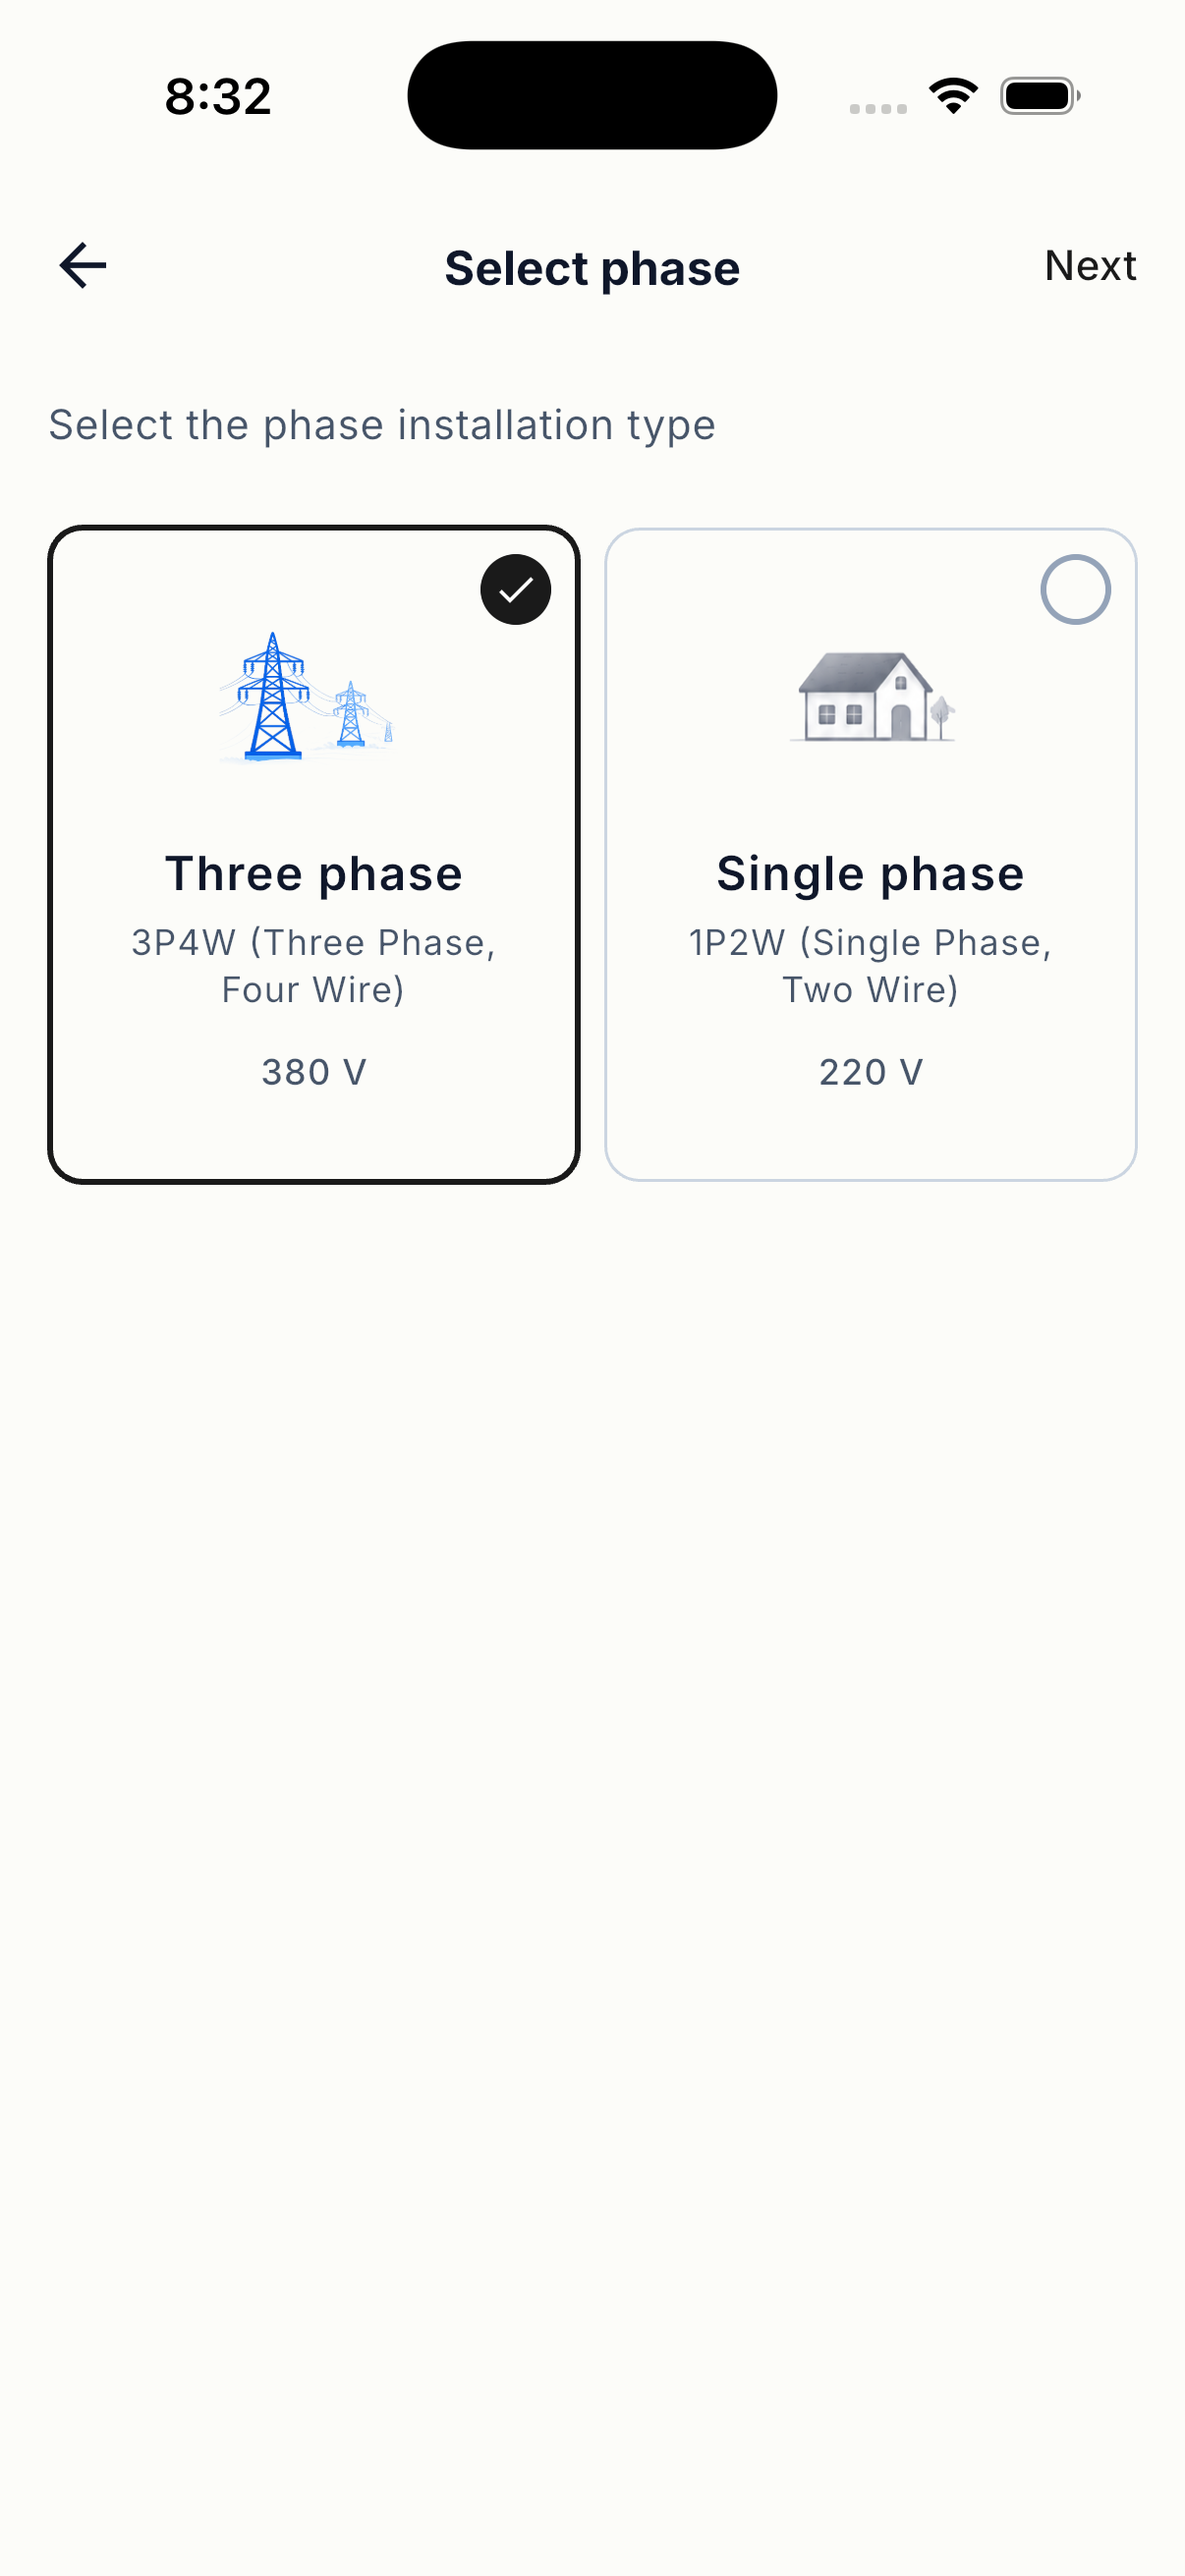
- Select the installed phase type.
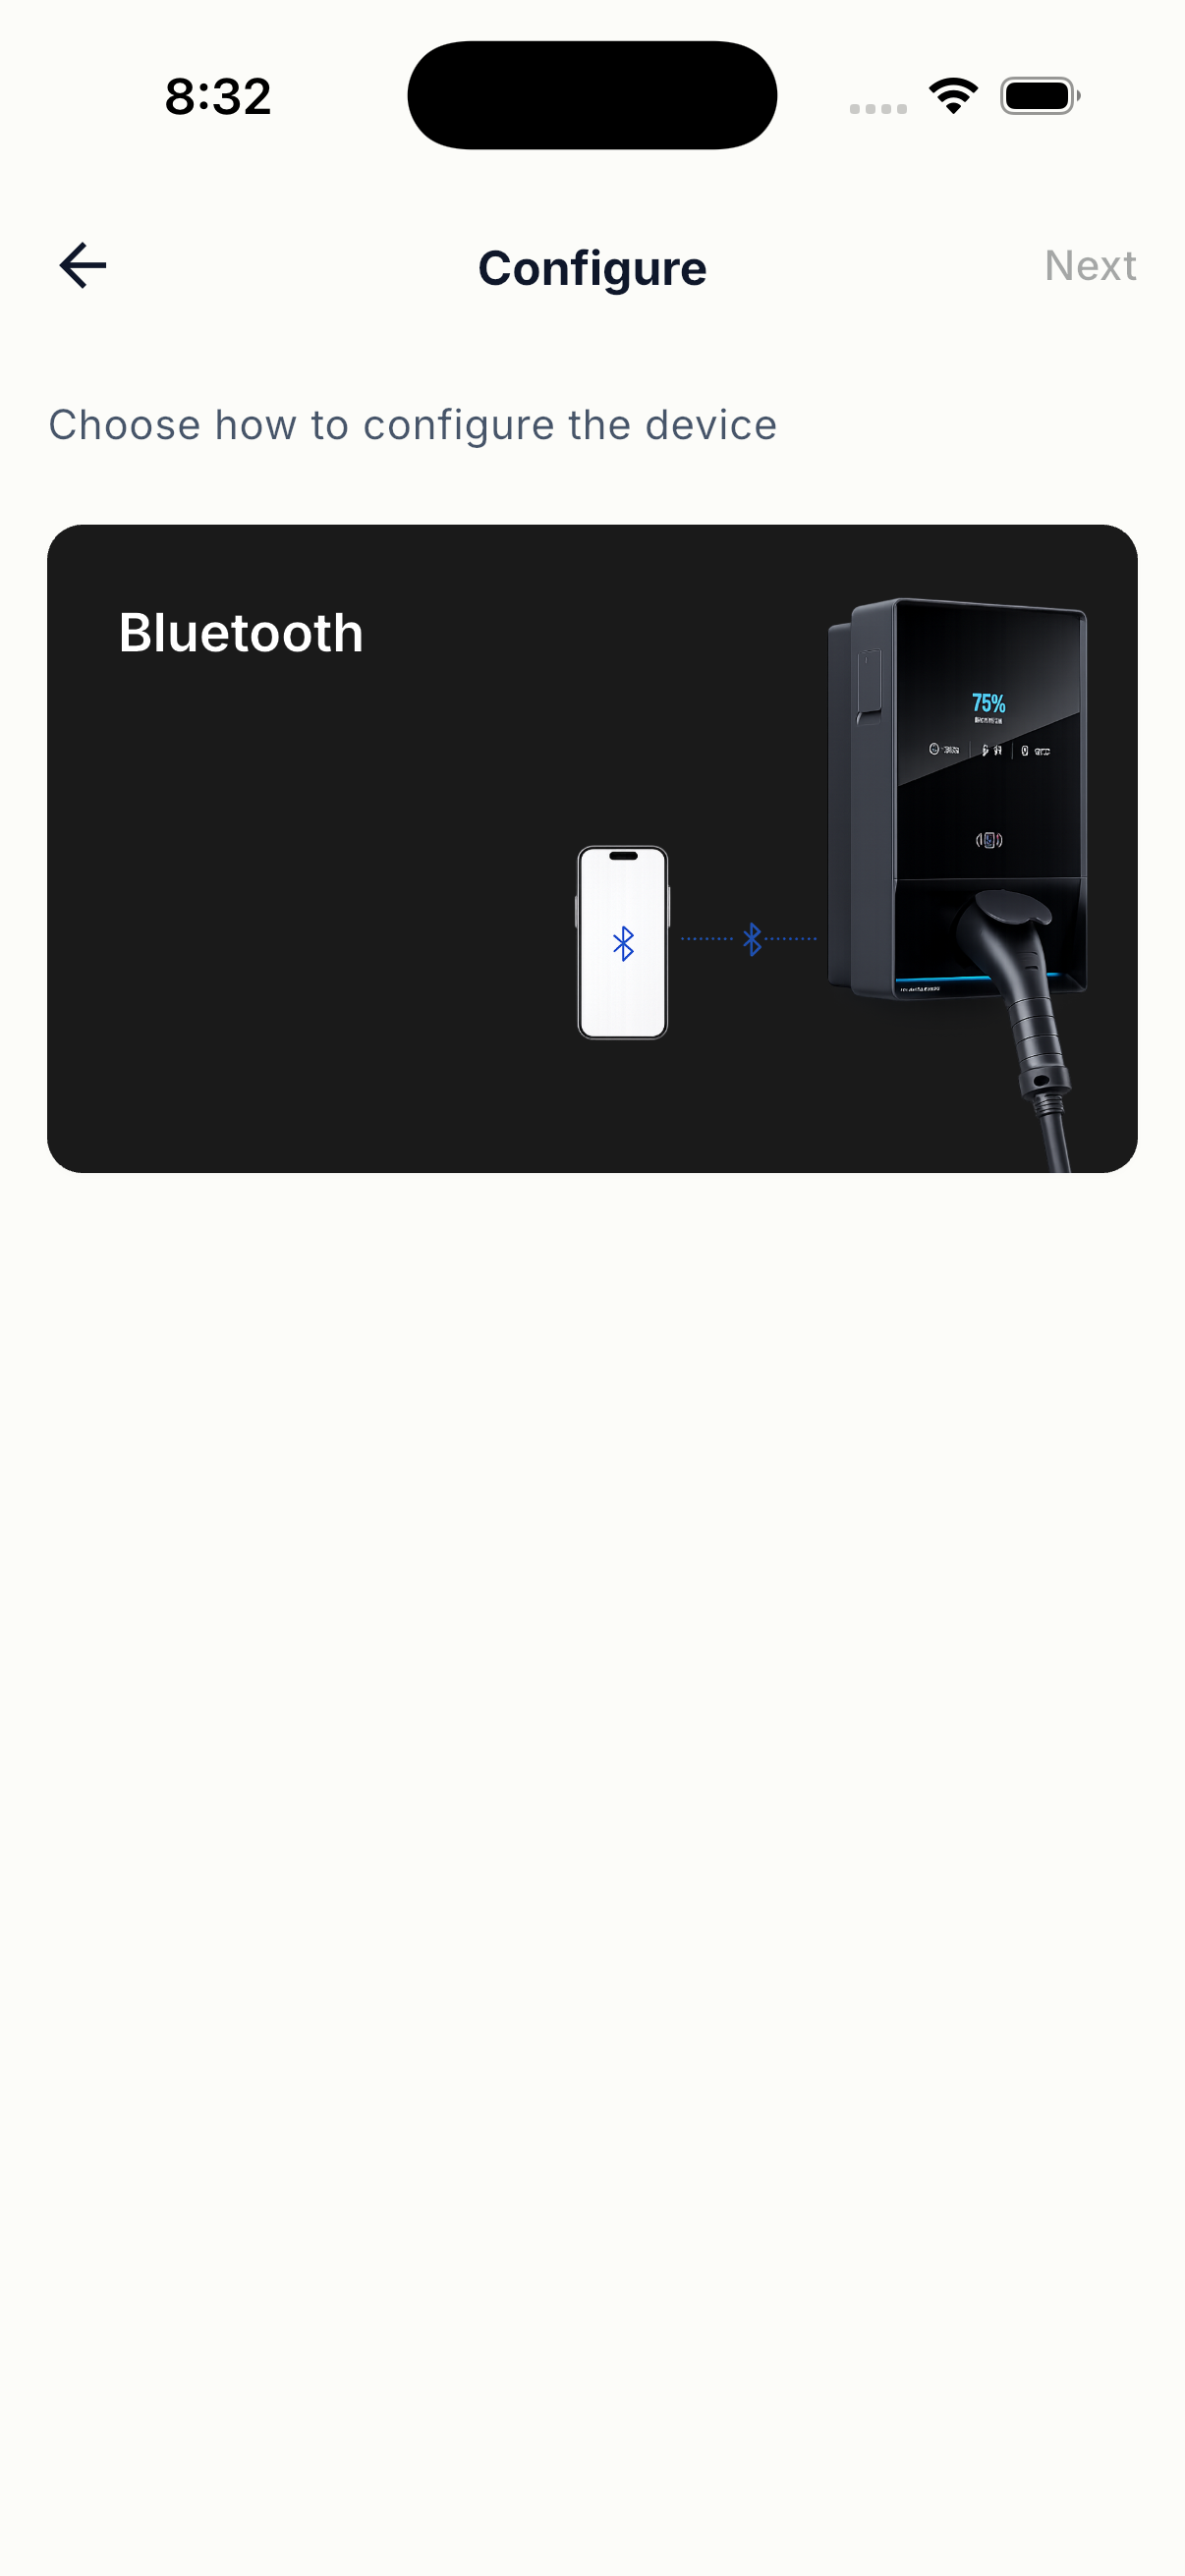
- Complete the device installation settings.
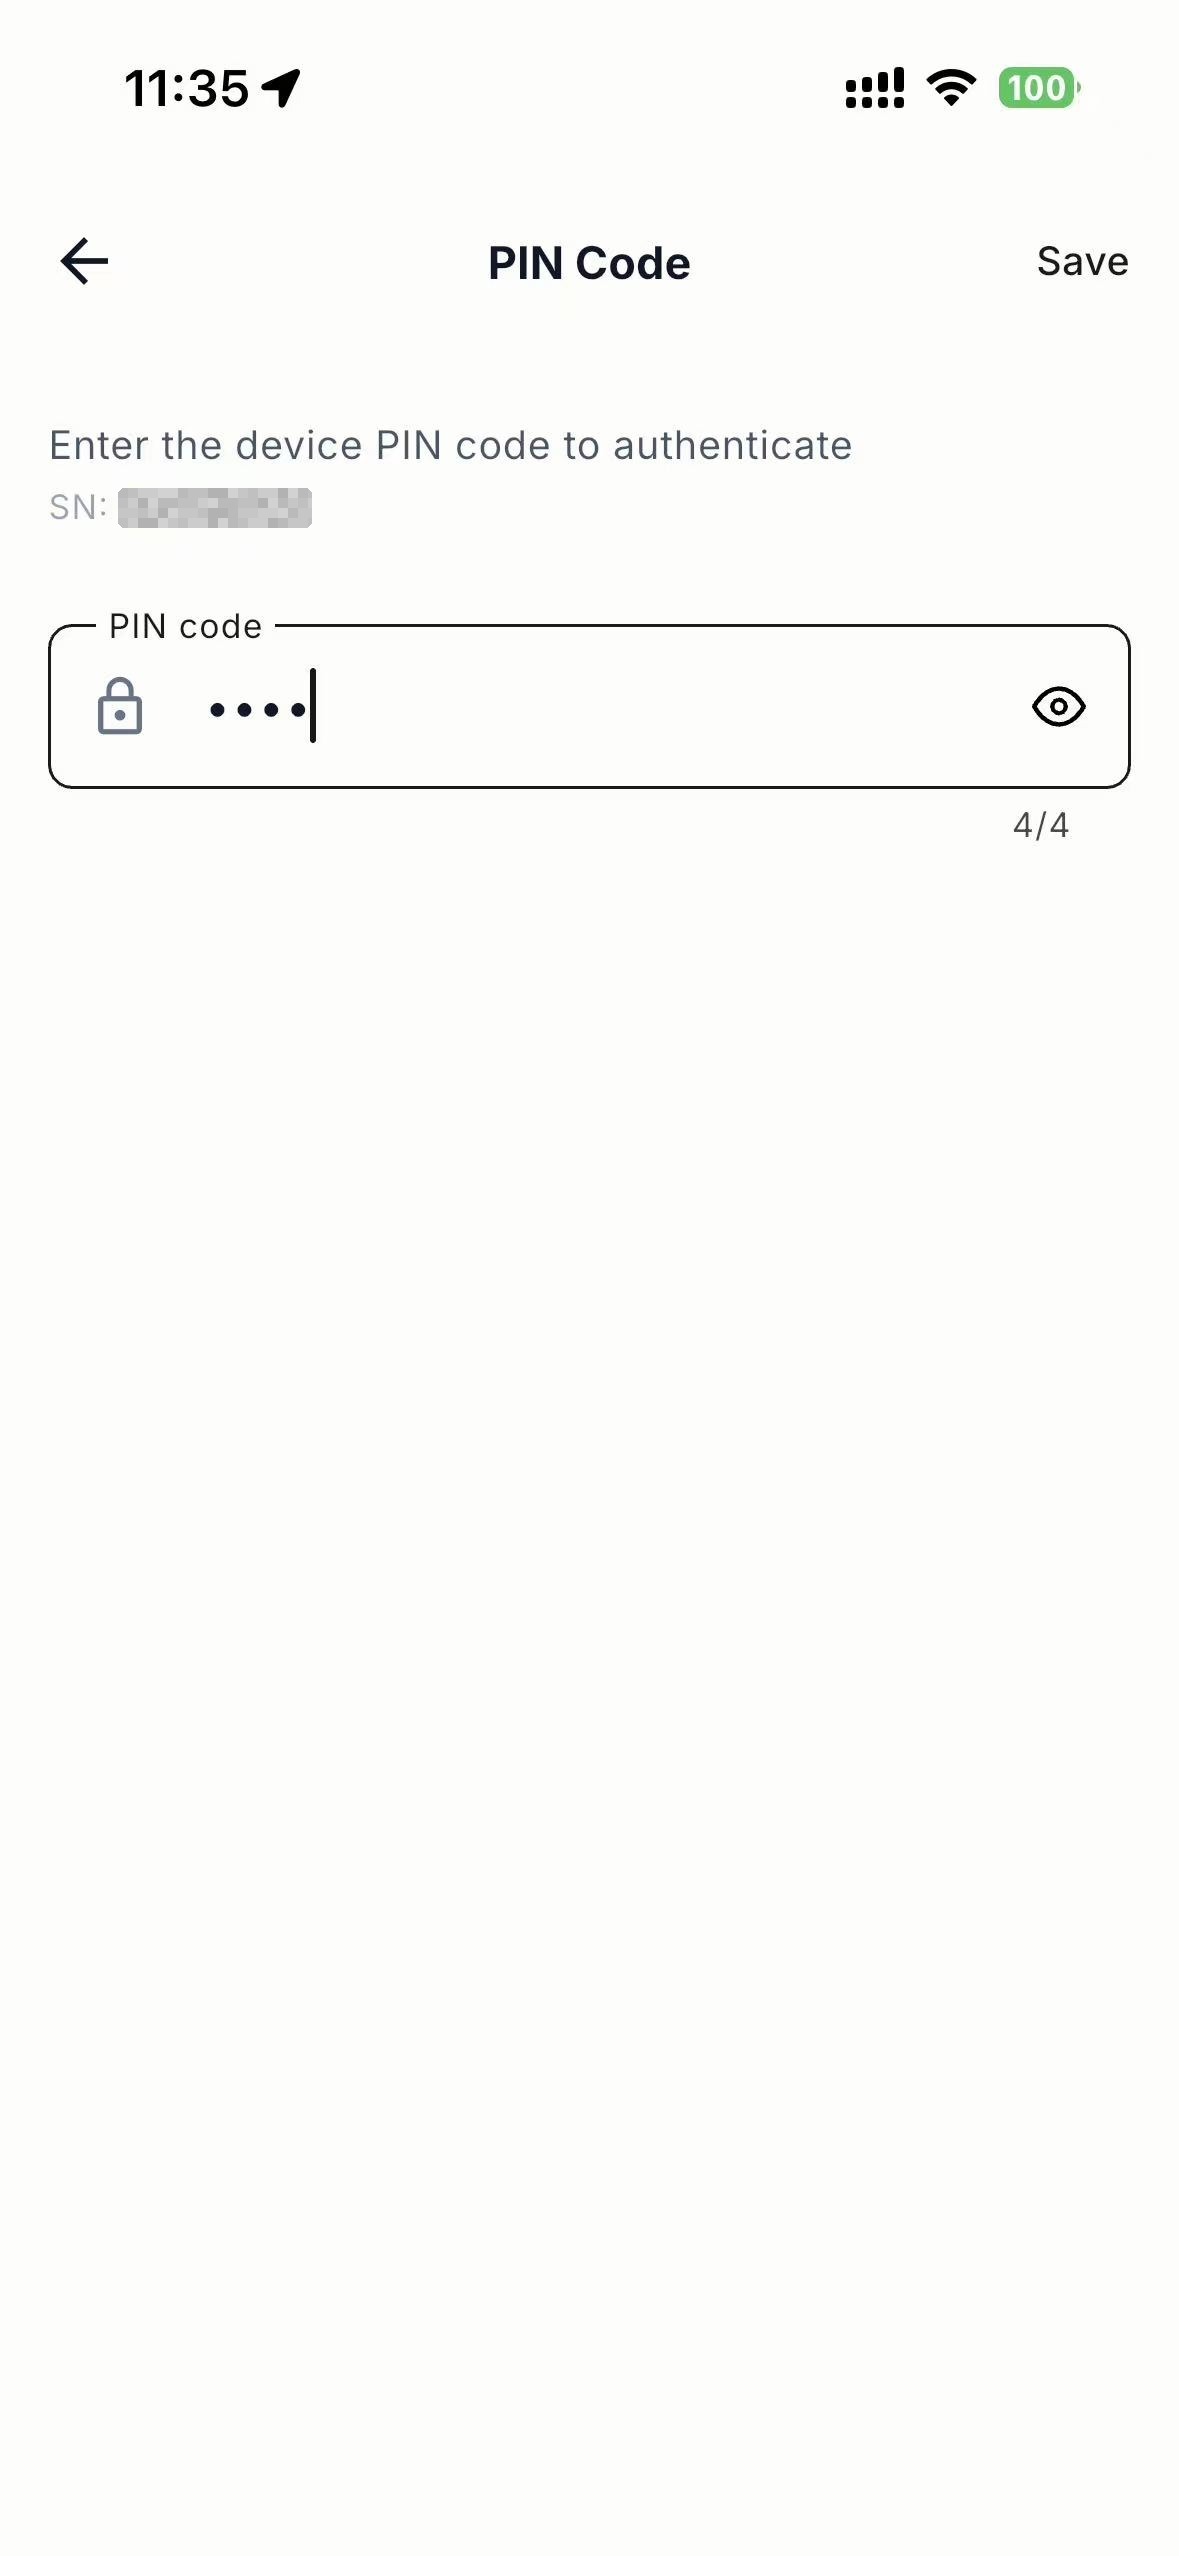
- Enter the PIN supplied with the charging station.
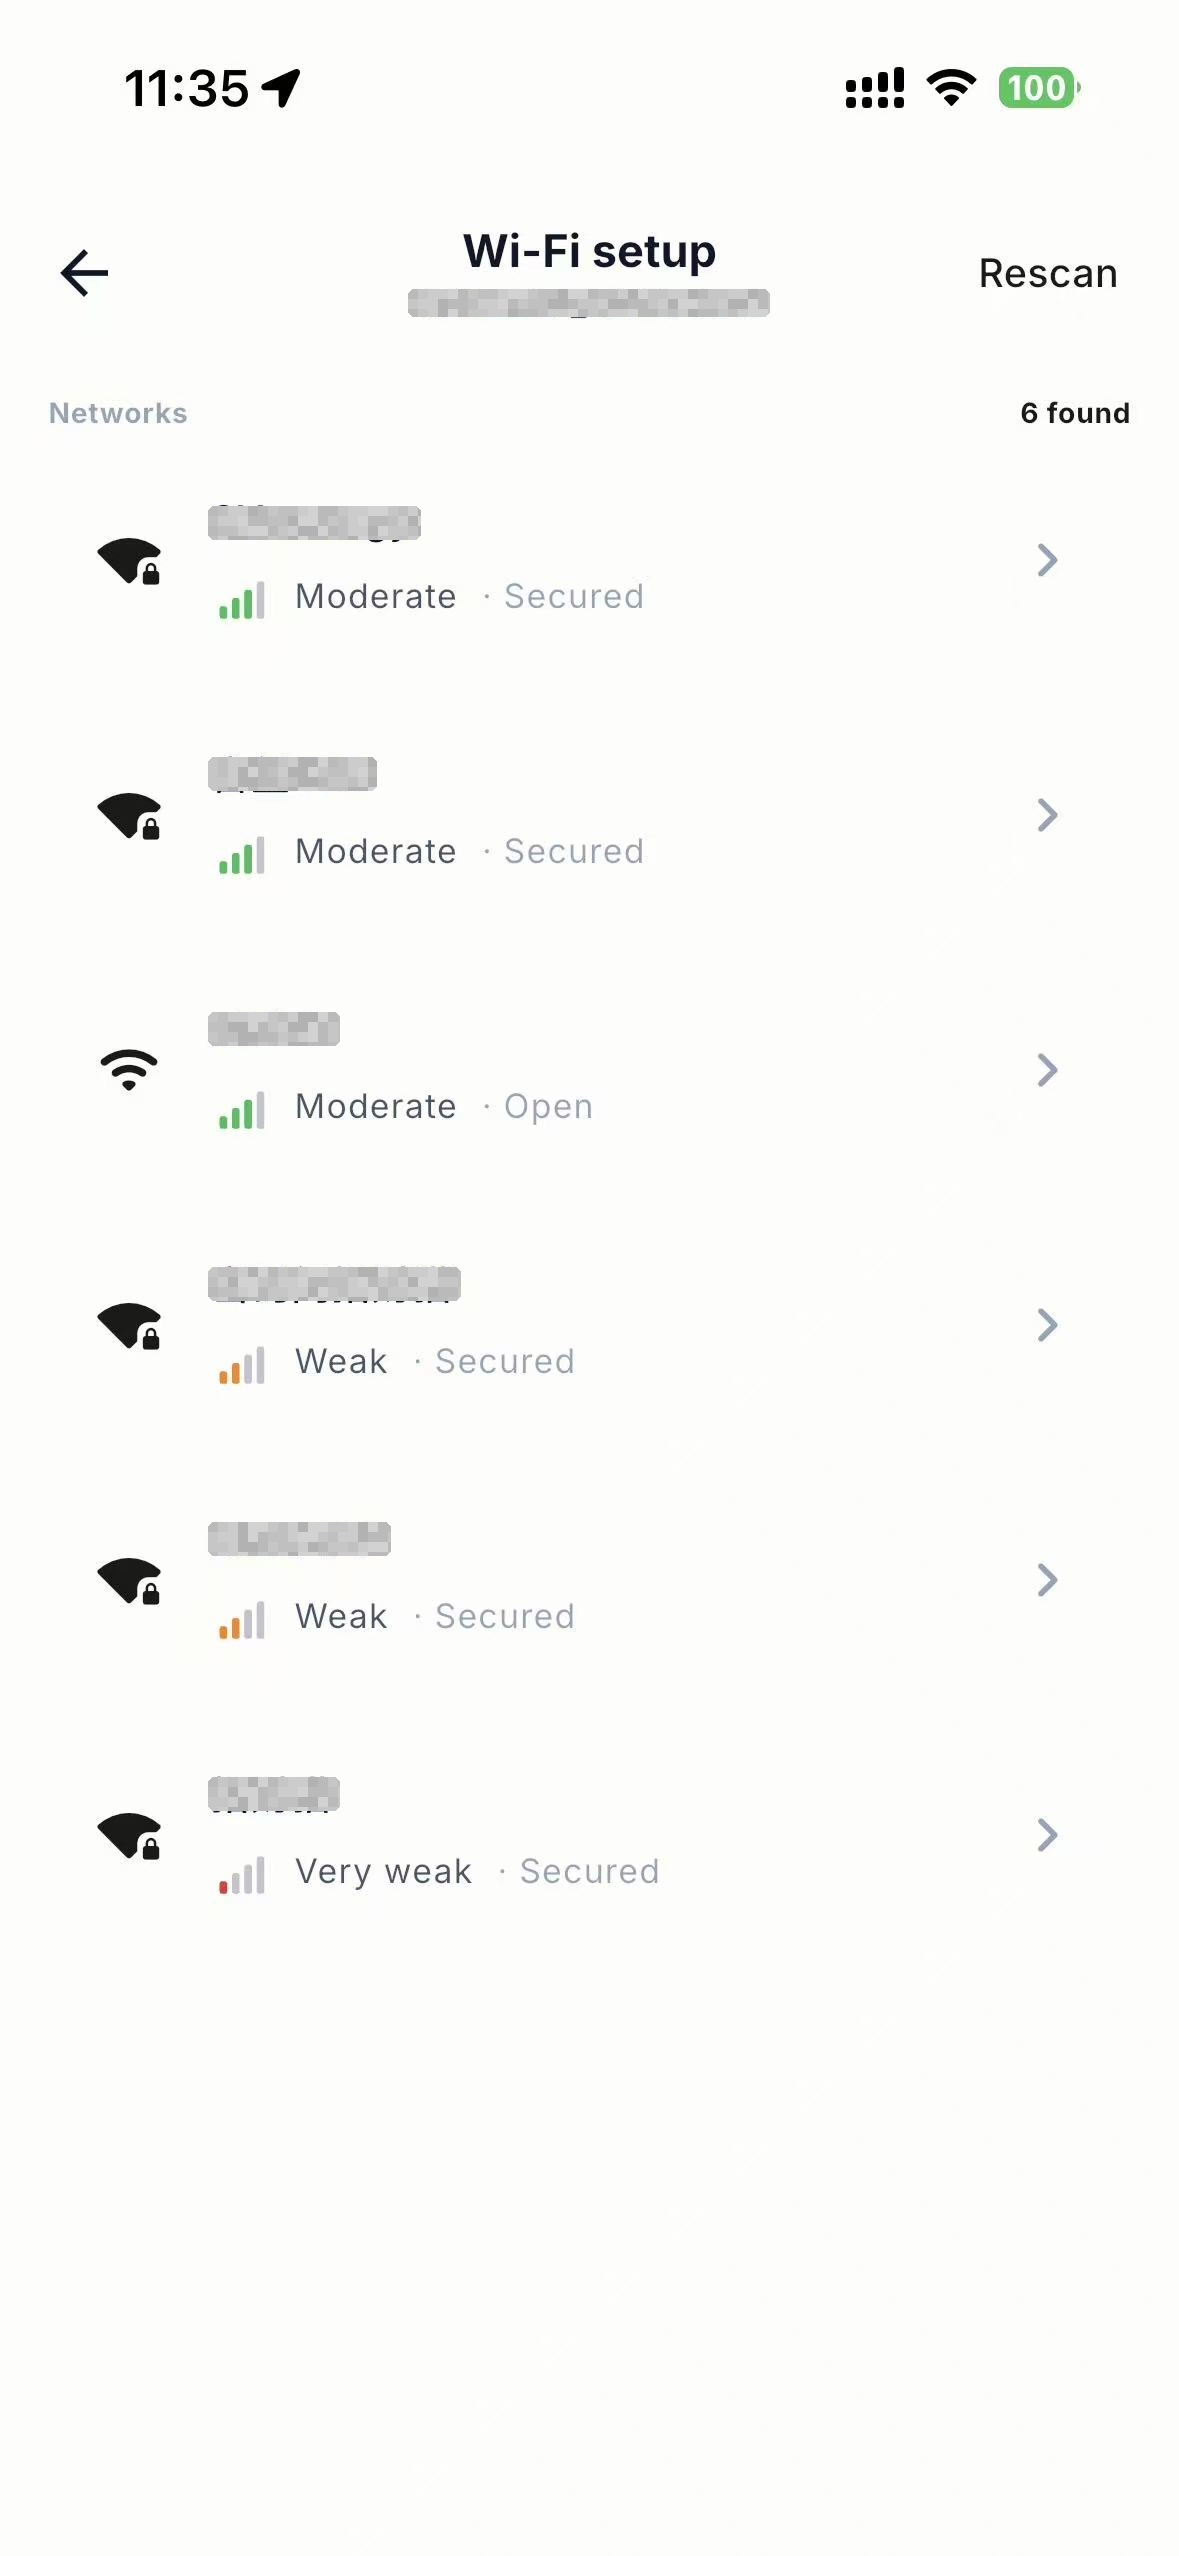
- Connect the charging station to Wi-Fi.
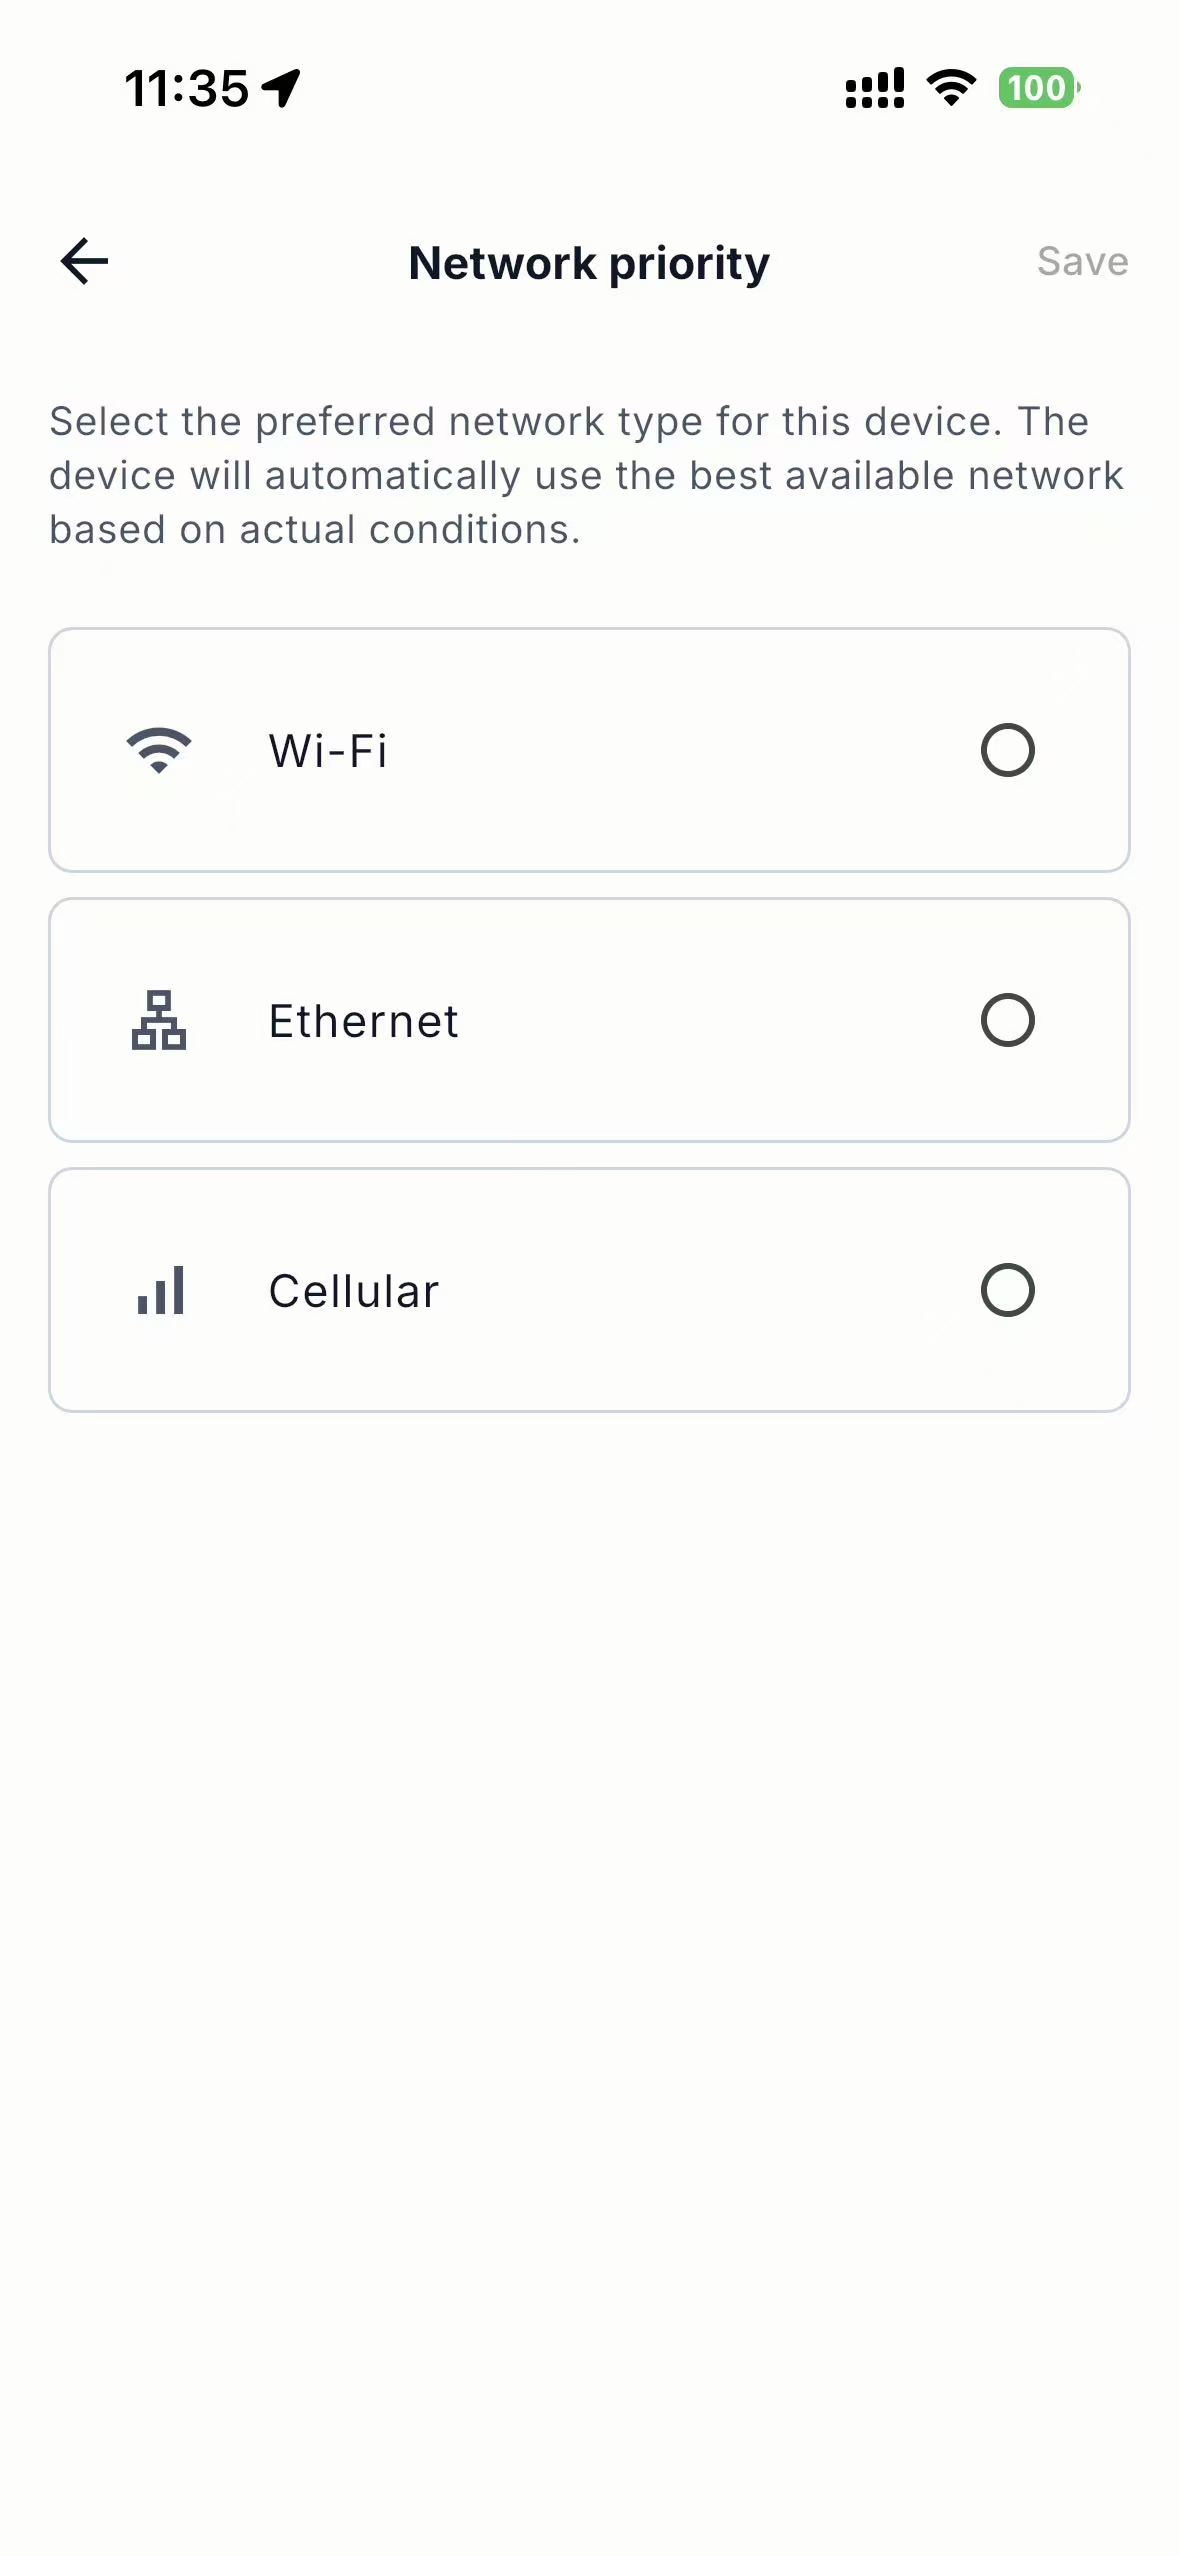
- Select the preferred network connection priority.
Transfer ownership
When installation and commissioning are complete:
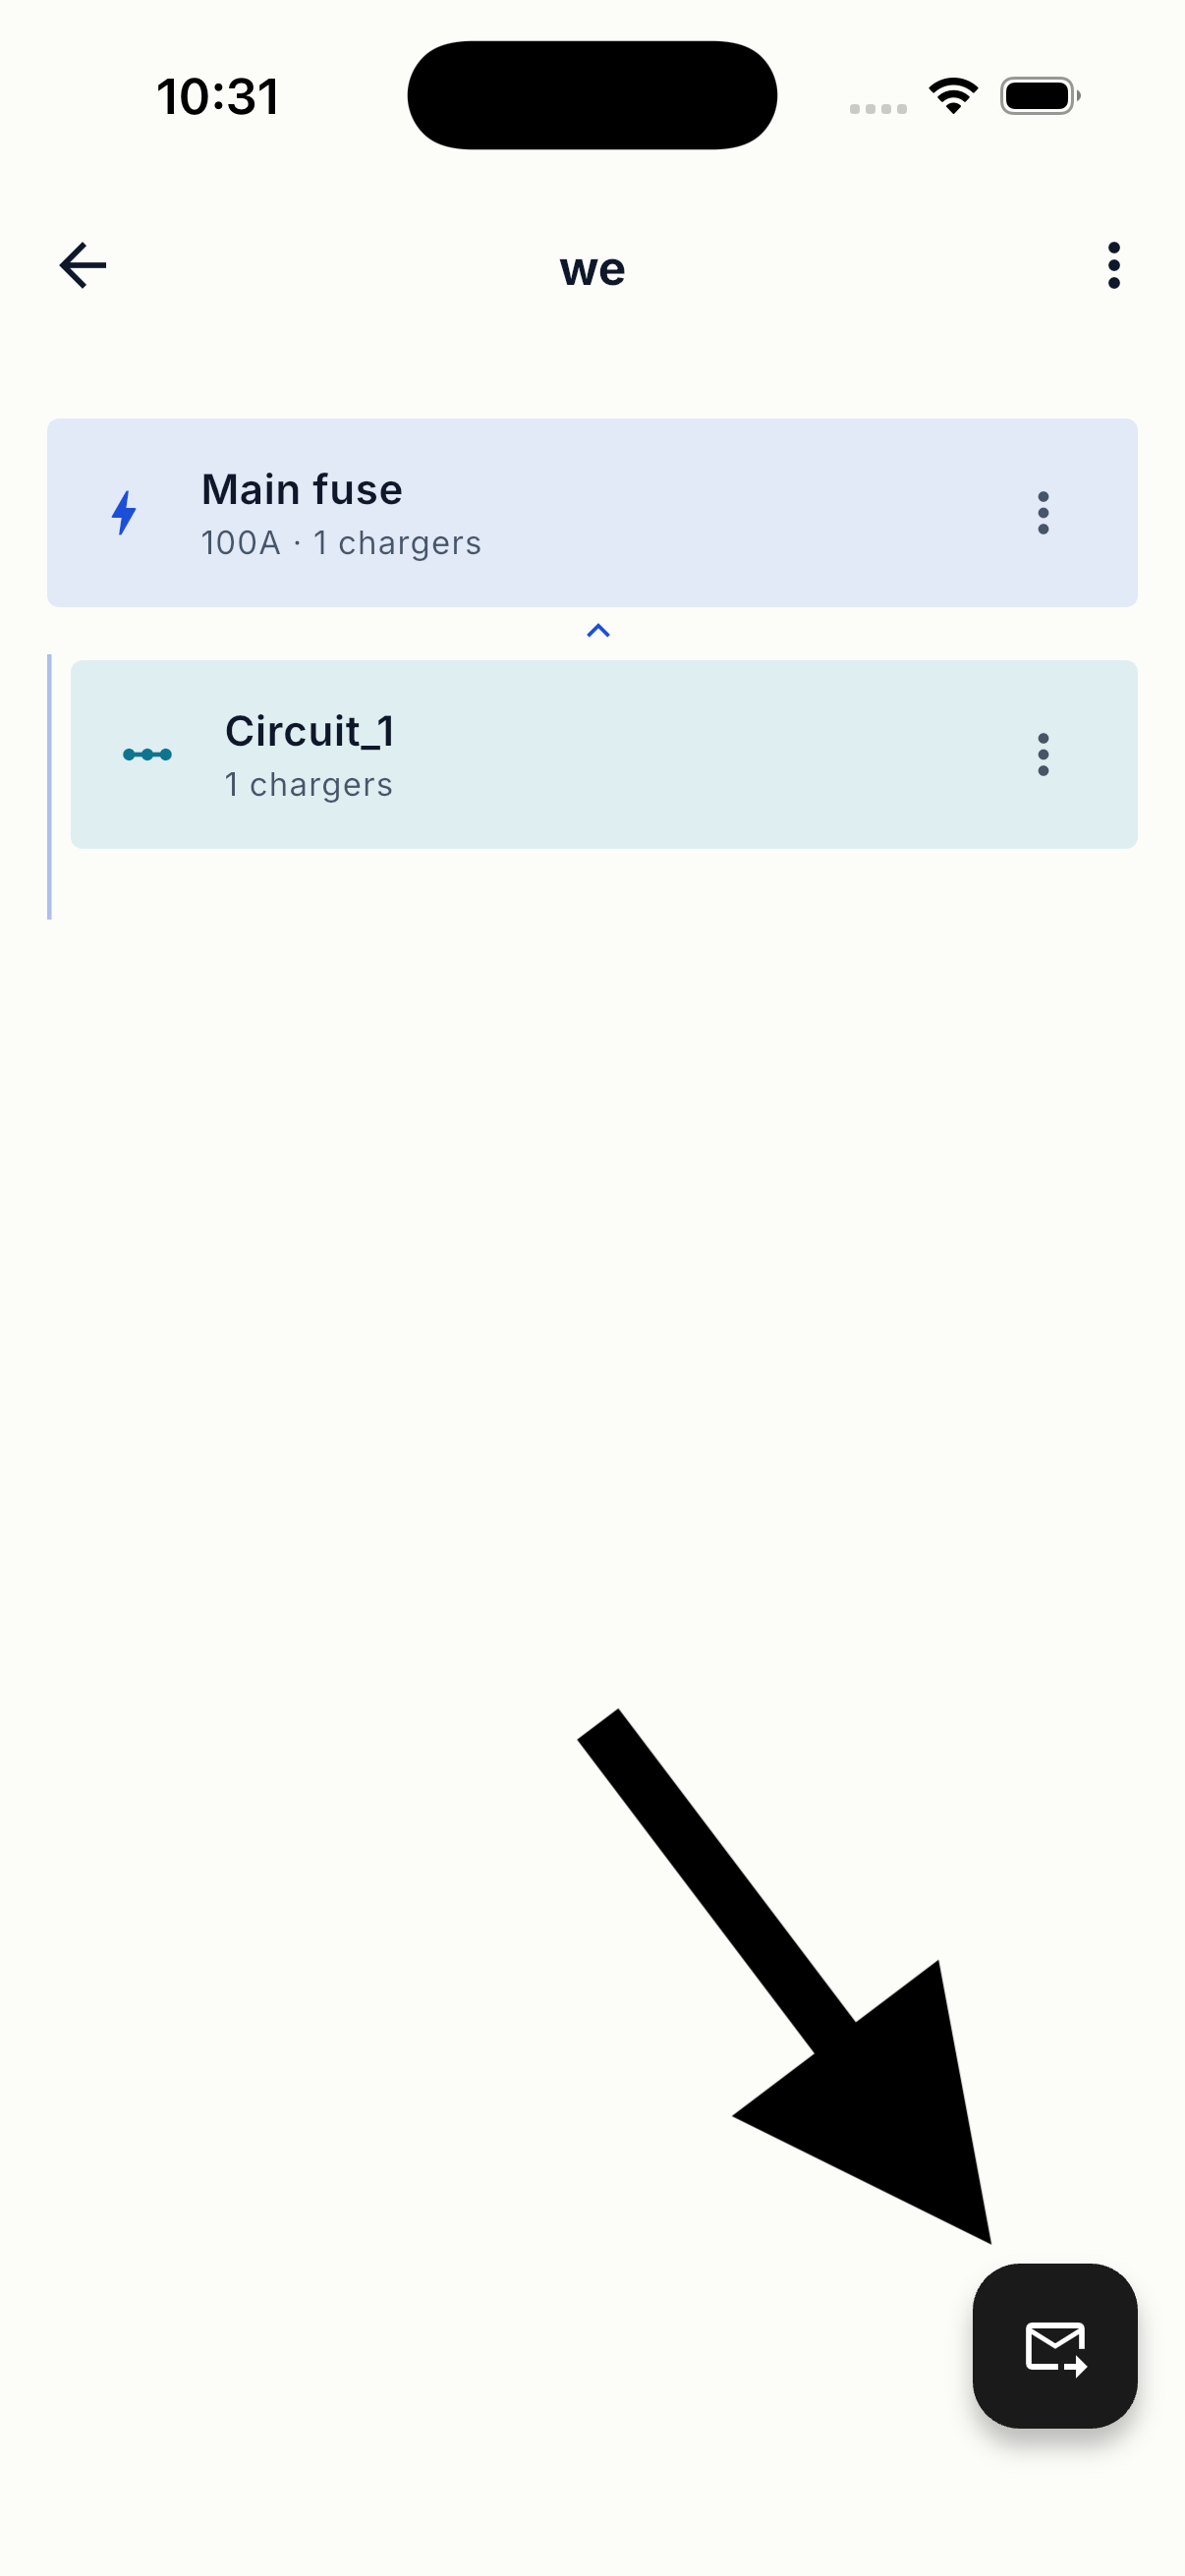
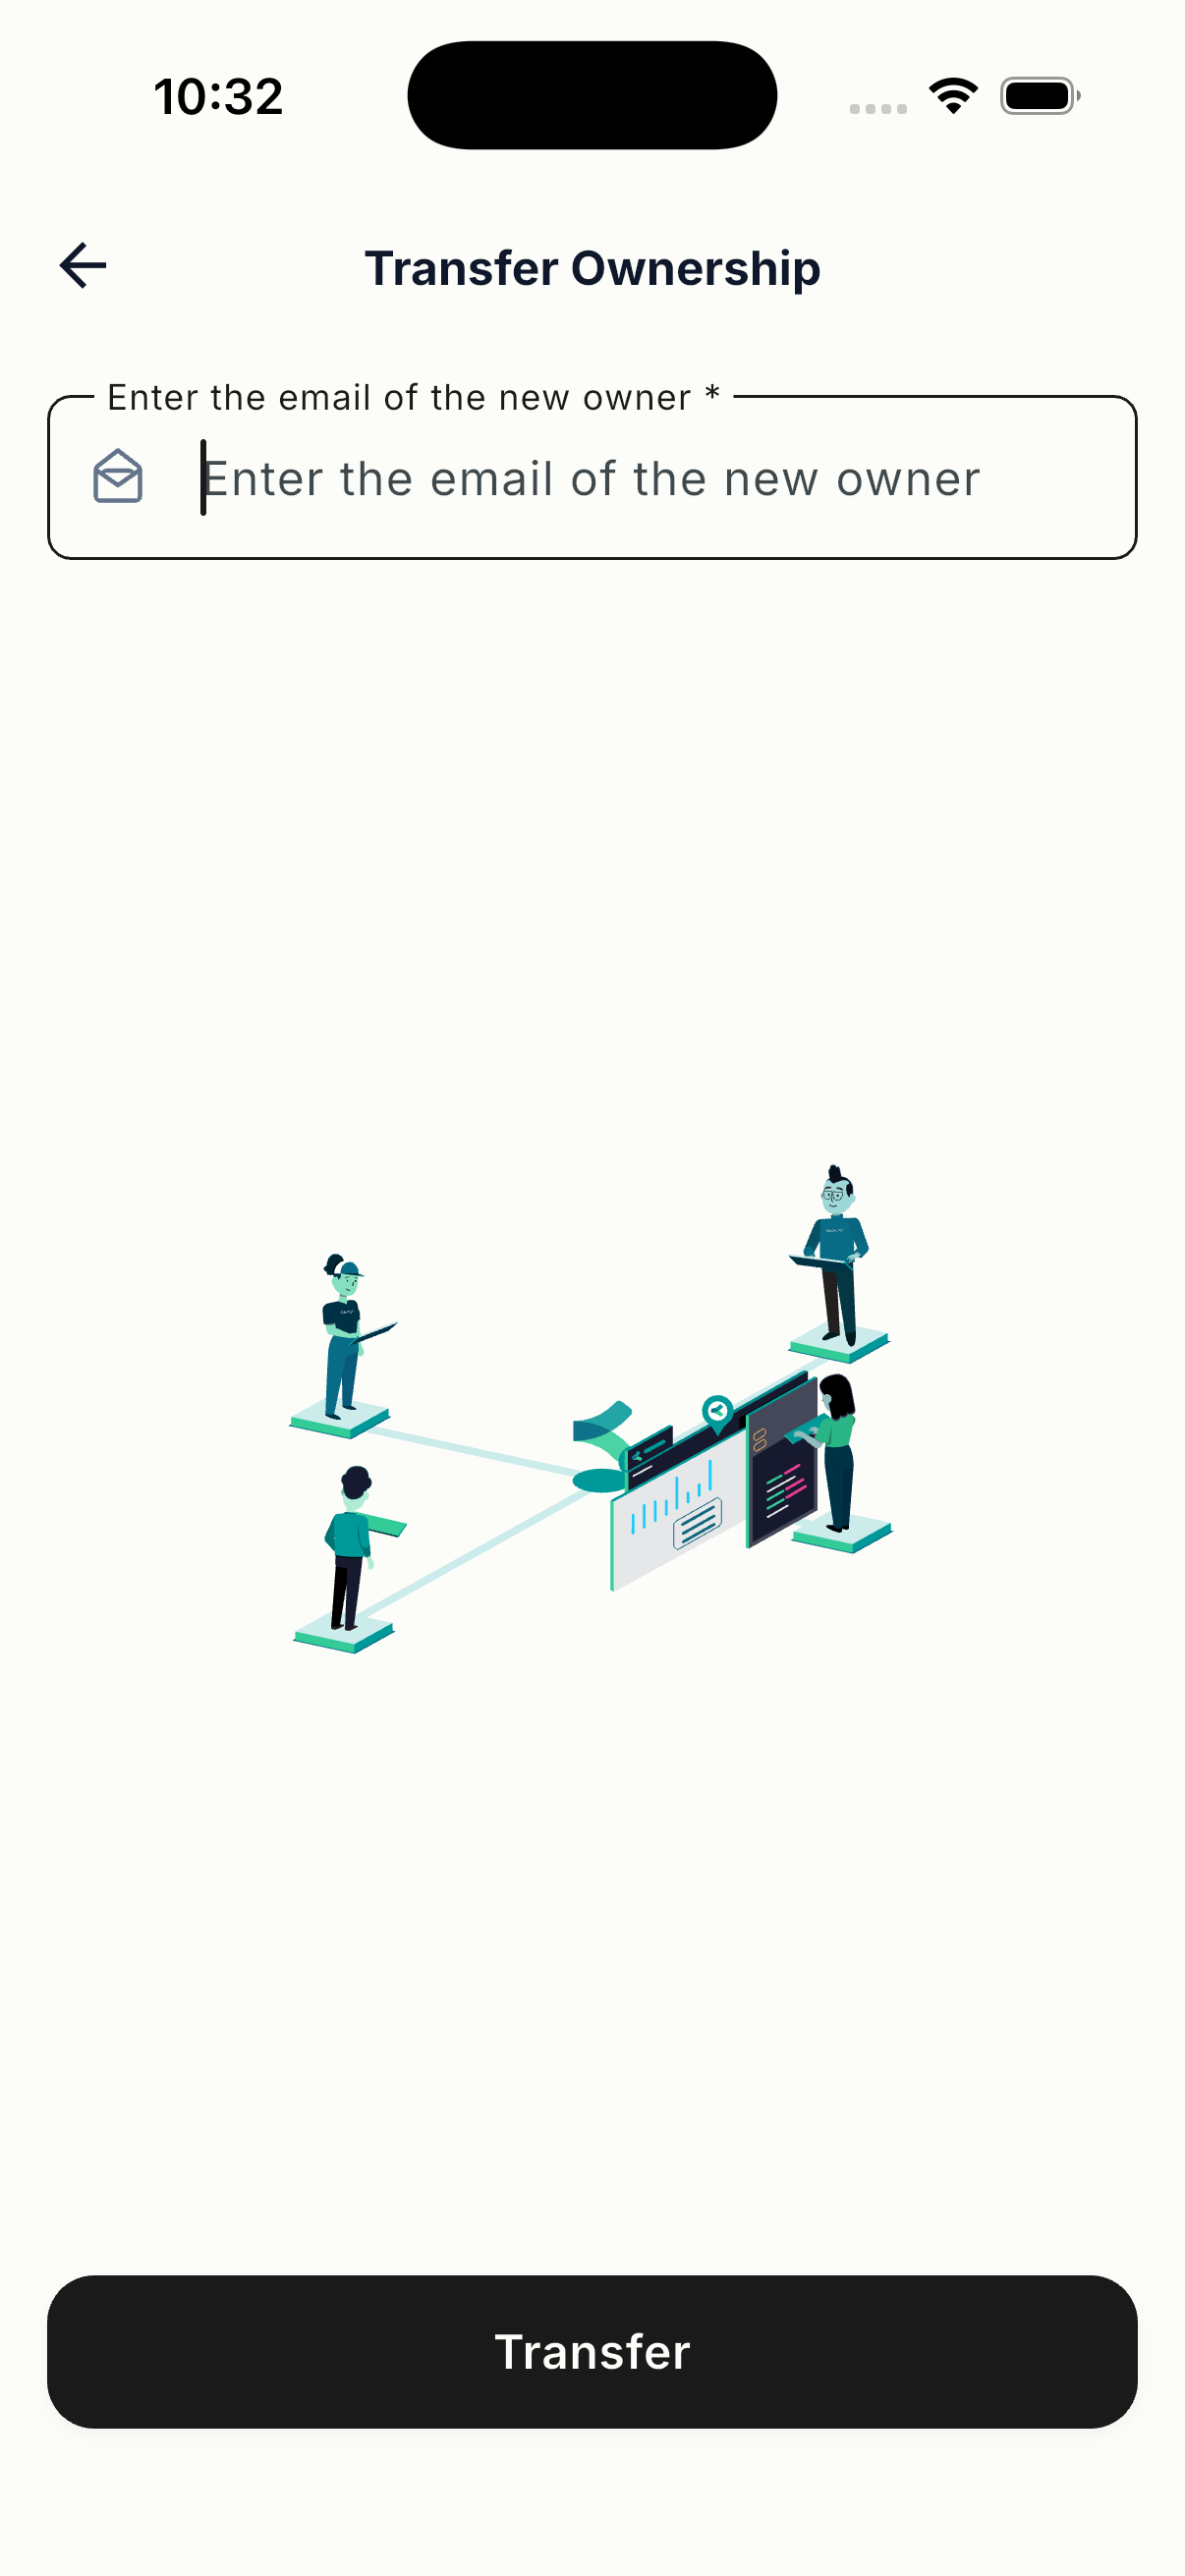
- Open the site and select the transfer option.
- Enter the new owner's email address and confirm the transfer.
After the transfer, the user owns the site and may remove the electrician from Members.